
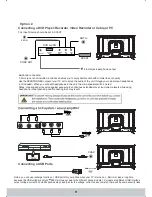


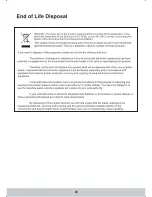


USB MODE/MEDIA PLAYER
Note: Before operating
menu,Plug in USB device, then press
button to set the Input Source to
USB
INPUT
USB
.
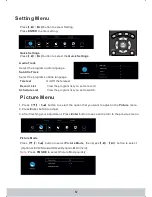
Press ◄ / ► button to select
USB
Enter
in the Source menu, then press
button to enter.
Press ◄ / ► button to select the option you want to adjust in the
main
menu,
USB
then press
button to enter.
【
】/【
】
▼
▲
button to select file and ENTER
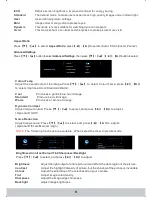
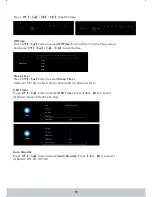
Photo
Press
button to select PHOTO in the main menu, then press
button to enter.
Press
button to select drive disk you want to watch, then press
button to enter.
Press
/
button to select return option to back to the previous menu.
Enter
Enter
▼ ▲
/
◄ / ►
▼ ▲
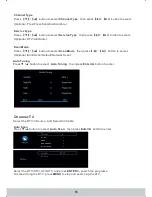
Press
button to select MUSIC in the main menu, then press
button to enter.
▼ ▲
/
◄ / ►
Enter
Enter
Press
button to select drive disk you want to watch, then press
button to enter.
Press
/
button to select return option to back to the previous menu.
▼ ▲
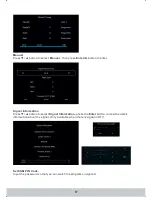
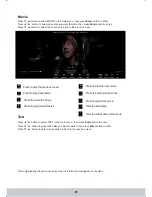
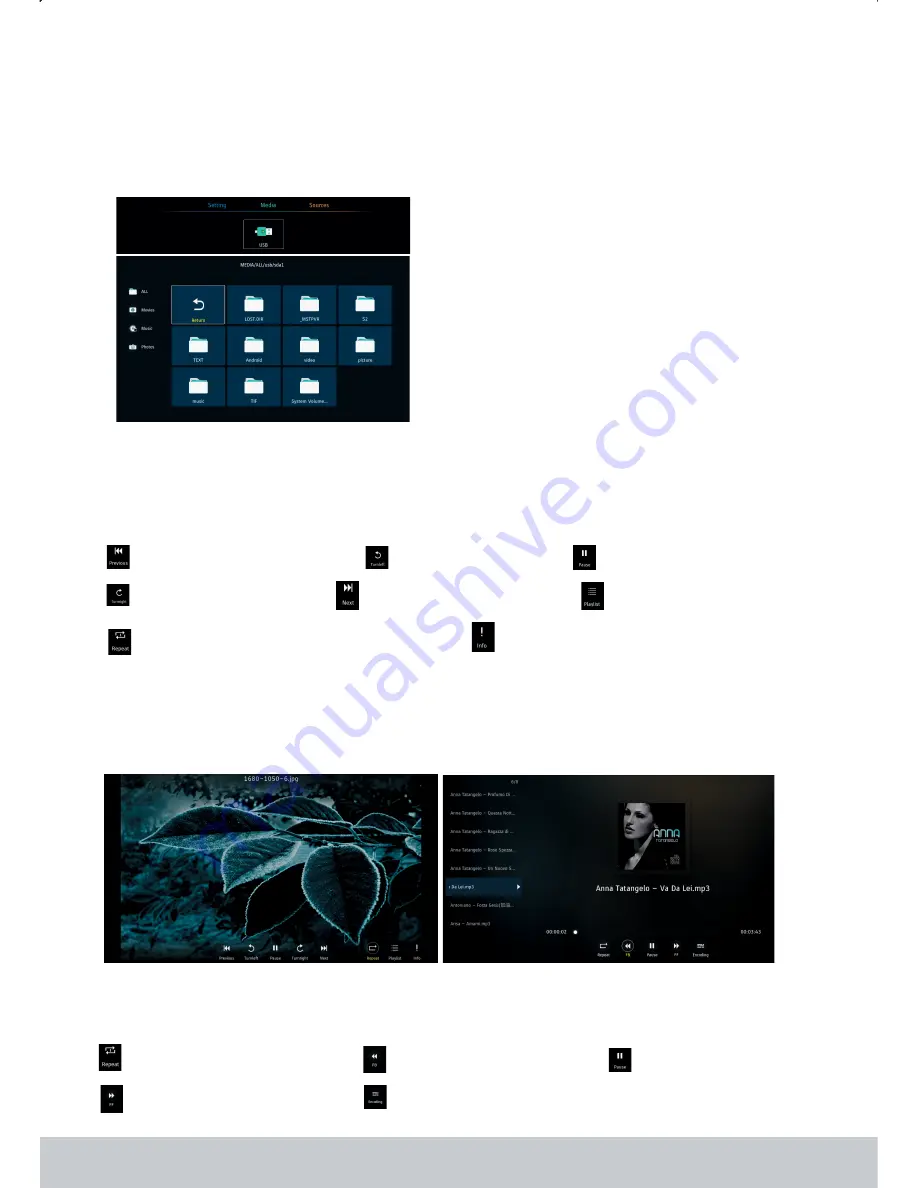
Music
When highlighting the option you select, the file information will appear on the right.
Press CH+/- to switch operation focus between File List and Player.
Press to repeat the music.
Press to play back faster.
Press to pause the music.
Press to play forward faster.
Press to select the encoding of lyric
.
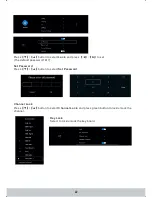
Press to play the previous photo.
Rotate 90° anticlockwise.
Press to pause playing next photo.
Rotate 90° clockwise.
Press to play the next photo.
Press to repeat the photos in the current folder.
View the list to play.
View the information of the photo.
24


