background image

2

2.0

Getting started

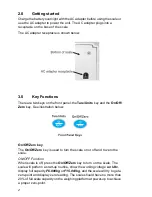
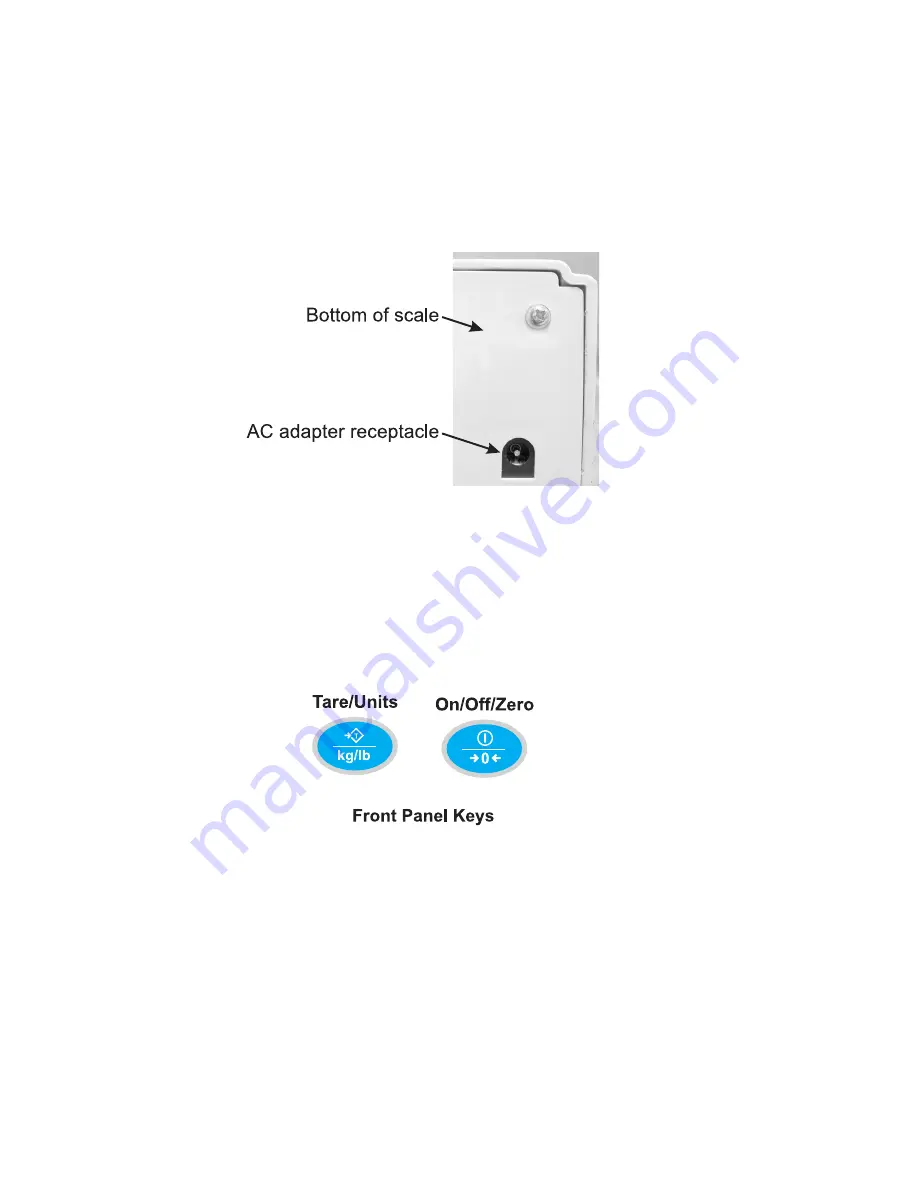
Charge the battery overnight with the AC adapter before using the scale or 
use the AC adapter to power the unit. The AC adapter plugs into a 
receptacle on the base of the scale.

The AC adapter receptacle is shown below.

3.0

Key Functions

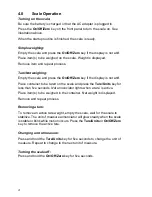
There are two keys on the front panel; the 

Tare/Units

 key and the 

On/Off/

Zero

 key. See illustration below.

On/Off/Zero key

The 

On/Off/Zero

 key is used to turn the scale on or off and to zero the 

scale. 

ON/OFF Function

When scale is off, press the 

On/Off/Zero

 key to turn on the scale. The 

scale will perform a start-up routine, show the working voltage 

x.x Udc

display full capacity 

F6.000kg

 or 

F15.000kg

, and the scale will try to get a 

zero-point and display zero reading. The scale should have no more than 
20% of full scale capacity on the weighing platform at power-up to achieve 
a proper zero-point.

Summary of Contents for 405

Page 1: ...d accuracy of your scale Only use on a stable vibration free surface Handle with care Gently apply all items to be weighed onto the weighing platform Although this scale is designed to be quite durabl...

Page 2: ...ff Zero key See illustration below On Off Zero key The On Off Zero key is used to turn the scale on or off and to zero the scale ON OFF Function When scale is off press the On Off Zero key to turn on...

Page 3: ...ator on the left of the display will be lit and the NET annunciator will be off The scale will not zero if the display is beyond 5 of full capacity The display will show 0 or 0_____ then return to the...

Page 4: ...Place container to be tared on the scale and press the Tare Units key for less than five seconds Net annunciator lights when a tare is active Place item s to be weighed in the container Net weight is...

Page 5: ...ess the On Off Zero key until CAL 0 appears 4 Release the two buttons 5 Press the On Off Zero key 0 in CAL 0 will flash briefly then CAL F is displayed 6 Press the Tare Units key to choose the unit of...

Page 6: ...ation mode for the scale you must access the PC board and move a jumper Follow these steps 1 Remove the scale platform 2 Use a 5mm hex wrench to remove the two screws holding the platform support to t...

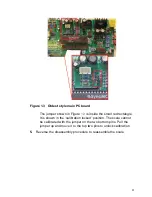
Page 7: ...Figure 1 2 shows the older version of the main board and the calibration jumper JP1 The jumper is shown inside the red oval The oldest version of the main board is shown in Figure 1 3 Figure 1 1 Curre...

Page 8: ...igure 1 2 is in the calibration unlocked position The scale can be calibrated with the jumper on the two pins on the right side Pull the jumper up and move it to the left two pins to lock calibration...

Page 9: ...ide the small red rectangle It is shown in the calibration locked position The scale cannot be calibrated with the jumper on the two bottom pins Pull the jumper up and move it to the top two pins to u...

Page 10: ...capacity above the calibration zero point when scale is turned on OR The weight reading is more than 5 of full capacity above the power on zero point when you press the On Off Zero key 0______ Power o...

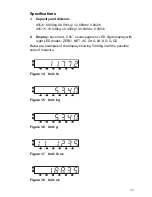
Page 11: ...30 000lb x 0 005lb 2 Display seven red 0 56 seven segment LED digits display with eight LED diodes ZERO NET AC CHG LB KG G OZ Below are examples of the display showing 5 340kg in all the possible unit...

Page 12: ...ower supply is lower than 5 7V 0 1V but over 5 4V 0 1V the scale will display Lo bAT and the other current display alternatively If AC adapter is used to charge battery or to power scale the rocker sw...

Reviews: