4
CUSTOMIZING VOCABULARY
Make a Plan - Where to Start?
o
Suggested places to start: social page, people, about me, and favorites (food, drinks, toys, books)
See what’s working/not working, then go back and customize
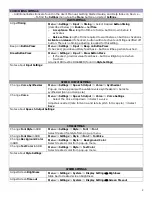
Edit Mode
o
You will need to be in Edit Mode in order to make any changes to the vocabulary file.
o
Menu
⇒
Edit Mode
o
Edit Mode will appear in
red
at the bottom of the screen, along with the name of the page (in
brackets) you are currently editing.
GENERAL TAB when Editing a Button
Change Button Label or
Message
o
Edit the label and/or message by tapping in the box and typing.
o
Label: the words on the button
o
Message: the words spoken by the device
When finished, choose Save.
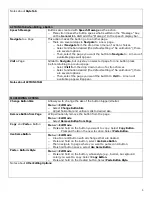
Change Image on a Button
o
Using Symbol Library
o
Select Find. Spell item to find.
o
Select Search
o
Drag the list up and down. Tap on the desired image. Select Save.
o
Take a Picture for Button Image
o
Select Camera. Take the picture in horizontal view. Select Save.
o
Name the image. Select Save.
If needed, add a label and message to the button. Select Save.
Make a Button Visible
o
By default all buttons are visible (i.e. the box is checked)
o
Uncheck the box to hide a button.
When finished, choose Save.
Note there is another way to hide multiple buttons at time.
Notes about General Tab:
STYLE TAB when Editing a Button
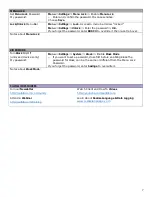
Change a Button’s Font
o
Select the Style tab on top. The style properties appear
o
Make the changes you want.
When finished, choose Save.
o
Font Style-select from the drop down box
o
Font Size-increase or decrease the size using the +/-
o
Font Effects-can make the font
•
Bold, Italic, Underline
Change Colors on a Button
o
Select desired color from pop-up box with color options.
When finished, choose Save.
Body=background color of the button
Font=font color
Border=outline border of the button
Change a Button’s Border
Width
Try highlighting instead of
hiding!
o
Choose from 1-7 for the width. (7 is the widest, boldest.)
o
Highlighting the button: Select Border. Select the color. (Usually a bolder
color than the button’s background and surrounding buttons.)
Increase Border Width.
When finished, select Save.
Making a Button Transparent
o
By default, all buttons are NOT Transparent.
o
Check the box to make a button transparent.
When finished, choose Save.
Can be used when creating visual scenes.
Change Label on Top
o
All buttons have the label on top by default.
o
Uncheck the box. Label will appear on the bottom of the button.
When finished, choose Save.


