7
A
X
ASSEMBLY INSTRUCTIONS
1.
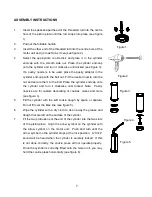
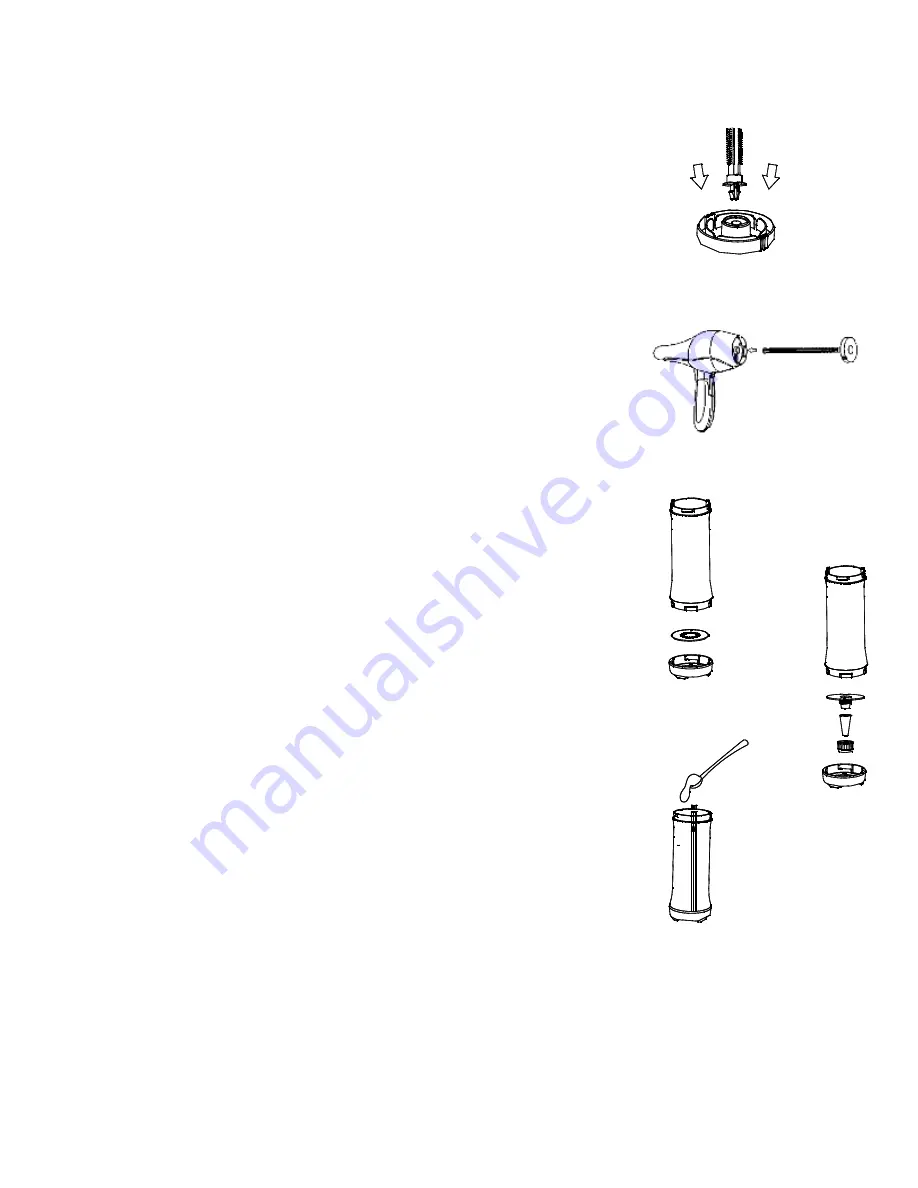
Insert the spear-shaped head of the threaded rod into the centre
hole of the piston plate until the rod snaps into place (see figure
1).
2.
Pull out the foldable handle.
3.
Insert the other end of the threaded rod into the centre hole of the
motor unit and go in as far as it can (see figure 2).
4.
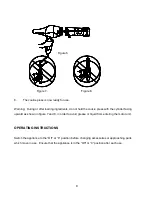
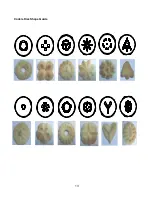
Select the appropriate cookie disk and place it in the cylinder
end-cap with the smooth side out. Place the cylinder end-cap
onto the cylinder and turn it clockwise until locked (see figure 3).
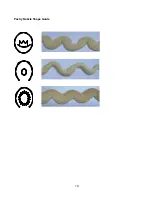
If a pastry nozzle is to be used, place the pastry adaptor in the
cylinder end-cap with the bolt out. Fit the desired nozzle into the
nut and secure them to the bolt. Place the cylinder end-cap onto
the cylinder and turn it clockwise until locked. Note: Pastry
nozzles are for custom decorating of cookies, cakes and more
(see figure 4).
5.
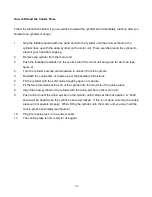
Fill the cylinder with the soft cookie dough by spoon or spatula.
Do not fill over the Max line (see figure 5).
6.
Wipe the cylinder with a dry cloth to clean away the grease and
dough that are left on the surface of the cylinder.
7.
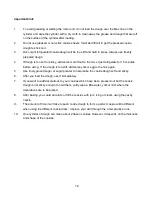
Fit the two protrusions at the end of the cylinder into the two slots
of the piston-plate. Align the arrow symbol on the cylinder with
the arrow symbol on the motor unit. Push and turn until the
arrow symbol on the cylinder stops at the lock position. A
“Click”
sound will be heard when the cylinder is securely locked. If this
is not done correctly, the cookie press will not operate properly.
Once the cylinder is correctly fitted onto the motor unit, you may
hold the cookie press horizontally (see figure 6).
Figure 1.
Figure 2.
Figure 3.
Figure 4.
Figure 5.


