OPERATION
The RT505TX is configured and adjusted
by the use of a minimal number of user
controls, and an intuitive user interface.
The backlit Liquid Crystal Display (LCD)
gives a highly visible, easily readable
indication of the programmable
thermostat status.
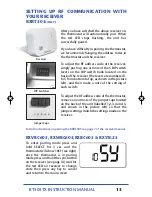
SETTING THE TIME
Press and hold SET and SELECT when the
RT505TX is in Normal mode for a few
seconds to enter the Clock setting mode.
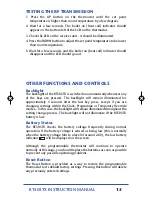
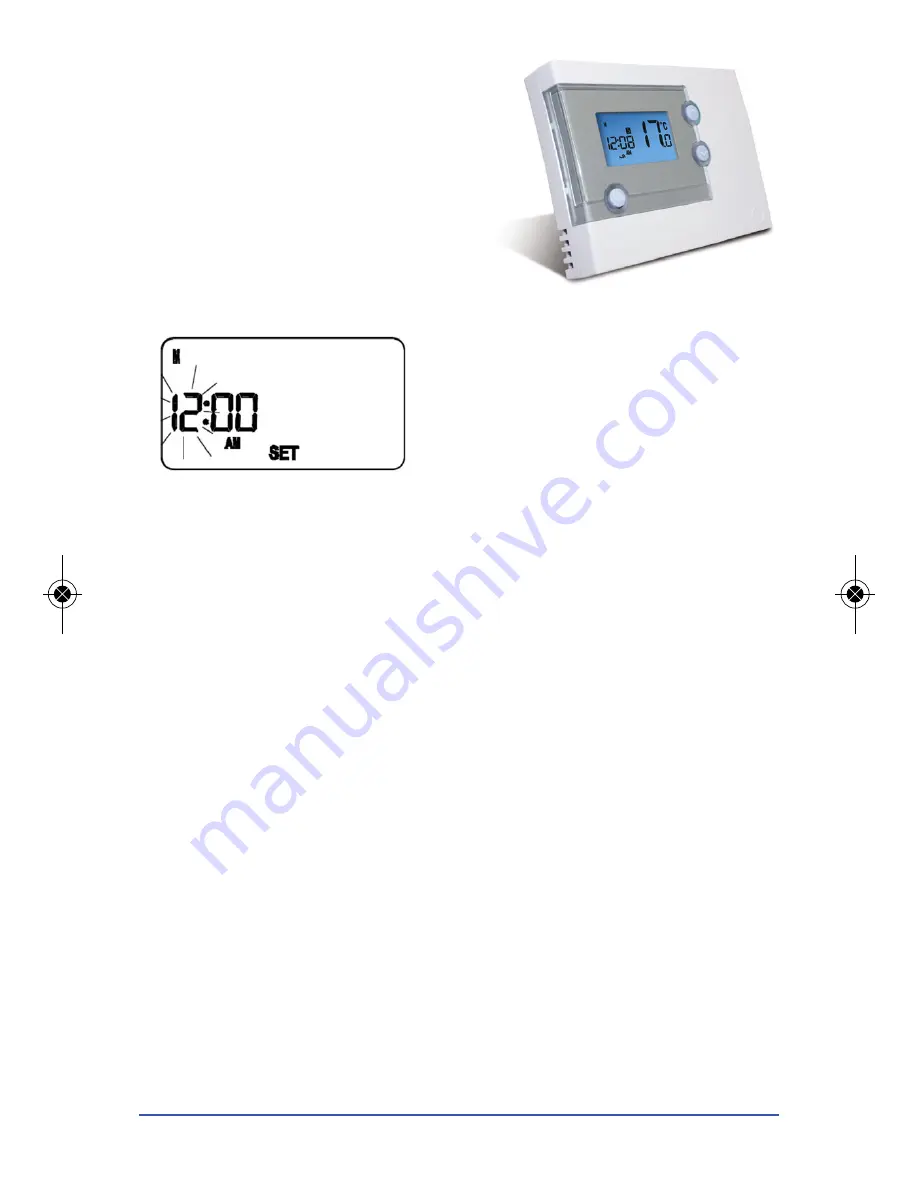
Release both keys and the display will
look like the image below:
The Time and Day are displayed along with a SET indicator, with all other
indicators cleared from the display. The hour part of the time is flashing
to indicate that it is the currently selected item and is ready to be
adjusted.
•
Press the UP or DOWN keys to increase or decrease the ‘hour’ setting
– the selected item will stop flashing while a key is pressed, and will
resume flashing when you release the key.
•
Press the SELECT key to select the ‘minutes’ section of the time. Set the
minutes in the same way as the hour by using the UP and DOWN keys.
•
Press SELECT again to select the Day, and again change the setting
with the UP and DOWN keys.
•
Press the SET key to confirm the new time and day settings. This will
store the changes and return the RT505TX to Normal mode.
The RT505TX thermostat will also return to Normal mode (and save the
clock settings) if no keys are pressed for more than 15 seconds.
RT505TX INSTRUCTION MANUAL
7
Salus RT505TX Manual Blue_89 12/03/2014 10:42 Page 7

