Step 3:
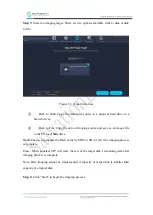
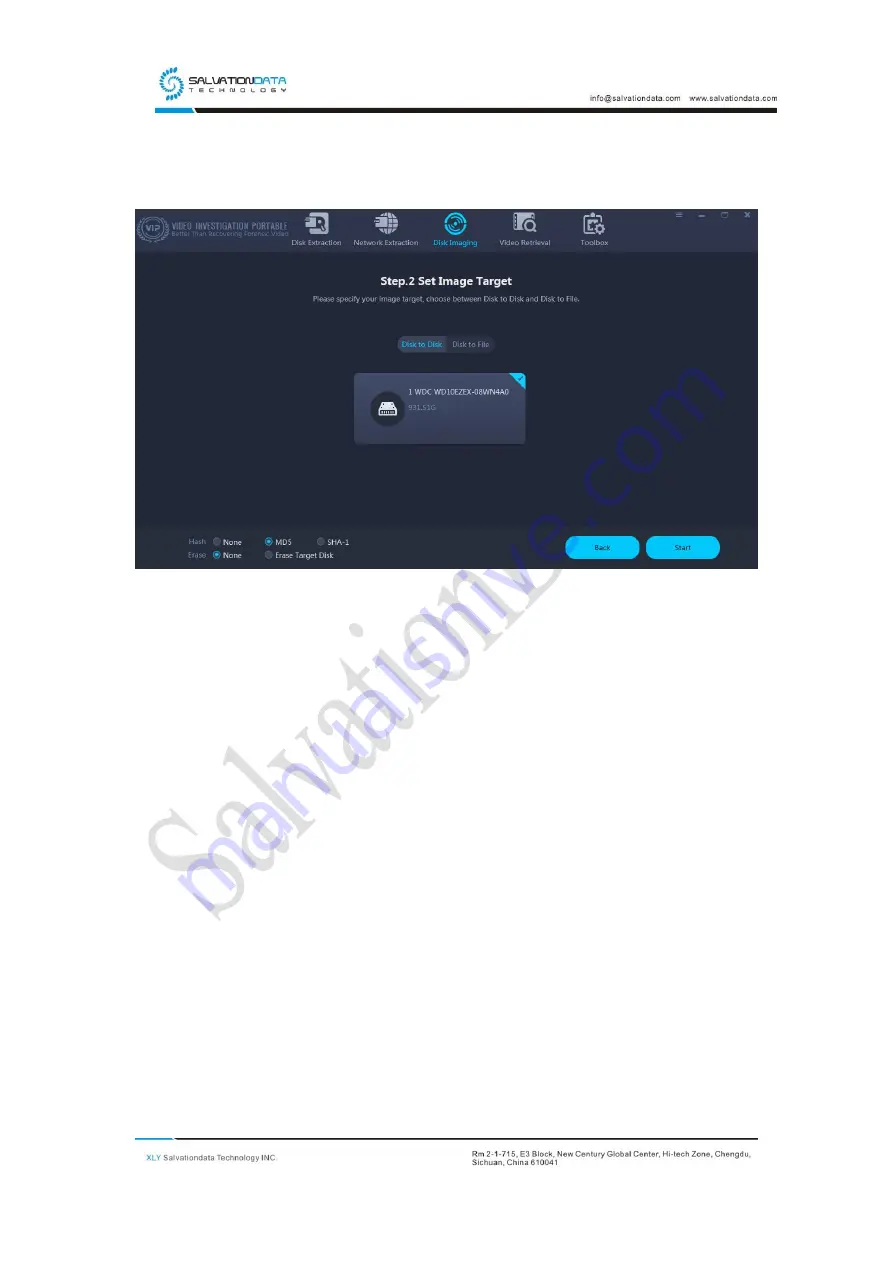
Select an imaging target. There are two options available, disk to disk or disk
to file.
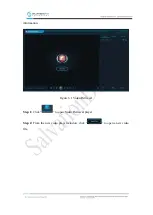
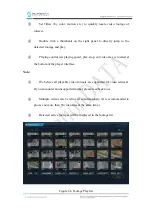
Figure 5.3 Target Selection
①
Disk to Disk: Copy the data from source to a physical hard drive in a
bit-to-bit way.
②
Disk to File: Copy the data of imaging source and save as an image file
in the PC local hard drive.
Hash: Choose to generate the Hash value by MD5 or SHA-1 after the imaging process
is complete.
Erase: When enabled, VIP will erase the rest of the target disk’s remaining data after
imaging process is complete.
Note: Data imaging cannot be implemented if capacity of target disk is smaller than
capacity of original disk.
Step 3:
Click “Start” to begin the imaging process.


