Doc.-ID: 160319-PT08BA-TG-ExCam IPQ1775 series_en_rev.01.docx, Seite 22 von 40
5.3
Testing of the status LED
Through the sight glass, the status LED is visible. Prior to finishing the installation pro-
cess and accessing the camera via the web interface, the proper functioning of the cam-
era should be tested. The booting process of the ExCam IPQ1775 may take up to one
minute. Additional LEDs for checking network activities or the bandwidth are only visible
when the housing is open.
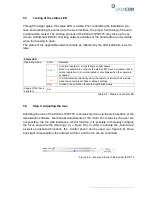
The status of the applicable network camera as reflected by the LED indicators is as fol-
lows:
Status LED
Operating mode
Color
Remarks
Green
At normal operation, a constant green light shows
Note: It is possible to configure the status LED in such a manner that in
normal operation it is not illuminated or only blinks when the camera is
accessed
Yellow
It is illuminated permanently when the camera is turned on as well as
when the camera is set back to default settings
Red
In case of an activation failure the light blinks slowly
Usage of the focus
assistant
n.a.
Table 6.4
– Status and control LED
5.4
Step 3: Adjusting the lens
Adjusting the lens of the ExCam IPQ1775 is exclusively done via the web interface or the
visualization software. Mechanical adjustments at the motor zoom lens by the user are
not possible.
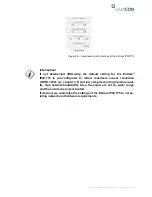
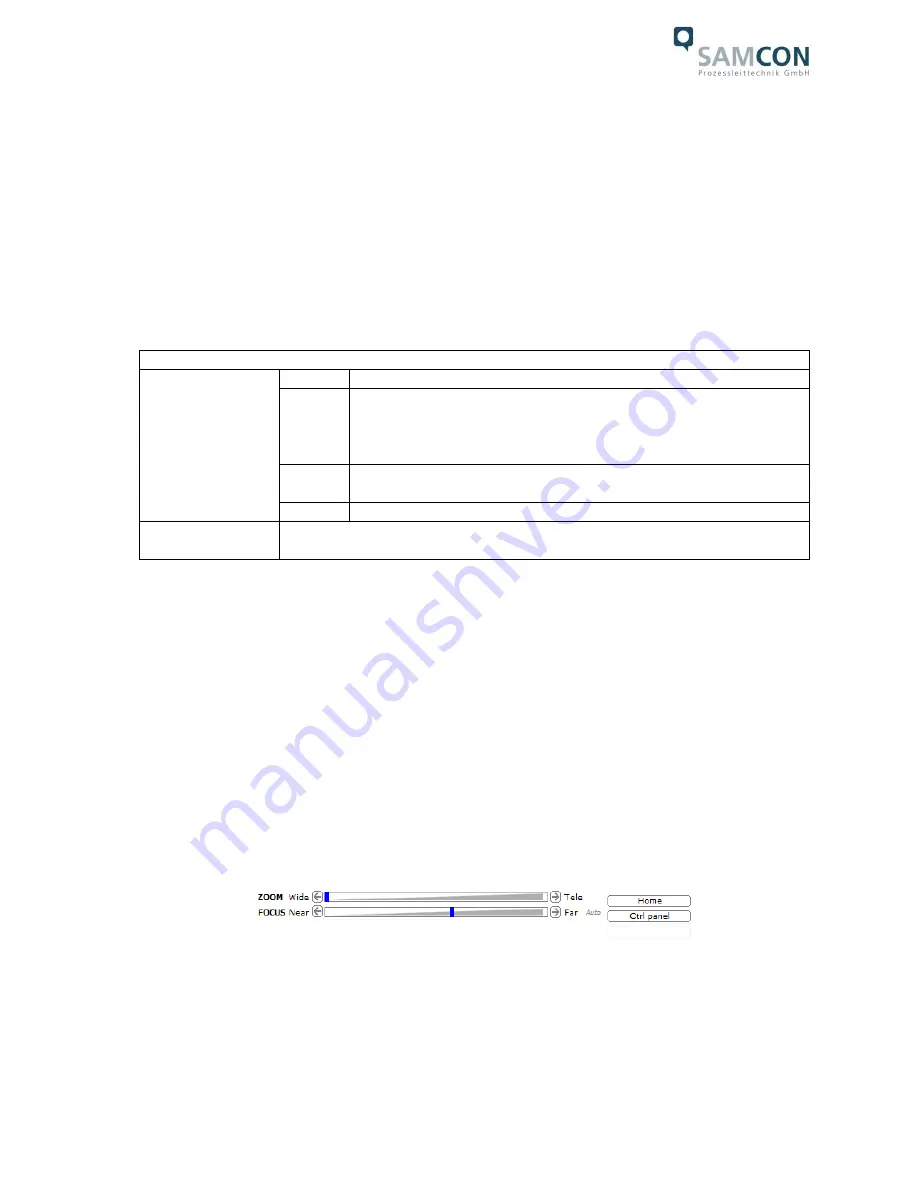
Via the web interface’s control function, it is possible to manually configure
the focus as well as the tele range, (q.v. figure 6.8). In order to activate the
„Auto focus“
as well as advanced functions, the
„Control panel“ can be used (q.v. figure 6.9). Here,
back light compensation, the infrared cut filter, and the iris can be controlled.
Figure 6.8
– Zoom and focus of the ExCam IPQ1775


