


Index revision : D - March 2018
42
7115
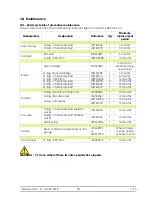
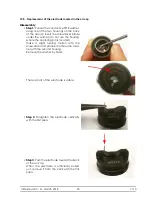
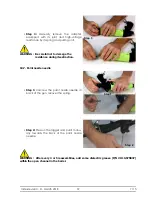
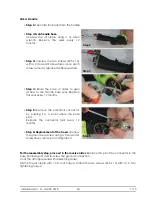
10.12. High-voltage cascade
•
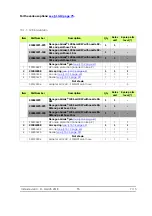
Step 1:
Remove the trigger
, and remove the paint nozzle needle.
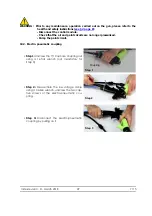
•
Step 2:
Unscrew the 4 screws using a 2-mm
crosspoint screwdriver while holding the bar-
rel on the handle.
Note: Each time a screw is disassembled,
replace the fibre washers as well (P/N #
J4BRND039).
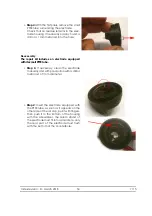
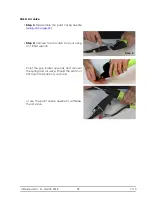
•
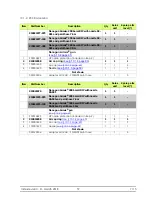
Step 3:
Manually unscrew or by using a small
flat pliers the three cascade connection
wires, then carefully pull the contacts
towards the back.
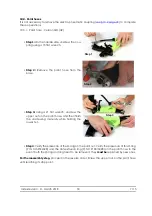
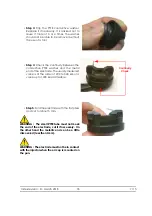
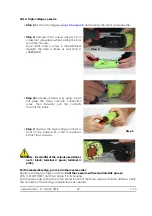
•
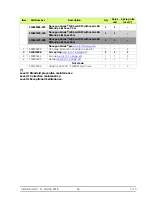
Step 4
: Unscrew the high-voltage contact in
front of the barrel with a flat screwdriver.
Extract the cascade.
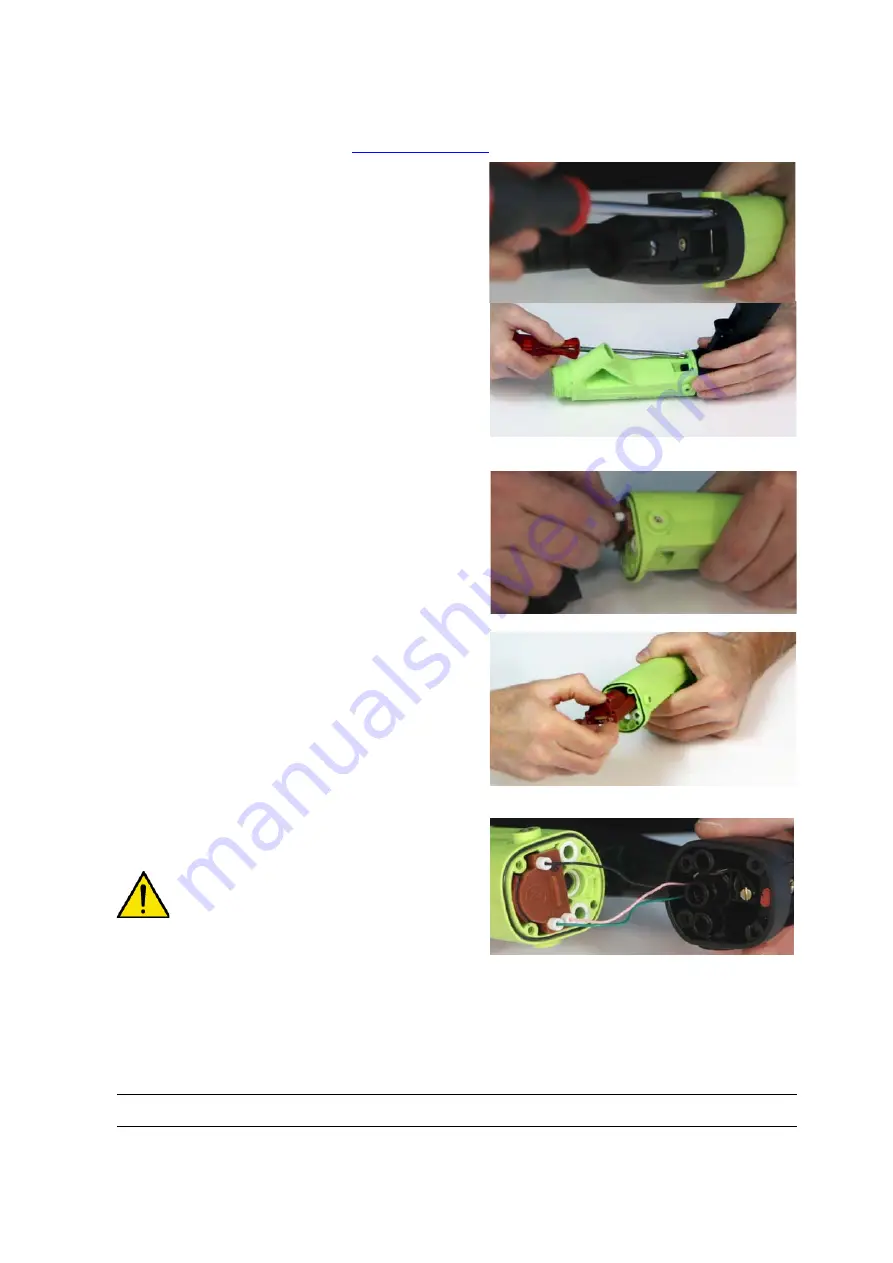
WARNING : Be mindful of the colours used (termi-
nal 1: black; terminal 2: green; terminal 3:
pink).
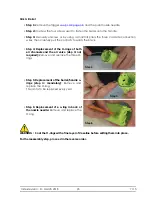
For the reassembly step, proceed in the reverse order.
Replace the high-voltage cascade.
Coat the cascade with some dielectric grease
(P/N # H1GSYN037) and then place it in its housing.
Push the cascade until its stop in the barrel. Connect the three wires and clamp all three. Verify
the condition of the O-rings, replace them as needed.
Step 3
Step 4
Step 2
1
2
3


