


Index revision : D - March 2018
68
7115
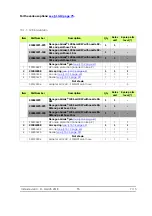
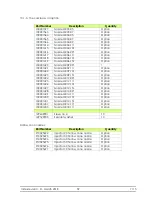
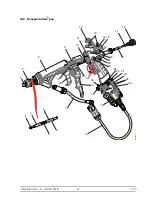
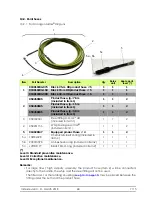
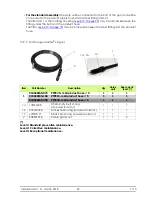
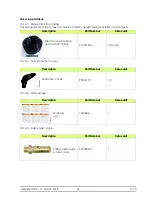
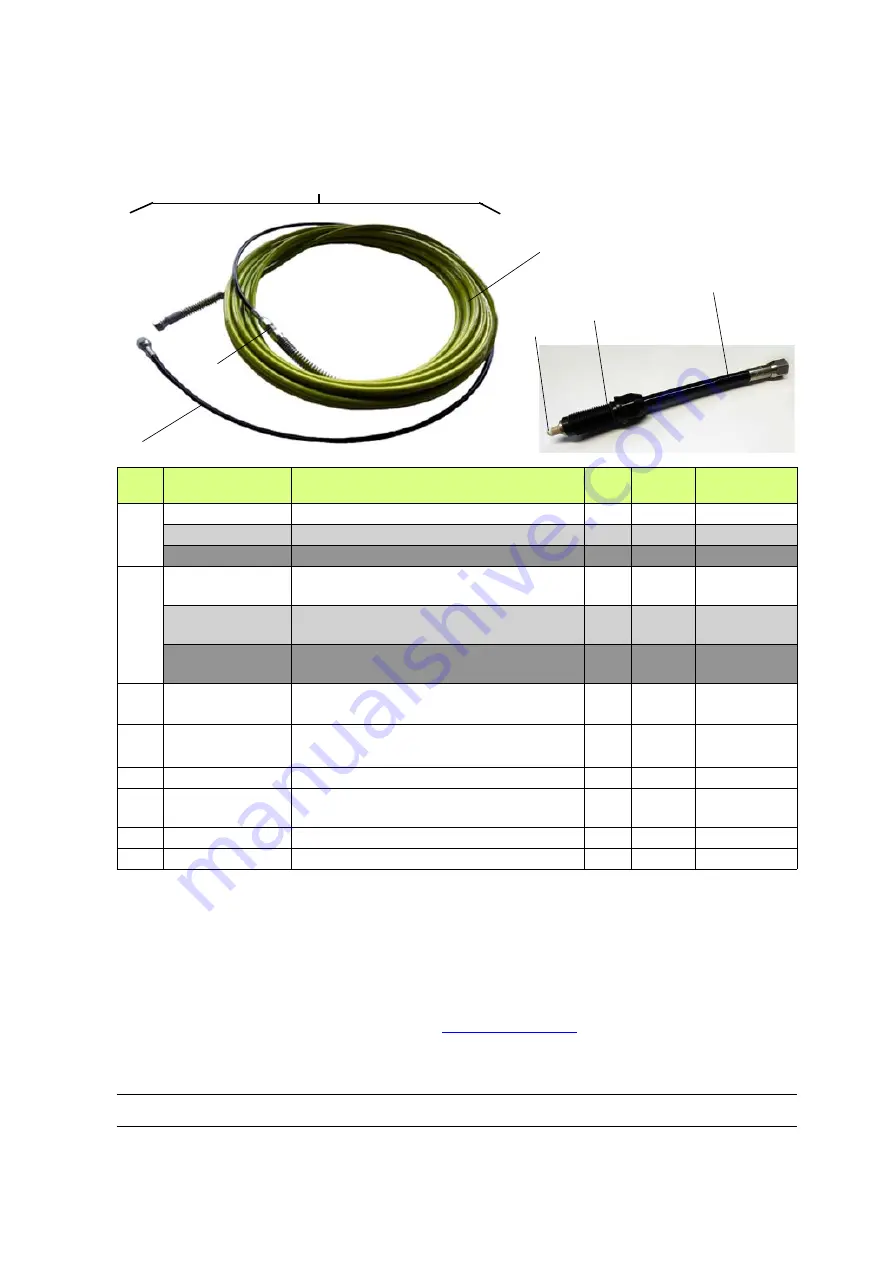
13.9. Paint hoses
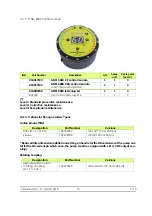
13.9.1. For Nanogun Airmix
®
HR guns
(*)
Level 1: Standard preventive maintenance.
Level 2: Corrective maintenance.
Level 3: Exceptional maintenance.
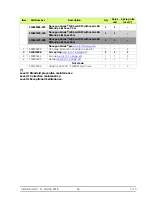
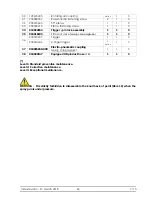
Remarks:
•
For large flow / high viscosity assembly: the product hose (Item 2) will be connected
directly to the handle, the whip and the steel fitting will not be used.
The filter and / or the rotating coupling
(
)
may be placed between the
fitting under the butt and the product hose.
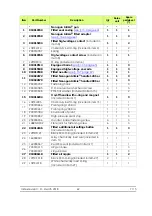
Item
Part Number
Description
Qty
Sales
unit
Spare parts
level (*)
1
910019204-075
Black 7.5-m HR product hose
∅
5
1
1
1
910019204-150
Black 15-m HR product hose
∅
5
1
1
1
910019204-300
Black 30-m HR product hose
∅
5
1
1
1
2
050450605
Product hose, lg.: 7.5 m
(included in item 1)
1
1
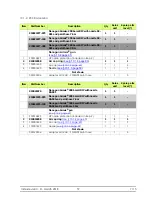
2
050450605
Product hose, lg.: 15 m
(included in item 1)
1
1
2
050450605
Product hose, lg.: 30 m
(included in item 1)
1
1
2
3
050102301
Steel fitting MM 1/2
″
JIC
(included in item 1)
1
1
2
4
050451155
Whip Nanogun Airmix
®
(included in item 1)
1
1
2
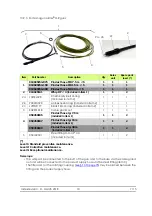
5
910020147
Equipped product hose
∅
4
1
1
2
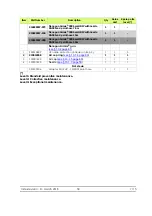
5a
J3STKL028
Chemically inert O-ring (included in
item 2)
1
1
1
5b
900013398
Anti-extrusion ring (included in item2)
1
1
1
5c
J2FTDF177
Black FKM O-ring (included in item 2)
1
1
1
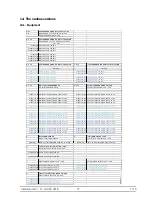
1
2
3
4
5
5a - 5b
5c