background image

CONTENTS 

 
Wearable,


USB  magnetic  charging  cable,  screwdriver, 

instruction manual. SIM is not included. 

NOTE

: Please do not throw away the tag of the IMEI Code & 

Register Code which hangs on the watchband. Keep the tag 
in the gift box and keep the gift box. 

 
CHARGING   
 

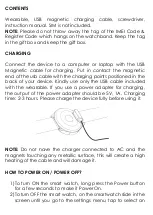
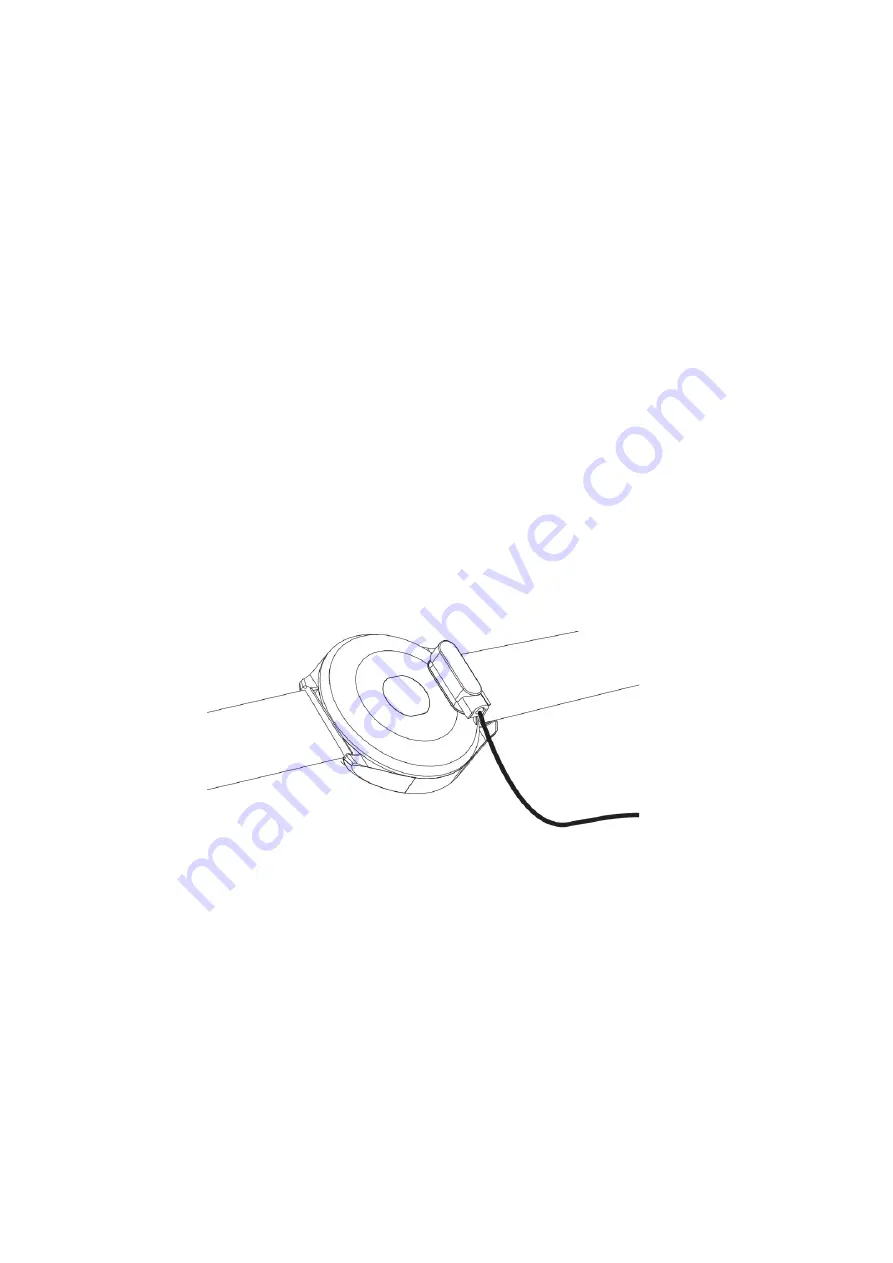
Connect  the  device  to  a  computer  or  laptop  with  the  USB 
Magnetic  cable  for  charging.  Put  in  contact  the  magnetic 
end of the usb cable with the charging points positioned in the 
back  of  your  device.  Kindly  use  only  the  USB  cable  included 
with  the  wearable.  If  you  use  a  power  adapter  for  charging, 
the output of the power adapter should be 5V, 1A. Charging 
time: 2-3 hours. Please charge the device fully before using it. 


NOTE: 

Do  not  have  the  charger  connected  to  AC  and  the 

magnets touching any metallic surface, this will create a high 
heating of the cable and will damage it.


HOW TO POWER ON / POWER OFF?


1)


To turn ON the smart watch, long press the Power button 
for a few seconds to make it Power On.   

2)


To turn OFF the smart watch, on the smartwatch slide in the 
screen until you go to the settings menu, tap to select an 

Summary of Contents for WEARABLE WS-2352

Page 1: ...2 Read the instructions carefully to obtain optimum results and preserve it for future reference Sami has developed wearable devices since 2015 and we use the best components possible for the product...

Page 2: ...back of your device Kindly use only the USB cable included with the wearable If you use a power adapter for charging the output of the power adapter should be 5V 1A Charging time 2 3 hours Please char...

Page 3: ...to light up light off the display screen short press the Power Button to return to home screen interface Long press the Power Button to make the smart watch Power On SOS 4 The SOS function Long press...

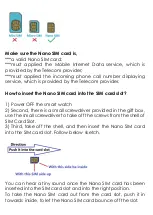
Page 4: ...r OFF the smart watch 2 Second there is a small screwdriver provided in the gift box use the small screwdriver to take off the screws from the shell of SIM Card Slot 3 Third take off the shell and the...

Page 5: ...the new account to log on the SeTracker Before you log in the SeTracker the Area you must select is Europe and Africa It will be displayed on the Log on interface of the SeTracker Step Five At SeTrack...

Page 6: ...which its SIM Card has been inserted in the smartwatch Step Eight At SeTracker tap the HOME icon which is situated at the bottom left side tap the Phonebook icon which is on the upper part of the inte...

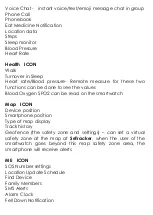
Page 7: ...done to see the values Blood Oxygen SPO2 can be read on the smartwatch Map ICON Device position Smartphone position Type of map display Track history Geofence the safety zone and settings can set a vi...

Page 8: ...vice List wearable devices which have been bind with this smartphone Change Password Message Restore Default Settings Remote Restart Remove Advertisements Delete Account Exit PRODUCT FEATURES AND FUNC...

Page 9: ...Time Date Dial Voice Chat Time Phone Contact Video Call Voice Chat Steps Health test Heart Rate Blood Pressure and SPo2 Temp Body temperature test Camera Gallery Album Sedentary sedentary reminder Set...

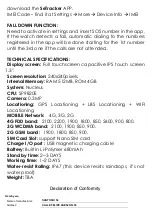
Page 10: ...on 240x240pixels Internal Memory RAM 512MB ROM 4GB System Nucleus CPU SP9820E Camera 0 3MP Locationing GPS Locationing LBS Locationing WIFI Locationing MOBILE Network 4G 3G 2G 4G FDD band 2100 2200 19...

Page 11: ...U RoHS Restriction of Hazardous Substance Amendment RoHS Directive EU 2015 863 Battery Directive 2006 66 EC and amendment 2013 56 EU with reference to the following standards applied Health Safety EN...

Reviews: