background image

AM

S

O

N

R

2

1

5

Operating the S monitor

Setting Up the S monitor

The basic procedure for setting up and using your S monitor is simple and takes only a
few minutes. Remove all packing materials (save them in case of need for future service)
and check to make sure that you remove the supplied AC power adapter.

Set the S monitors control knobs to the following
default positions: all off.

Powering  the S monitor

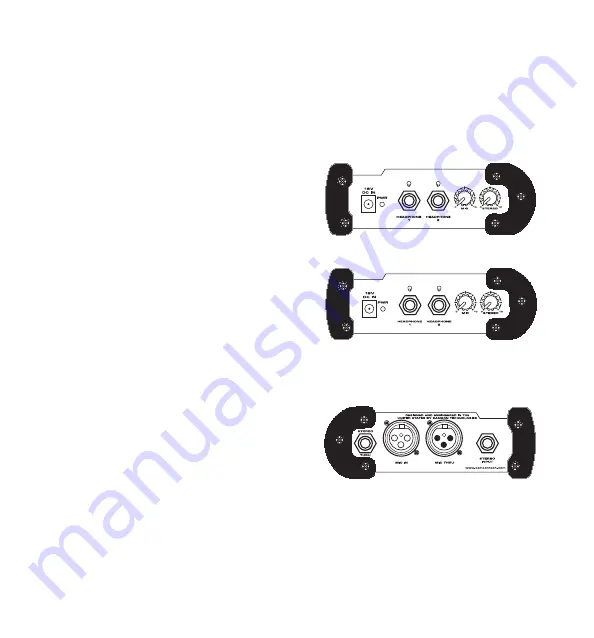
Connect the supplied AC/DC adapter to the 18V
DC Power Input on the rear panel of the S moni-
tor then plug the adapter into any standard AC
outlet.

Connecting a Microphone to the S monitor

Follow the steps below to connect your micro-
phone to the S monitor and then  to your main
mixer.

Connect your microphone to the S monitor’s MIC input using a standard balanced XLR
microphone cable.

Using a second standard microphone cable, connect the S monitor’s MIC THRU output to
the input on your main mixer.

Summary of Contents for S-Monitor

Page 1: ...PERSONAL MONITOR MIXER HEADPHONE AMP S C l a s s S i g n a l P r o c e s s o r s...

Page 2: ...ing the S monitor 5 7 Specifications 8 Wiring Guide 8 Copyright 2003 Samson Technologies Corp Printed January 2003 Samson Technologies Corp 575 Underhill Blvd P O Box 9031 Syosset NY 11791 9031 Phone...

Page 3: ...he balance between mic and mix that s just right for you Two powerful headphone outputs on 1 4 inch connectors are included so you can share your personal mix with someone else And just because this u...

Page 4: ...s E MIC VOLUME Control knob used to adjust the level of the MIC input signal F MIX VOLUME Control knob used to adjust the level of the Stereo input sig nal 1 STEREO THRU 1 4 inch TRS TIP RING SLEEVE c...

Page 5: ...owing default positions all off Powering the S monitor Connect the supplied AC DC adapter to the 18V DC Power Input on the rear panel of the S moni tor then plug the adapter into any standard AC outle...

Page 6: ...er clockwise position The S monitor is small but powerful It can generate loud signal levels into the connected headphone We recommend that you exercise extreme caution and care for your ears They re...

Page 7: ...pendent level control for mic and stereo monitor mix Mic THRU to Mixer Mix THRU to additional S monitors Stereo monitor mix from Mixer SAM SO N R 2 1 Rear View SIGNAL FLOW SIGNAL FLOW SIGNAL FLOW SIGN...

Page 8: ...Response 10 Hz to 93 kHz Noise Level 100 dBu THD N 0 004 Input Impedance 10 kOhm Output Impedance 100 Ohm Stereo Input 1 4 jack unbalanaced Mix Thru 1 4 jack unbalanaced S monitor Specifications cont...

Reviews: