ŝ
39
Ş
ƃ
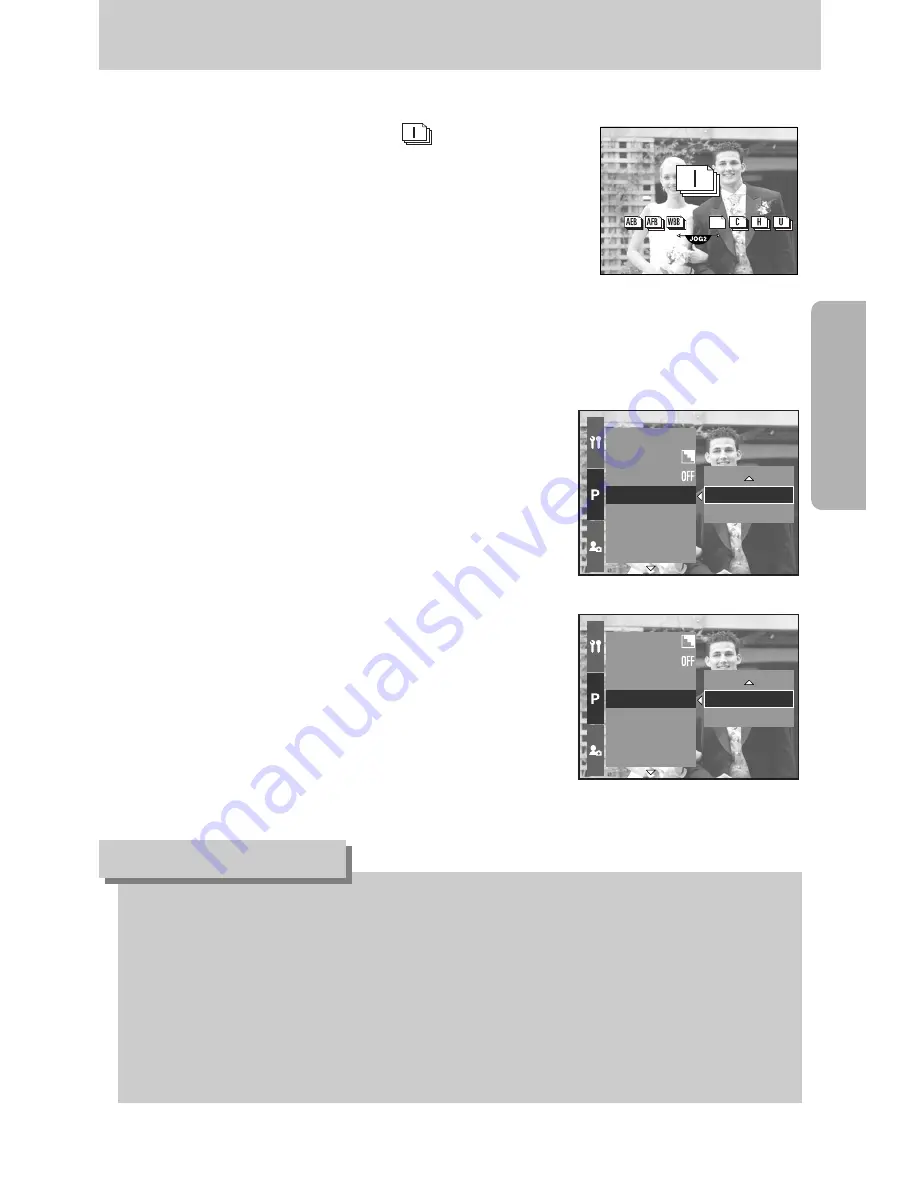
How to use the interval shooting
1. Select the Interval shooting icon [ ] by rotating
the Rear jog dial (JOG2).
2. Press the shutter button to capture an image.
Images are taken at a set interval.
- After taking a picture, the camera power is turned off
automatically.
- After a set time, the camera power is turned on
automatically and the second image is taken.
- Images are taken up to a set number of shots at fixed intervals.
3. After completing the interval shooting, the camera power is turned off automatically.
ƃ
How to set the interval shooting
1. Press the Menu button and select the [P] menu tab.
2. Press the Right button and select the [Interval/Time]
menu by pressing the Up/ Down button.
3. Press the Right button and select a desired menu
by pressing the Up/ Down button.
- Interval time : 1 ~ 60 Min. (per interval)
4. Press the OK button to set the setting.
5. Select the [Interval/Number] menu.
6. Press the Right button and select a desired menu
by pressing the Up/ Down button.
- the interval can be set to any number of shots between
2 and 99.
7. Press the OK button to set the setting.
ƃ
If you press the power button during the interval shooting (camera power is off),
the interval shooting is cancelled.
ƃ
You can’t select the interval shooting in the Auto recording mode and movie clip mode.
ƃ
If you select RAW, TIFF file format, you can’t select the interval shooting.
ƃ
You can set the number of interval shots over number of shots remaining but the images
are taken to the number of shots remaining.
ƃ
We recommend that you use a fully charged battery or AC adapter when you take the
interval shots.
INFORMATION
Saturation
Sharpness
Voice Memo
Interval/Time
Interval/Number
Custom
Color Space
1
min
Sharpness
Voice Memo
Interval/Time
Interval/Number
Custom
Color Space
Save Myset
2 pics
[ Selecting the interval time ]
[ Selecting the number of interval shots ]
Drive button


