ŝ
40
Ş
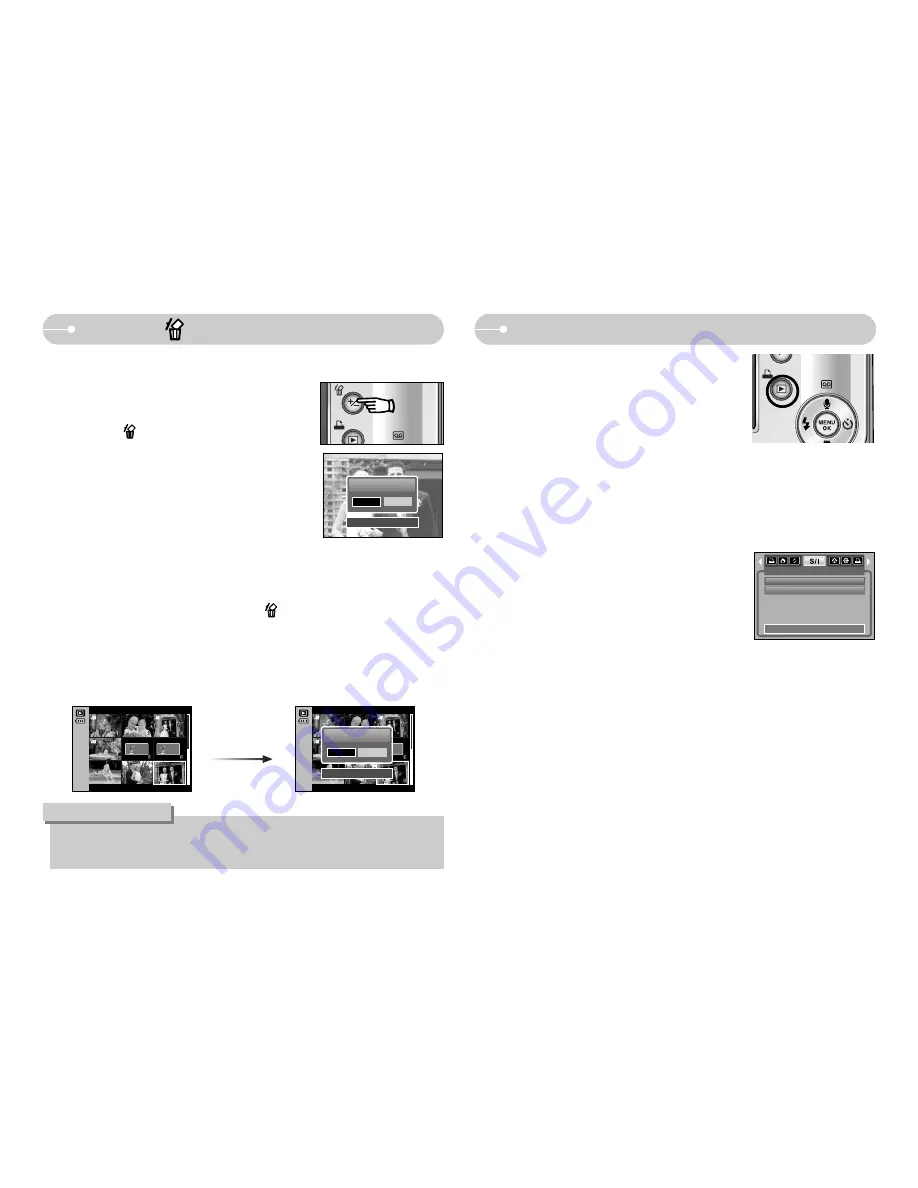
Delete ( ) button
Printer button
ƈ
If you select [Computer] sub menu in the [USB]
setup menu, [Connecting Computer] message will
display when you connect the camera to your
printer and the connection will not be established.
In this case, press the Printer button. [Connecting
Printer] message will display and the Easy printing
mode will be selected.
* In some instances the camera may not connect to the printer, this will depend on
the make of the printer.
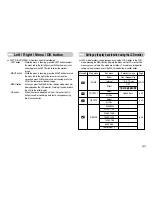
- After the connection, the Easy printing menu
will display on the LCD monitor.
To display the PictBridge menu, press the
Menu button. For more information about the
PictBridge menu, refer to page 49.
ƈ
This deletes images stored on the memory.
ƃ
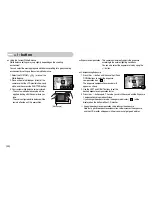
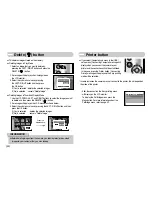
Deleting Images in Play Mode
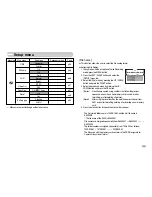
1. Select an image that you want to delete by
pressing the LEFT / RIGHT button and press the
DELETE( ) button.
2. A message will display as shown alongside on
the LCD monitor.
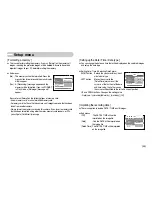
3. Select the sub menu values by pressing
the LEFT / RIGHT button and then press
the OK button.
If [Yes] is selected : deletes the selected images.
If [No] is selected : cancels "Delete Image".
ƃ
Before deleting images from the camera, you should protect or download
images to your computer that you wish to keep.
INFORMATION
ƃ
Deleting Images in Thumbnail Display Mode
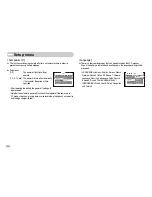
1. Use the UP, DOWN, LEFT, and RIGHT buttons to select the image you want
to delete, and then press the DELETE ( ) button.
2. A message will display on the LCD monitor as shown below.
3. Select the sub menu values by pressing the LEFT / RIGHT button and then
press the OK button.
If [Yes] is selected
: deletes the selected images.
If [No] is selected
: cancels "Delete Image".
Delete?
Yes
No
Confirm:OK
Delete?
Yes
No
Confirm:OK
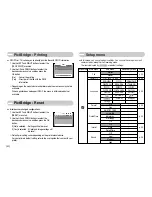
Press the
delete button.
IMAGES
One Pic
All Pics
Exit:MENU
Move:

