6
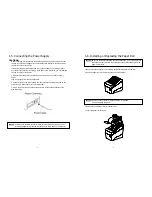
1-2. Connecting the Cables
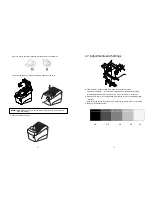
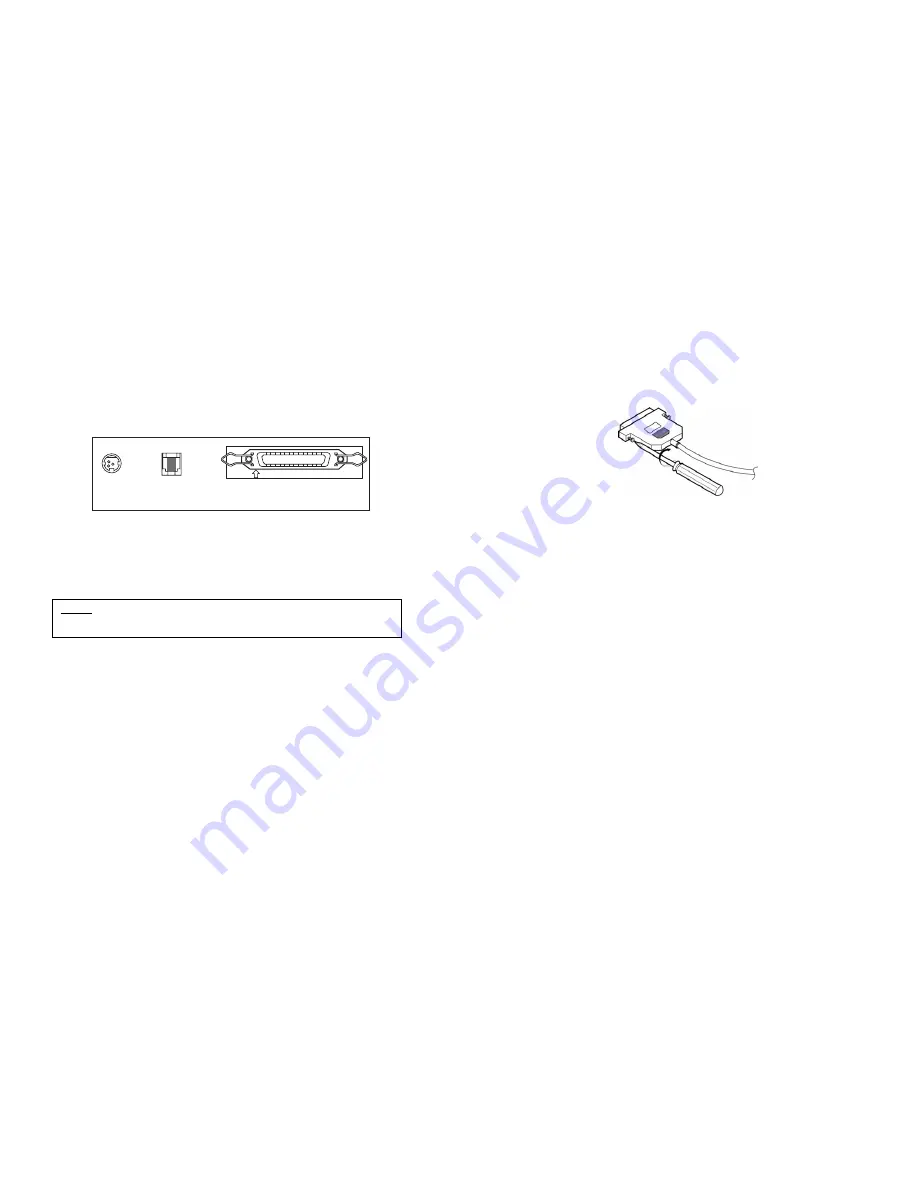
You can connect up the three cables to the printer. They all connect to the connector
panel on the back of the printer, which is shown below:
POWER
DK
PARALLEL
Notes :
Before connecting any of the cables, make sure that both the printer and the
host are turned off.
Power
Supply
Connector
Drawer
Kick-out
Connector
Interface Connector
7
1-3. Connecting the computer
You need an appropriate interface cable.
1. Plug the cable connector securely into the printer’s interface connector.
2. Tighten the screws on both sides of the cable connector.
3. Attach the other end of the cable to the computer.
1-4. Connecting the Drawer
WARNING:
Use a drawer that matches the printer specification. Using an improper drawer may
damage the drawer as well as the printer.
CAUTION:
Do not connect a telephone line to the drawer kick-out connector; otherwise the
printer and the telephone line may be damaged.
Plug the drawer cable into the drawer kick-out connector on the back of the printer
next to the power supply connector.
Summary of Contents for 2 COLOR THERMAL PRINTER SRP-370
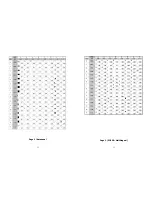
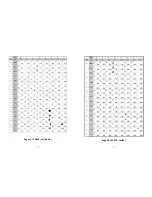
Page 11: ...20 Page 1 Katakana 21 Page 2 PC850 Multilingual ...
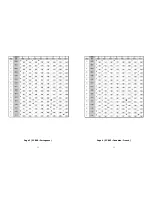
Page 12: ...22 Page 3 PC860 Portuguese 23 Page 4 PC 863 Canadian French ...
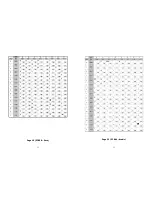
Page 13: ...24 Page 5 PC 865 Nordic 25 Page 16 WPC1252 Latin 1 ...
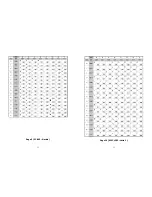
Page 14: ...26 Page 17 PC866 Cyrillic 2 27 Page 18 PC852 Latin2 ...
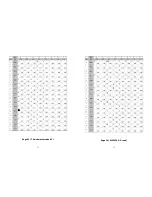
Page 15: ...28 Page 19 PC858 Euro 29 Page 22 PC864 Arabic ...
Page 16: ...30 Page 23 Thai character code 42 31 Page 24 WPC1253 Greek ...
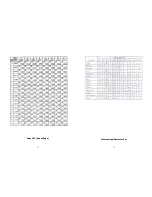
Page 17: ...32 Page 28 WPC1251 Cyrillic 33 Page 29 PC737 Greek ...
Page 18: ...34 Page 255 Space Page 35 International Character Set ...

