background image

ENG-7

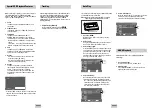
Basic Connections/Auto Setup

ENG-6

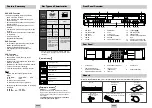
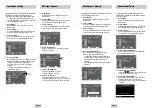
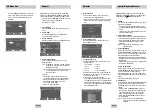
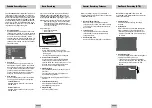
Insert Batteries into Remote

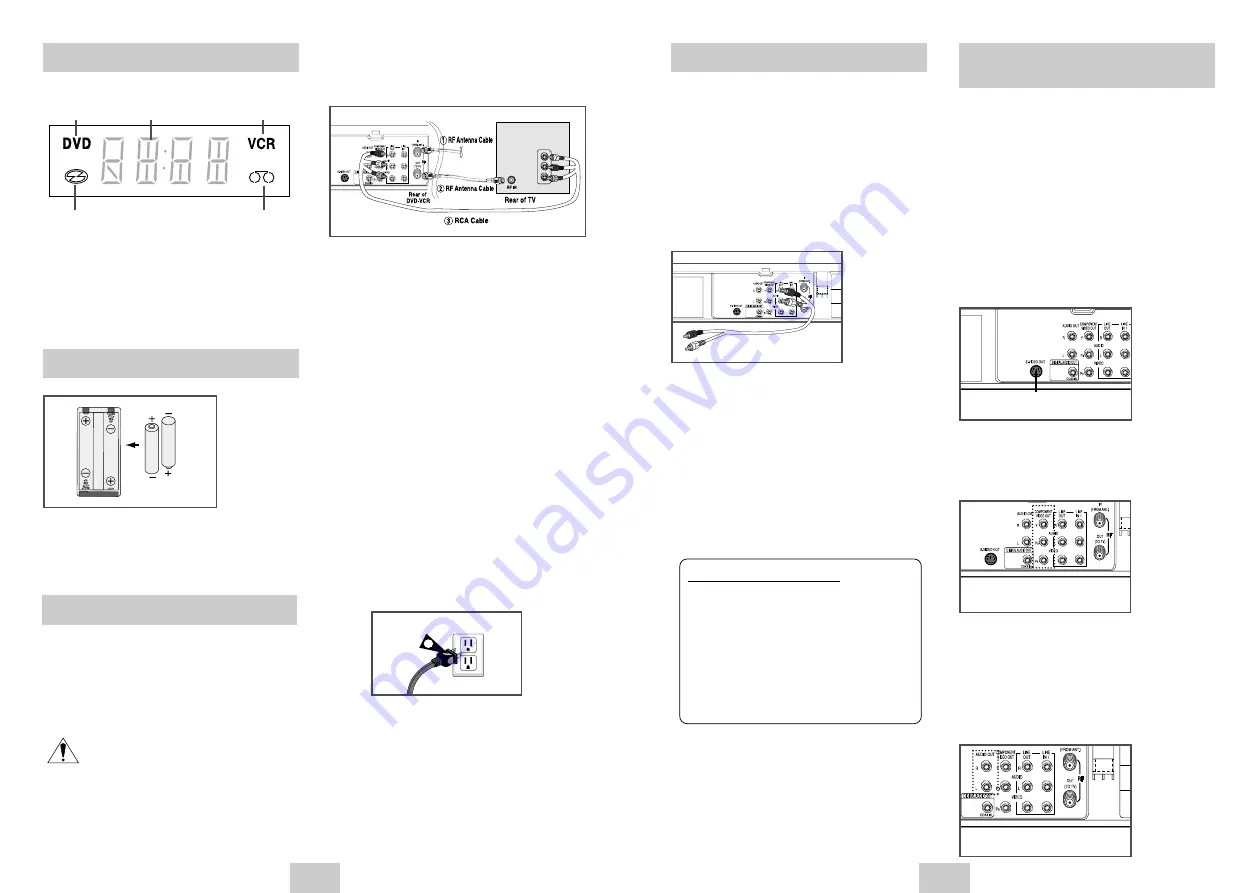
Front Panel Display

• Remove the battery cover on the remote
• Insert two 1.5V “AAA” batteries as shown, 

making sure of the correct pola/-)

• Slide the cover back onto remote.

4       

1                             2   

1

When the light is on, DVD is operating.

2

The time, counter position, time remaining or 
current deck status is indicated.

3

VCR is activated.

4

DVD or CD media is loaded.

5

VHS videotape is loaded.

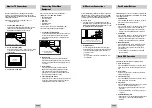
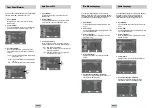
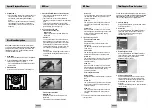
S-Video/Component Video
Connections (for DVD)

Use the S-Video or Component Video connection

method only for the DVD player. The VCR can still be

viewed through line input mode on your TV.

To activate your alternative (S-Video or Component)

video selection, follow the “Alt Video Out” instructions

on page 19. Keep in mind that you can choose either 

S-Video or Component only, but not both. A superior

video quality can be obtained when watching a DVD

on your DVD-VCR if your TV is equipped with S-Video

or Component Video inputs.

1

Connect S-Video Out to TV
Using an S-Video cable, connect the S-VIDEO OUT
on the rear panel of your DVD-VCR to the S-Video 
Input on your TV.

2

Connect Component Video Out to TV
Using a component video cable, connect the 
COMPONENT VIDEO OUT (Y, Pb, Pr) on the rear 
panel of your DVD-VCR to the  Component Video 
Input on your TV. .

3

Connect Audio Out (DVD only)
Using RCA audio cables, connect the LEFT/RIGHT
Line Out jacks on the rear panel of your DVD-VCR 
to the LEFT/RIGHT Audio Line In jacks on your TV.
• When connecting your DVD-VCR to a TV with the

S-Video or Component Video Output, make sure 
that you use these Line Out jacks. 

• To activate your connection, see “Alt Video Out” 

on page 19.

To S-Video Input on Your TV

To Component Video Input 

on Your TV

To Left/Right Audio Inputs 

on Your TV

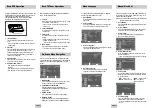
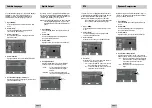
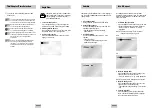
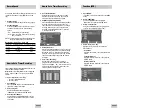
Stereo Connections

You can connect your DVD-VCR to your home stereo

system or stereo TV and enjoy stereo sound when

watching a movie or TV.

1

Connect DVD-VCR to Stereo
Using RCA cables, connect the Line Out Left and 
Right Audio jacks on the rear panel of the DVD-VCR 
to the Auxiliary Inputs on your stereo receiver. 
Connect the Video Output also in case you are using 
a stereo TV.

2

Set Stereo to Auxiliary Mode
Set your stereo receiver or TV to either “Aux” or 
“Tape” regardless of which line input you are using for
your particular device.

3

Play a Tape
Insert a DVD or Hi-Fi stereo videotape into your 
system. Be sure to adjust the volume on your stereo 
receiver or TV. Audio will be heard through your 
stereo speakers
• If there is no stereo sound even after you have 

inserted a Hi-Fi stereo videotape, press the AUDIO
button until “Hi-Fi” appears on the on-screen display.

4

Turn On your DVD-VCR
Turn on the power by pressing the POWER button 
on the remote control or on the front panel of the 
unit.

5

Turn On your TV
Turn on the TV by pressing the POWER button on 
the TV remote control.

6

Set the TV to Line
Set your TV to its Line Input.

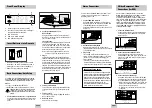
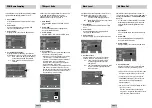
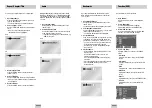
You will need to connect the DVD-VCR to a TV and run

Auto Setup. The Auto Setup will automatically search for

channels and then set your DVD-VCR's internal clock.
NOTES:
• See page 7 for Advanced Connections.
• Standard RF or Line connection between  your TV

and DVD-VCR are required to run DVD-VCR

setup menu, even if you connect S-Video or

Component Video Output for a better picture

quality.

1

Connect the RF Antenna Cable 

to your DVD-VCR

Connect an external indoor/outdoor antenna or wall
outlet antenna cable to the Ant-In jack on the rear 
panel. 

3

2

Connect your DVD-VCR to a TV

RF Connection
Using the RF antenna cable

, connect the OUT

jack (TO TV) on the rear panel of your DVD-VCR to
your TV’s Antenna Input.

Line Connection
Using an RCA-type audio/video cable

(red, white,

yellow), connect the LINE OUT jacks on the rear 
panel of your DVD-VCR to your TV's Line In jacks. 
Use the three cables as follows: red for right audio, 
white for left audio, and yellow for video.

Note: If your TV is equipped with RCA jacks, it is

better to use the Line Connection method. 

3

Plug In
Your DVD-VCR's power should be plugged into a 
standard 120V/60Hz wall outlet. Avoid pressing any
buttons on the remote control or on the unit during 
an Auto Setup. While your DVD-VCR is running an 
Auto Setup, “AUTO” will blink. When Auto Setup is 
complete, the current time will be displayed on the 
front panel displayed. In case Auto Clock set fails to
locate a channel to set the clock, you should set 
the clock manually. See page 11.

LINE INPUT

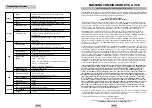
PROGRESSIVE SCAN NOTICE

Consumers should note that not all high definition
television sets are fully compatible with this product
and may cause artifacts to be desplayed in the
picture. In case of 525 progressive scan picture
problems, it is recommended that the  user switch
the connection to the “standard definition”output. If
there are questions regarding our TV  set
compatibility with this model 525p  DVD player.
please contact our customer center.

Summary of Contents for 2004KAISER2

Page 1: ...Instruction Manual DVD V4600 www samsungusa com ...

Page 2: ...o blades and a third grounding prong The wide blade or the third prong are provided for your safety If the provided plug does not fit into your outlet consult an electrician for replacement of the obsolete outlet 10 Protect the power cord from being walked on or pinched particularly at plugs convenience receptacles and the point where they exit from the apparatus 11 Only use attachments accessorie...

Page 3: ...corded as a Digital Signal with better audio quality less distortion and less deterioration of audio quality over time 5 74 min 31 2 Single sided 80 min Double sided 160 min 31 2 20 min It may not be to play CD R CD RW and DVD R in all cases due to the type of disc or condition of the recording Disc Markings Play Region Number DIGITAL SOUND STEREO NTSC Play Region Number NTSC broadcast system in U...

Page 4: ... Hi Fi stereo videotape into your system Be sure to adjust the volume on your stereo receiver or TV Audio will be heard through your stereo speakers If there is no stereo sound even after you have inserted a Hi Fi stereo videotape press the AUDIO button until Hi Fi appears on the on screen display 4 Turn On your DVD VCR Turn on the power by pressing the POWER button on the remote control or on the...

Page 5: ... bypass the DVD VCR s built in Dolby Digital Decoder Use the Digital Audio Out connection below 1 Digital Audio Out Connect a digital coaxial cable from the Digital Audio Out jack on the rear panel of the DVD VCR to the corresponding Digital Audio Input jack on your A V Receiver Coaxial Use whichever connection is available on your A V Receiver To Digital Audio Input of an A V Receiver with a Dolb...

Page 6: ...to the VCR deck and press the PLAY button You can turn on the Auto Play to enable the VCR deck to play automatically when you insert a videotape that is missing the Record Safety Tab See page 29 1 Insert VHS Tape Insert a standard VHS videotape into the VCR deck When a videotape is inserted power will turn on automatically 2 Play Tape Press the ll PLAY PAUSE button on the remote control or on the ...

Page 7: ...MENU With the DVD in Stop or Play mode press the MENU button 2 Select SETUP Using the UP DOWN buttons move the selection bar to Setup then press ENTER to select 3 Select Channel Using the UP DOWN buttons move the selection bar to Channel then press ENTER to select 4 Select RF Output CH Move the selection bar to RF Output CH then press right to change 5 Change RF Output CH A message will appear on ...

Page 8: ...guage English Front Display Auto Auto Power Off Off Off 1Hr 2Hr Front Panel Dimmer You can set the Front Panel Display to be bright all the time dim all the time dim during power off 1 Open MENU With the DVD in Stop or Play mode press the MENU button 2 Select SETUP Using the UP DOWN buttons move the selection bar to SETUP then press ENTER to select 3 Set Front Display Move the selection bar to Fro...

Page 9: ...ton to select one of the following options PCM To use your DVD TV with an A V receiver without a Dolby Digital decoder Bitstream To use your DVD TV with an A V receiver with a Dolby Digital decoder PCM Down Sampling On PCM Bitstream Subtitle Language To set the Subtitle Language to your preferred language follow these steps If your preferred language is available on a DVD your Subtitle Language wi...

Page 10: ...s this method selectively crops by panning and scanning to keep the most important part of the picture visible wide screen movies to fit a standard 4 3 television screen Display Setup PCM Down Sampling If your amplifier is not capable of reproducing a 96kHz signal PCM downsampling should be set to on 1 Open MENU Press the MENU button while the DVD is in Stop mode 2 Select DVD Use the UP DOWN butto...

Page 11: ...will appear Press the POWER button No 0 9 Yes Alt Video Out On Display Setup Press the PROGRESSIVE button on the front panel in stop mode if you have a Progressive scan TV only Otherwise the picture will be disturbed Special Playback Features During DVD CD playback you can select from the following special playback options To resume normal playback press the ll PLAY PAUSE button 1 PAUSE Press the ...

Page 12: ...bottom of the screen are cut off and the full screen appears The picture would look vertically stretched Zoom Fit The top bottom left and right of the screen are cut off and the central portion of the screen is enlarged This function may behave differently depending on the type of disc For 4 3 aspect ratio discs Normal Wide Displays the content of the DVD title in 16 9 aspect ratio The picture wil...

Page 13: ...can quickly find a specific passage Allows playback of the film from a desired time You must enter the starting time as a reference Refers to the language of the film soundtrack In the example the soundtrack is played in English 5 1CH A DVD disc can have up to eight different soundtracks Refers to the subtitle languages available in the disc You will be able to choose the subtitles language or if ...

Page 14: ...he CLEAR button to cancel the bookmark Press the MARK button again to exit the Bookmark menu Stereo ENG DOLBY DIGITAL 5 1CH DVD CD CLEAR Repeat Chapter Title You can repeat a single chapter or a complete title 1 Open Repeat Menu Press the REPEAT button while in Play mode to open the Repeat menu The current Repeat mode will be highlighted 2 Select Chapter Track Use the LEFT RIGHT buttons to select ...

Page 15: ...ayback features including Still Frame Advance Skip Repeat and more Press the Play button again to resume normal playback 1 Pause In Play mode press ll PLAY PAUSE to still a single frame 2 Frame Advance In the pause mode press F ADV SKIP to advance to the next frame 3 Fps Review In Play mode press FORWARD or REWIND to Cue Review at two speeds Picture Search Press and release to advance the tape for...

Page 16: ...the starting point is given an Index mark for easy location However the VHS Index Search System VISS cannot recognize index marks made by old VCRs If the VCR has trouble finding a mark it is probably because the cassette was recorded on a VCR without VISS If you want to index two programs in a row set your VCR to stop then start recording each program 1 Go to 0 00 00 stop Use this feature when you...

Page 17: ...cord TV programs on the same channel at the same time every week Daily MO FR Use this to record TV programs on the same channel at the same time every day Monday through Friday If you want to set the timer program press the ENTER key Timer Program No Ch Start End Date Speed 1 2 3 4 5 6 7 How to Set a Timer Recording Record Speed How to Set a Timer Recording You can slow down the recording speed fr...

Page 18: ...he product THERE ARE NO EXPRESS WARRANTIES OTHER THAN THOSE LISTED AND DESCRIBED ABOVE AND NO WARRANTIES WHETHER EXPRESS OR IMPLIED INCLUDING BUT NOT LIMITED TO ANY IMPLIED WARRANTIES OF MERCHANTABILITY OR FITNESS FOR A PARTICULAR PURPOSE SHALL APPLY AFTER THE EXPRESS WARRANTY PERIODS STATED ABOVE AND NO OTHER EXPRESS WARRANTY OR GUARANTY GIVEN BY ANY PERSON FIRM OR CORPORATION WITH RESPECT TO THI...

Page 19: ...A INC HEADQUARTERS 105 Challenger Road Ridgefield Park N J 07660 0511 TEL 1 800 SAMSUNG SERVICE DIVISION 400 Valley Road Suite 201 Mount Arlington NJ 07856 1 800 SAMSUNG 1 800 726 7864 www SAMSUNGUSA com AK68 00522A ELECTRONICS ...

Reviews: