18
ENGLISH
CZECH
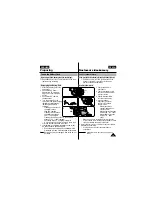
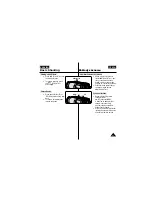
PÞipojen’ videokamery k nap‡jec’mu zdroji:
✤
Jsou k dispozici dva druhy napájecích zdrojÛ:
-
síÈov˘ adaptér, pfiipojen˘ k videokamefie kabelem pro
stejnosmûrné napájení - pouÏívejte pfii záznamech v
dosahu síÈov˘ch rozvodÛ (v interiéru).
- akumulátor, ktery budete pouÏívat mimo dosah
síÈov˘ch rozvodÛ.
Pfiipojení síÈového adaptéru:
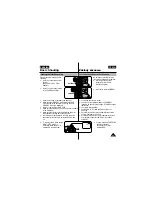
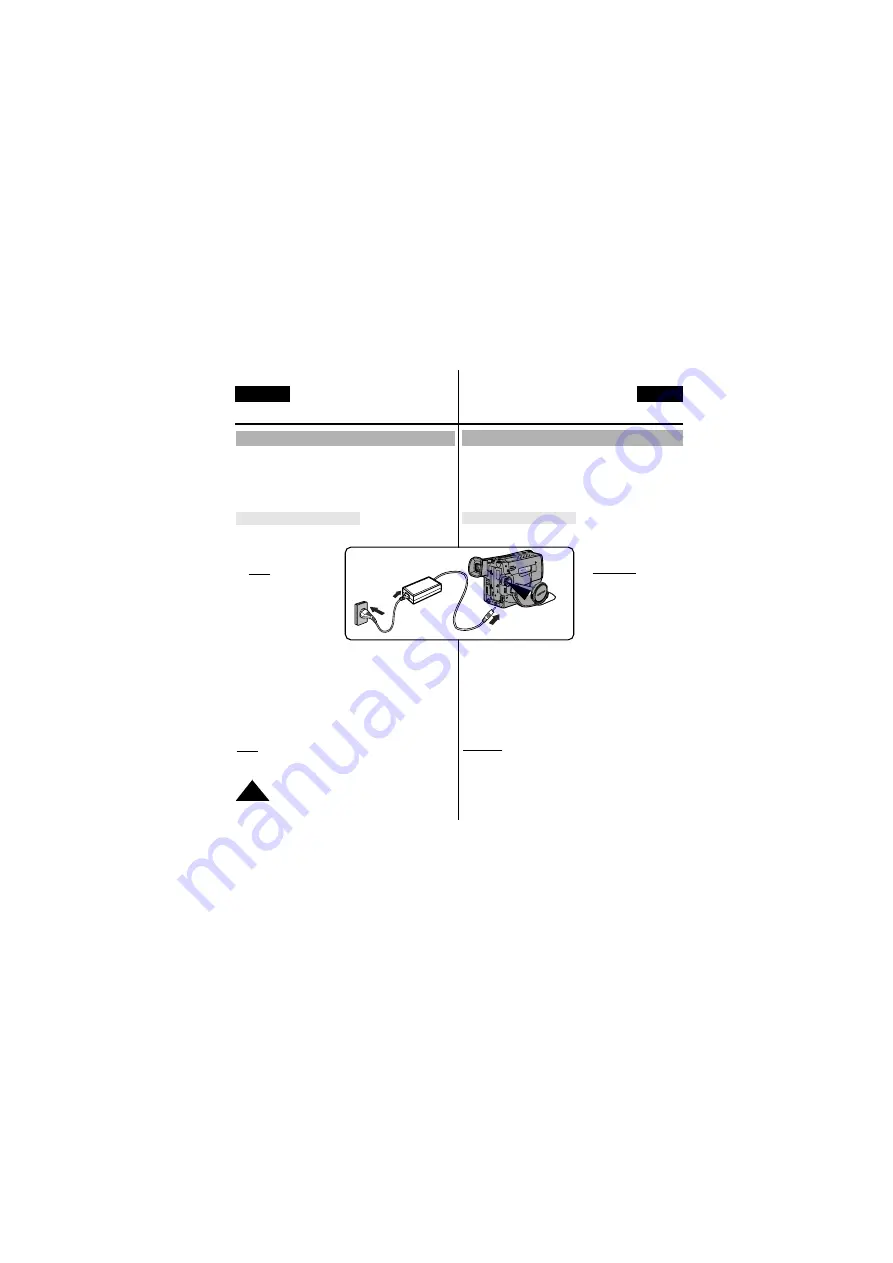
1. Pfiipojte síÈov˘ adaptér k pfiívodní ‰ÀÛfie.
2. Zapnûte napájecí ‰ÀÛru
do zásuvky.
Upozornûní: Podle
místních podmínek
mohou b˘t zástrãka i
zásuvka rÛzného typu.
3. Druh˘ konec kabelu pfiipojte do DC konektoru
videokamery.
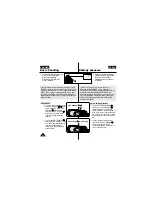
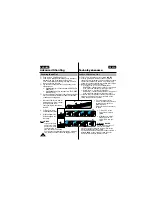
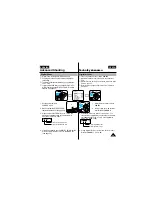
4. Nastavení videokamery do reÏimu CAMERA:
a. Pfiepnûte funkãní pfiepínaã do polohy Camera.
b. Pfiesvûdãete se, Ïe je sejmut˘ kryt objektivu.
c. Îe se v hledáãku objevil obrázek.
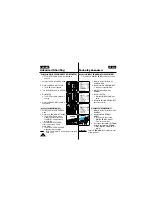
Poznámka: PouÏíváte-li síÈov˘ adaptér poblíÏ TV pfiijímaãe
nebo videorekordéru, mohou se objevit poruchy
obrazu zpÛsobené síÈov˘m adaptérem.
Connecting a Power Source
✤
There are two types of power source available.
- Using the AC Power Adapter : used for indoor
recording.
- Using the Battery Pack: used for mobile recording.
To use the AC Power Adapter
1. Connect the AC Power Adapter to a AC cord.
2. Connect the AC cord to
a wall socket.
Note: The plug and wall
socket type can
be different
according to the
regional condi-
tions.
3. Connect the other end of the DC cable to DC jack of
the camcorder.
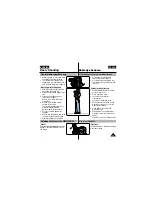
4. To set the camcorder to CAMERA mode.
a. Hold down the tab of the power switch and push
the switch to CAMERA mode.
b. Make sure that the Lens Cap is opened.
c. Make sure that the image appears in the
Viewfinder.
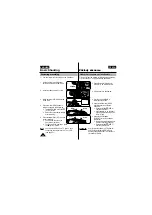
Note:
If the adapter is used next to the TV or the
camcorder, it may cause the TV or camcorder
to emit noise.
Move the adapter away from the TV, camcorder
or the antenna cable.
Preparing
Nastaven’ videokamery
2
1
3
CAMERA


