


User’s Manual
31
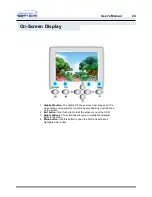
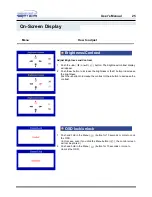
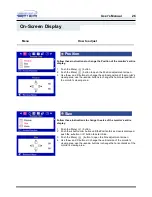
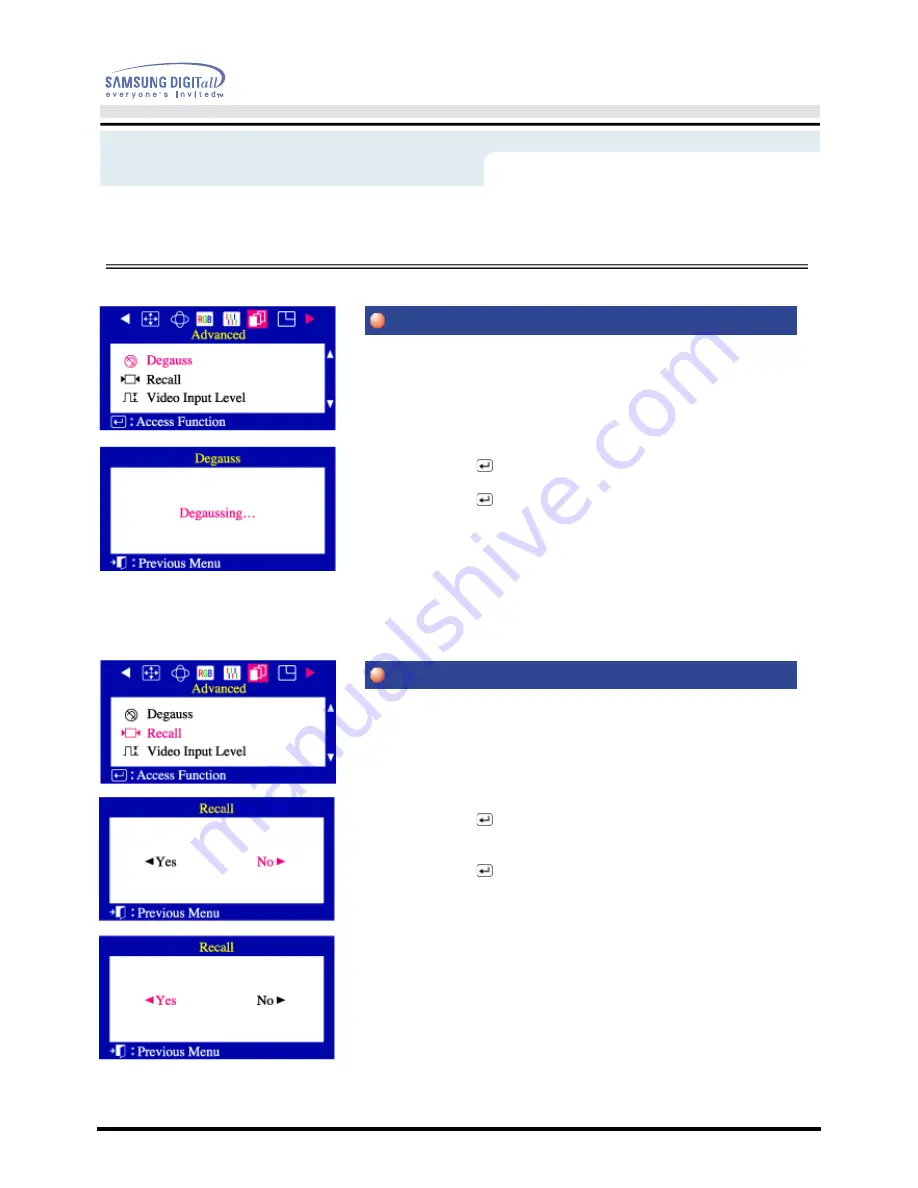
On-Screen Display
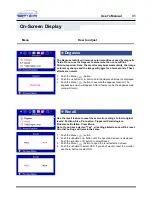
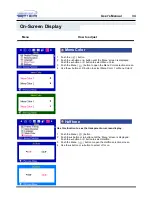
The Degauss feature will remove color impurities caused by magnetic
fields. Do not use the Degauss feature more than once within a
30-minute period. Note: The monitor may buzz momentarily, the image
colors may change and the image will jiggle for a few seconds. These
effects are normal.
1
Push the Menu (
) button.
2
Push the
◀
button or
▶
button until the Advanced screen is displayed.
3
Push the Menu (
) button to execute the degauss function. The
degaussing screen will appear. After a few seconds, the degauss main
menu will return.
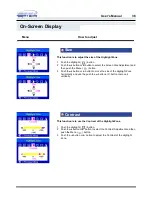
Use the recall feature to reset these monitor settings to their original
levels: Position, Size, Pincushion, Trapezoid, Parallelogram,
Pinbalance, Rotation, Clear Moire.
Note: If you have selected "Yes", all settings listed above will be reset.
All other settings will remain the same.
1
Push the Menu (
) button.
2
Push the
◀
button or
▶
button until the Advanced screen is displayed.
Push the
▲
button or
▼
button to select Recall.
3
Push the Menu (
) button to open the recall selection screen
4
Push the
◀
button to select YES. If you don't want to reset the monitor,
use the
▶
button to select NO.
Menu
How to adjust
Degauss
Recall
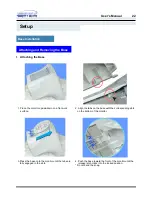
Summary of Contents for 950B - SyncMaster 950 B
Page 1: ......


