background image

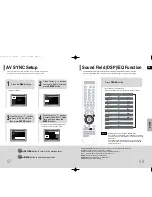
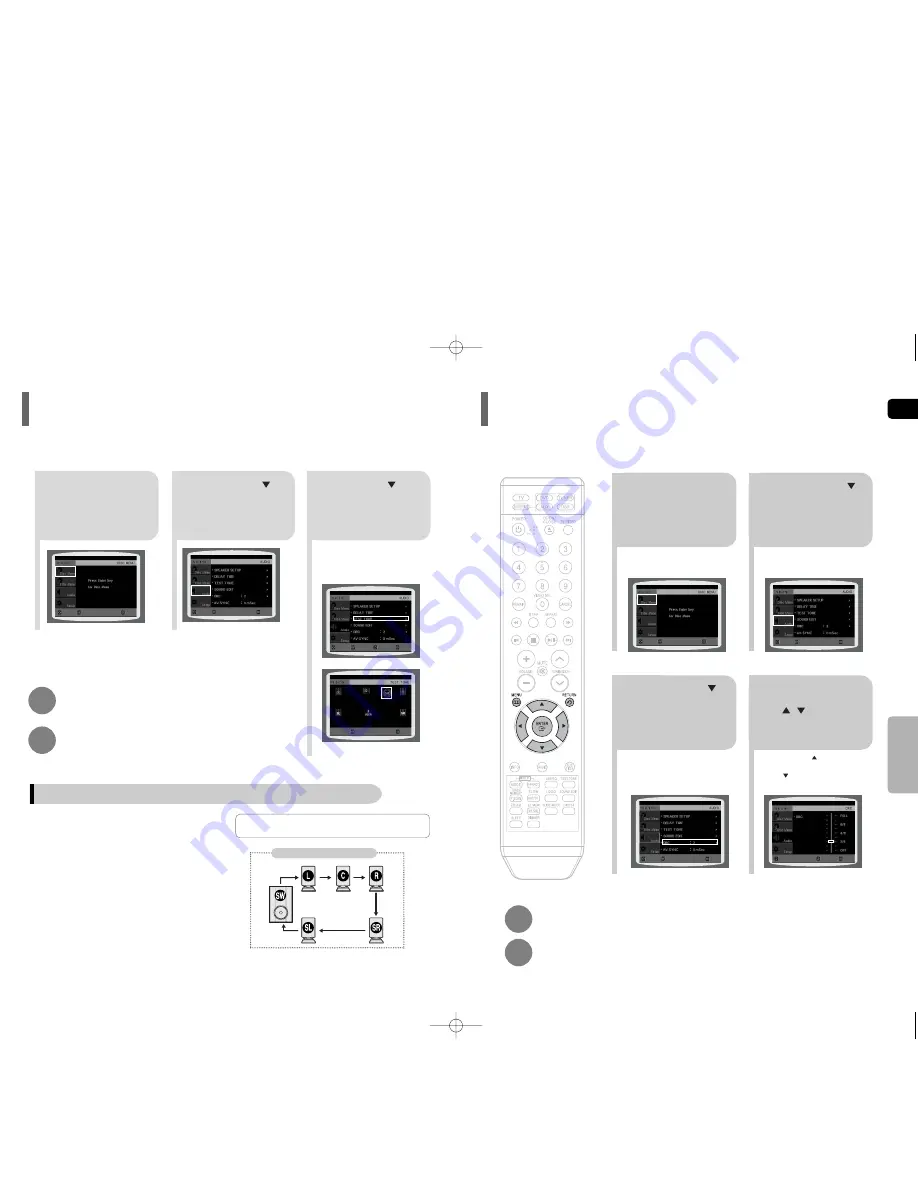
L: Front Speaker (L)

C: Center Speaker

SW: Subwoofer 

R: Front Speaker (R)

SL: Rear Speaker (L)

SR: Rear Speaker (R)

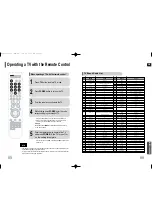
Press 

RETURN

button to return to the previous level.

Press 

MENU

button to exit the setup screen.

2

1

In Stop or no
disc mode,
press 

MENU

button.

Press Cursor
button to move to
‘Audio’ and then
press 

ENTER

button.

3

Press Cursor      button
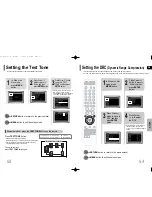
to move to ‘TEST
TONE’ and then press

ENTER

button.

The test tone will be sent to L

➝ 

➝ 

SR 

➝ 

SL

➝ 

SW in order.  

If the ENTER button is pressed again
at this time, the test tone will stop.

Press 

TEST TONE

button.

• 

Test tone will be produced as follows:
When playing a DVD or CD, this will work only in Stop mode.

• 

Use this function to check that each speaker is correctly
connected and that there is no problem.

To end the test tone, 
press 

TEST TONE

button again.

Alternate method: press the 

TEST TONE

button on the remote.

Multi-Channel Pro Logic Mode

Start

Use the Test Tone feature to check the speaker connections.

Setting the Test Tone

GB

54

53

1

2

In Stop or no disc
mode, press

MENU

button.

Press Cursor
button to move to
‘Audio’ and then
press 

ENTER

button.

When the Cursor      button is pressed,
the effect is greater, and when the
Cursor      button is pressed, the effect is
smaller.

3

4

Press Cursor
button to move to
‘DRC’ and then
press 

ENTER

button.

Press Cursor

,   to adjust

the ‘DRC’.

Press 

RETURN

button to return to the previous level.

Press 

MENU

button to exit the setup screen.

This feature balances the range between the loudest and quietist sounds.
You can use this function to enjoy Dolby Digital sound when watching movies at low volume at night.

Setting the DRC 

(Dynamic Range Compression)

SETUP

MOVE

ENTER

EXIT

MOVE

ENTER

EXIT

MOVE

ENTER

RETURN

EXIT

MOVE

ENTER

RETURN

EXIT

CHANGE

RETURN

EXIT

MOVE

ENTER

EXIT

MOVE

ENTER

EXIT

STOP

EXIT

HT-Q20(41~70) -NOR-GB  3/20/06 9:38 AM  Page 52

Summary of Contents for AH68-01850K

Page 1: ...DIGITAL HOME CINEMA SYSTEM HT Q20 HT TQ22 HT TQ25 Instruction Manual COMPACT DIGITAL AUDIO AH68 01850K THIS APPLIANCE IS MANUFACTURED BY HT Q20 1 40P NOR GB 3 20 06 9 37 AM Page 2 ...

Page 2: ... damage the unit Do not expose the unit to direct sunlight or other heat sources This could lead to overheating and malfunction of the unit The batteries used with this product contain chemicals that are harmful to the environment Do not dispose of batteries in the general household trash PREPARATION 1 Safety Warnings Use of controls adjustments or performance of procedures other than those specif...

Page 3: ...rvice 66 Cautions on Handling and Storing Discs 69 Language Code List 70 USB Host Feature Supported Products 71 Specifications 72 3 Multi Disc Playback FM Tuner The HT Q20 HT TQ22 HT TQ25 combines the convenience of multi disc playback capability including DVD VIDEO VCD CD MP3 CD WMA CD DivX CD R RW and DVD R RW with a sophisticated FM tuner all in a single player Dolby Pro Logic II Dolby Pro Logi...

Page 4: ...file created by the user might not be played Software update for unsupported formats is not supported Example QPEL GMC resolution higher than 720 x 480 pixels etc Sections with high frame rate might not be played while playing a DivX file For more information about the formats authorized by DivX Networks Inc visit www divxnetworks net Disc Recording Format 6 PREPARATION This product does not suppo...

Page 5: ... FUNCTION Front Panel Power button Standby indicator Remote Control Sensor Volume buttons Tuning Down Skip buttons Tuning Up Skip buttons Stop button Play Pause button Open Close button Disc Tray Function button MIC button MIC Volume ECHO Level USB Connector DOLBY DIGITAL indicator PRO LOGIC indicator TITLE indicator PROGRAM indicator STEREO indicator CHAPTER indicator TRACK indicator TUNER indica...

Page 6: ...type of batteries Batteries that look similar may differ in voltage Always replace both batteries at the same time Do not expose batteries to heat or flame 9 Description PL II MODE button VOLUME button MENU button POWER button TV button DVD RECEIVER button CANCEL button REPEAT button Number 0 9 buttons TV VIDEO button VIDEO SEL button OPEN CLOSE button Cursor Enter button DSP EQ button DIGEST butt...

Page 7: ...eakers so they face each other Place them about 60 to 90cm 2 to 3feet above your ear facing slightly downward Unlike the front and center speakers the rear speakers are used to handle mainly sound effects and sound will not come from them all the time Subwoofer The position of the subwoofer is not so critical Place it anywhere you like Front Speakers Place these speakers in front of your listening...

Page 8: ...between the main unit and the wireless receiver Connect the left and right rear speakers to the wireless receiving module Plug the power cord of the wireless receiving module in the wall outlet and switch the power switch ON 1 2 3 4 Do not insert a card other than the TX card dedicated for the product The product might be damaged or it may not be removed easily Do not insert the TX card upside dow...

Page 9: ...p and the REAR CHK message blinks on the main unit s display Reset the system while the main unit and the wireless receiver module SWA 3000 are in Power Standby mode With the main unit turned off press and hold the remote control s REMAIN button for 5 seconds Press the button until the POWER indicator lights up blue The indicator will turn off in 1 second With the wireless receiver module turned o...

Page 10: ...every other horizontal line in the frame The odd field of alternating lines is displayed first and then the even field is displayed to fill in the alternating gaps left by the odd field to form a single frame One frame displayed every 1 30th of a second contains two interfaced fields thus a total of 60 fields are dis played every 1 60th of a second The interlaced scanning method is intended for ca...

Page 11: ...g Before Using Your Home Theater To Operate your Samsung TV and the Home Theater with the HT Q20 HT TQ22 HT TQ25 s Remote Control Press TV VIDEO button to select VIDEO mode on your TV VIDEO 19 This unit does not receive AM broadcasts Note Connecting the FM Antenna The cooling fan supplies cool air to the unit to prevent overheating Please observe the following cautions for your safety Make sure th...

Page 12: ...e tray with the disc s label facing up Depending on the content of the disc the initial screen may appear different 1 Press OPEN CLOSE button to open the disc tray 3 Close the compartment by pressing the OPEN CLOSE button again Note 21 In this manual the instructions marked with DVD are applicable to DVD VIDEO and DVD R RW discs Where a particular DVD type is mentioned it is indicated separately D...

Page 13: ... recorded on a CD or MP3 CD VCD Something like you Back for good Love of my life More than words DVDRECEIVER SMARTNAVI MP3 DivX JPEG 23 Depending on the recording mode some MP3 WMA CDs may not play Table of contents of a MP3 CD varies depending on the MP3 WMA track format recorded on the disc Note 2 In Stop mode use to select the album and then press the ENTER button The MP3 WMA menu screen will a...

Page 14: ...ixel for standard JPEG files and 2048 x 1536 or 3 0 MPixel for progressive image files Note Slide Mode 25 Place the JPEG disc on the disc tray Each time the button is pressed the slide moves backward or forward Press to skip to the next slide 1 Press the OPEN CLOSE button 2 Playback starts automatically Each time the button is pressed the image makes the transition as follows Press SLIDE MODE butt...

Page 15: ...rs or 30 East Asian characters 2 byte characters such as Korean and Chinese for the file name Supported Video Formats Format MP3 WMA AC3 DTS Bit Rate 80 384kbps 56 128kbps 128 384kbps 1 5Mbps Sampling Frequency 44 1khz 44 1 48khz 44 1khz DivX files including audio and video files created in the DTS format can only support up to 6Mbps Aspect Ratio Although default DivX resolution is 640 480 pixels ...

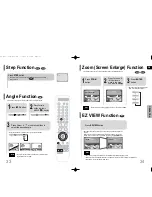
Page 16: ...s Press SLOW button Each time the button is pressed during playback the playback speed changes as follows Slow Playback DVD VCD No sound is heard during slow playback and step motion playback Reverse slow playback does not work with VCD and DivX Note During fast playback of a CD or MP3 CD sound is heard only at 2x speed and not at 4x 8x and 32x speeds Note 29 Checking the Remaining Time Press the ...

Page 17: ...tedly plays the selected title RANDOM Plays tracks in random order A track that has already been played may be played again TRACK Repeatedly plays the selected track DIR Repeatedly plays all tracks in the selected folder DISC Repeatedly plays the entire disc OFF Cancels Repeat Playback Repeat Playback Options DVD CD VCD MP3 JPEG Repeat playback allows you to repeatedly play a chapter title track s...

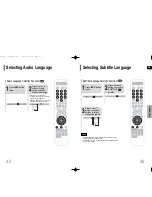
Page 18: ...if the DVD is recorded with multi camera angle format Black bars may not disappear because some DVD discs have a built in horizontal to vertical ratio This feature is not supported for DivX discs Note When a DivX disc is being played only the 2 1 zoom in is available Note 33 DVD 2 Press Cursor button to move to ANGLE display Press INFO button 1 3 Each time the button is pressed the angle changes a...

Page 19: ... to SUBTITLE display 1Press INFO button twice 3 Press Cursor button or numeric buttons to select the desired subtitle Note Selecting Subtitle Language 35 Depending on the number of languages on a DVD disc a different audio language ENGLISH SPANISH FRENCH etc is selected each time the button is pressed 2 Press Cursor buttons or numeric buttons to select the desired audio language 1Press INFO button...

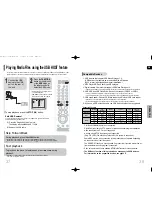
Page 20: ...he USB host function of this product does not support all USB devices For information on the supported devices see pages 71 File name File Bit rate Version Pixel Sampling extension Frequency Still Picture JPG JPG JPEG 640 480 Music MP3 MP3 80 384kbps 44 1kHz WMA WMA 56 128kbps V8 44 1kHz VCD MPG MPEG DAT 1 5Mbps VCD1 1 VCD2 0 320 480 44 1KHz Movie WMV WMV 4Mbps V1 V2 V3 V7 720 480 44 1KHz 48KHz Di...

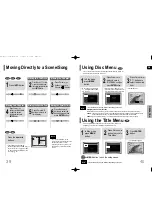
Page 21: ... screen Some functions may be disabled When some functions are disabled select PBC OFF to enable them PBC OFF This VCD disc is version 1 1 The disc is played back in the same way as with a music CD Disc menu display may be different depending on the disc Note The selected file will be played When playing an MP3 or JPEG disc you cannot use to move to a folder To move a folder press Stop and then pr...

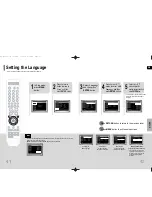
Page 22: ... Disc Menu Language recorded on the disc Select Language and then press ENTER button 5 Press Cursor button to select OSD Language and then press ENTER button Press Cursor button to select the desired language and then press ENTER button Press RETURN button to return to the previous level Press MENU button to exit the setup screen To select another language select OTHER and enter the language code ...

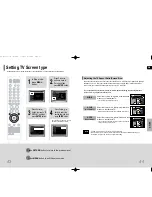
Page 23: ... fit your TV or monitor For a standard TV select either 4 3LB or 4 3PS option according to personal preference Select 16 9 if you have a widescreen TV Select this to view a 16 9 picture in the full screen mode on your widescreen TV You can enjoy the widescreen aspect Select this to play a 16 9 picture in the letter box mode on a conventional TV Black bars will appear at the top and bottom of the s...

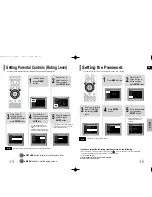
Page 24: ...al Controls Rating Level 4 Enter the old password a new password and confirm new password 3 5 Press Cursor button to move to PASSWORD and then press ENTER button Press ENTER button Enter the password and then press ENTER button 2 1 Press MENU button Press Cursor button to move to Setup and then press ENTER button The password is set to 7890 by default Note If you have forgotten the rating level pa...

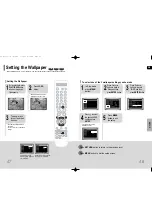
Page 25: ...r Select this to set the desired image as your wallpaper COPY LOGO DATA will be displayed on the TV screen This selects one of the 3 wallpaper screens The selected wallpaper will be displayed You can select up to 3 wallpaper settings 2 1 3 During playback press PLAY PAUSE button when an image you like appears Press LOGO button The power will turn off and then back on PAUSE COPY LOGO DATA Setting t...

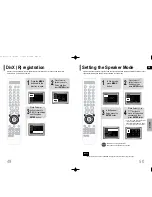
Page 26: ...ee page Note Signal outputs and frequency responses from the speakers will automatically be adjusted according to your speaker configuration and whether certain speakers are used or not Setting the Speaker Mode 2 1 Press the MENU button while the disc tray is open Press Cursor button to move to Setup and then press ENTER button 3 Press Cursor button to move to DIVX R registration and then press EN...

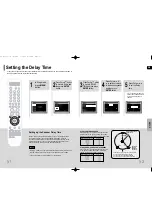
Page 27: ...EAKER Ideal CENTER SPEAK ER placement It is desirable to place all speakers within this circle Ideal SUR ROUND SPEAKER placement SETUP You can set the delay time for C between 00 and 05mSEC and for SL and SR between 00 and 15mSEC 4 3 5 Press Cursor button to move to DELAY TIME and then press ENTER button Press Cursor buttons to move to the desired speaker and then press ENTER button Press Cursor t...

Page 28: ...d press the TEST TONE button on the remote Multi Channel Pro Logic Mode Start Use the Test Tone feature to check the speaker connections Setting the Test Tone GB 54 53 1 2 In Stop or no disc mode press MENU button Press Cursor button to move to Audio and then press ENTER button When the Cursor button is pressed the effect is greater and when the Cursor button is pressed the effect is smaller 3 4 P...

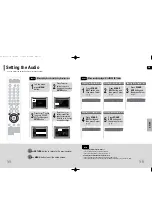
Page 29: ...button and then press Cursor Press SOUND EDIT button and then press Cursor Press SOUND EDIT button and then press Cursor Press SOUND EDIT button and then press Cursor Note SETUP 55 Press RETURN button to return to the previous level Press MENU button to exit the setup screen 2 1 4 3 In Stop mode press MENU button Press Cursor button to move to Audio and then press ENTER button Press Cursor button ...

Page 30: ...tomatically and DSP EQ function does not work Note DSP Digital Signal Processor DSP modes have been designed to simulate different acoustic environments EQ You can select ROCK POP or CLASSIC to optimize the sound for the genre of music you are playing Sound Field DSP EQ Function Video may look slower than the audio if it is connected to a digital TV If this occurs adjust the audio delay time to to...

Page 31: ...n select the desired Dolby Pro Logic II audio mode Dolby Pro Logic II Mode 1 2 You can select between 0 and 7 This sets the width of the center image The higher the setting the less sound comes from the center speaker You can select between 0 and 6 Incrementally adjusts the sound field DSP from the front or rear 3 4 When playing a DVD disc encoded with two or more channels multi channel mode will ...

Page 32: ...adcast station Press the STOP button to select PRESET and then press button to select the preset station AutomaticTuning1 Press the FUNCTION button to select the FM band Press the STOP button to select MANUAL and then press and hold button to automatically search the band AutomaticTuning2 Press STOP to select MANUAL and then briefly press to tune in to a lower or higher frequency Manual Tuning Eac...

Page 33: ...ing a doorbell or telephone call Press MUTE button The remaining time before the Home Theater will shut itself off is displayed Pressing the button again changes the sleep time from what you have set earlier To confirm the sleep timer setting press SLEEP button To cancel the sleep timer press SLEEP button until OFF appears on the display Connecting Microphone 2 1 You can connect up to two micropho...

Page 34: ...C Penny JVC KTV KEC KMC LG Goldstar Luxman LXI Sears Magnavox Marantz Matsui MGA Mitsubishi MGA TV Brand Code List No Brand Code 56 57 58 01 15 01 02 03 04 05 06 07 08 09 10 11 12 13 14 01 18 40 148 57 58 81 59 60 18 03 03 18 25 97 03 18 46 15 03 05 61 82 83 84 62 03 59 61 63 03 02 03 04 15 16 17 18 19 20 21 22 23 24 25 26 28 29 30 32 34 35 36 48 59 90 40 03 03 15 40 46 59 61 64 82 83 84 85 19 65 ...

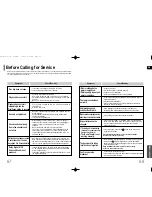
Page 35: ...it back on Check the region number of the DVD DVD discs purchased from abroad may not be playable CD ROMs and DVD ROMs cannot be played on this Home Theater Make sure that the rating level is correct Are you using a deformed disc or a disc with scratches on the surface Wipe the disc clean Disc tray does not open Playback does not start Playback does not start immediately when the Play Pause button...

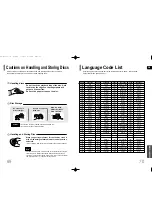
Page 36: ...4 Urdu 1149 Spanish 1301 Korean 1489 Russian 1572 Uzbek 1150 Estonian 1305 Kashmiri 1491 Kinyarwanda 1581 Vietnamese 1151 Basque 1307 Kurdish 1495 Sanskrit 1587 Volapuk 1157 Persian 1311 Kirghiz 1498 Sindhi 1613 Wolof 1165 Finnish 1313 Latin 1501 Sangro 1632 Xhosa 1166 Fiji 1326 Lingala 1502 Serbo Croatian 1665 Yoruba 1171 Faeroese 1327 Laothian 1503 Singhalese 1684 Chinese 1174 French 1332 Lithua...

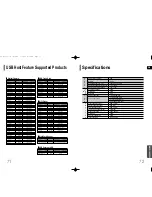
Page 37: ...7GD Panasonic Digital Camera Lumix LC33 Panasonic Digital Camera LUMIX DMC F1 Panasonic Digital Camera Optio S40 Pentax Digital Camera Optio S50 Pentax Digital Camera Optio 33LF Pentax Digital Camera Optio MX Pentax Digital Camera Digimax 420 Samsung Digital Camera Digimax 400 Samsung Digital Camera Sora PDR T30 Toshiba Digital Camera Coolpix 5900 Nikon Digital Camera Coolpix S1 Nikon Digital Came...

Page 38: ... K E R Subwoofer speaker 3Ω 35Hz 160Hz 85dB W M 100W 200W 175 x 320 x 381 mm 5 1 kg Front Rear Center 90 x 1045x 90 mm 90 x 152x 90 mm 200 x 90 x 92 mm 3 Kg 0 4 Kg 0 6 Kg Front Rear Center Front Center Rear speaker 3Ω x 5 140Hz 20KHz 82dB W M 80W 160W 5 1ch speaker system Speaker system Impedance Frequency range Output sound pressure level Rated input Maximum input Dimensions W x H x D Weights S P...

Reviews: