13
English
Instal
lation Pr
oc
edur
e
•
Connect the cables to the terminal board using the compressed ring terminal.
•
Use rated cables only.
•
Connect the cables with driver and wrench that can apply the rated torque to the screws.
•
Make sure that appropriate tightening torque is applied for cable connection. If the terminal is loose, arc heat may
occur and cause fire and if the terminal is connected too firmly, terminal may get damaged.
Transmitter installation(option)
•
AJ040NCJ2EG/AJ050NCJ2EG
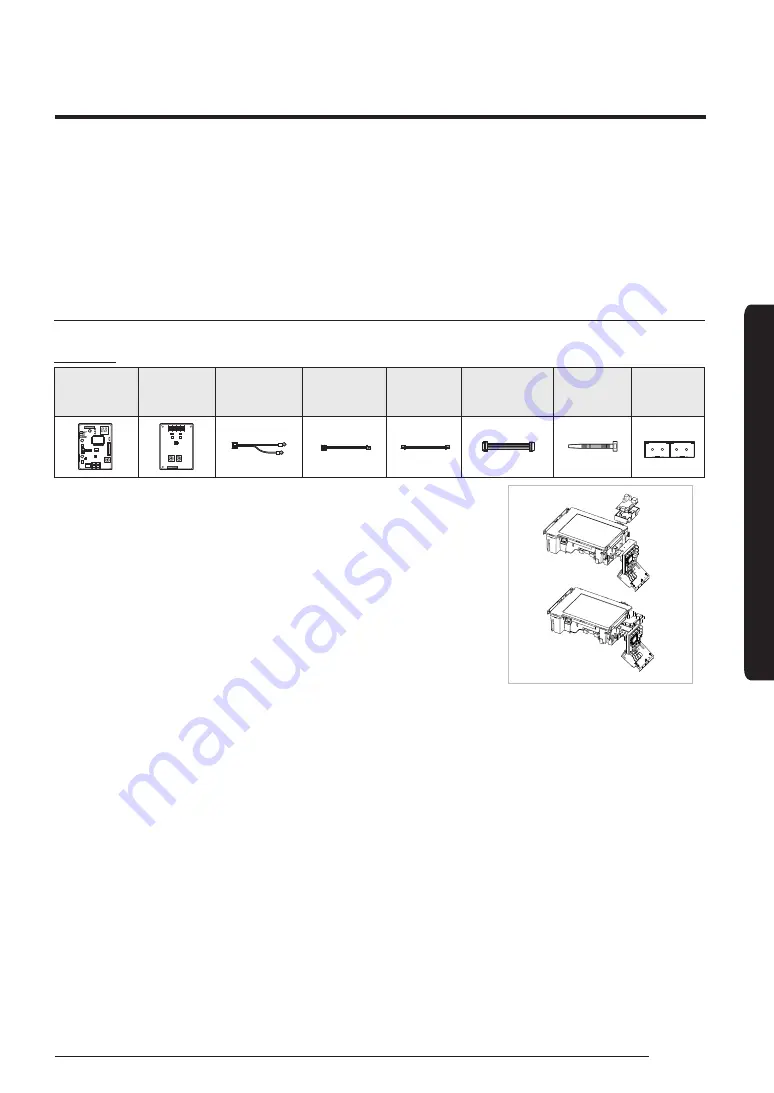
Accessories (Transmitter: MIM-B13A)
1. Turn the power off and take off the cover of the outdoor units.
2. Fix the case with bolts to the side of the control box referring to the figure
on the right side.
In case of FJM outdoor unit, there is not enough space to fix all parts of
transmitter. So you may use transmitter main PCB.
3. Attach the transmitter main PCB to the case, then connect F1/F2 lines,
R1/R2 lines which are upper controller communication cables and DC 12V
power cables to the interface module referring to the figure on page 14.
(Upper controller power should be off.)
4. You must check main PCB of AR********** indoor units.
Please refer to page 30.
5. Assemble a cover of the outdoor unit and turn the power on.
6. Check the communication status.
7. If you install a transmitter to the outdoor unit, every indoor unit which is
connected to the outdoor unit can be controlled simultaneously.
8. Each outdoor unit connected to the same centralized controller has its
own transmitter.
Transmitter
MAIN
Transmitter
SUB
485
Communication
Cable
DC Power
Cable
(12V)
DC Power
Cable
(5V)
Communication
Cable
Cable Tie
Case
R1 R2
R2 R1 R2 R1
R1 R2
R2 R1 R2 R1
R1 R2
R2 R1 R2 R1
R1 R2
R2 R1 R2 R1
R1 R2
R2 R1 R2 R1
R1 R2
R2 R1 R2 R1
R1 R2
R2 R1 R2 R1
R1 R2
R2 R1 R2 R1
Fix the case with hinges
(Control Box in the outdoor unit)
Transmitter
Tightening power terminal
Summary of Contents for AJ NCJ2EG Series
Page 38: ......


