7
English
Installation Pr
oc
edur
e
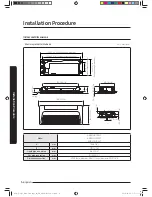
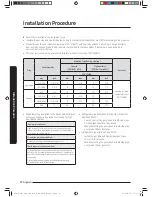
Spacing requirements
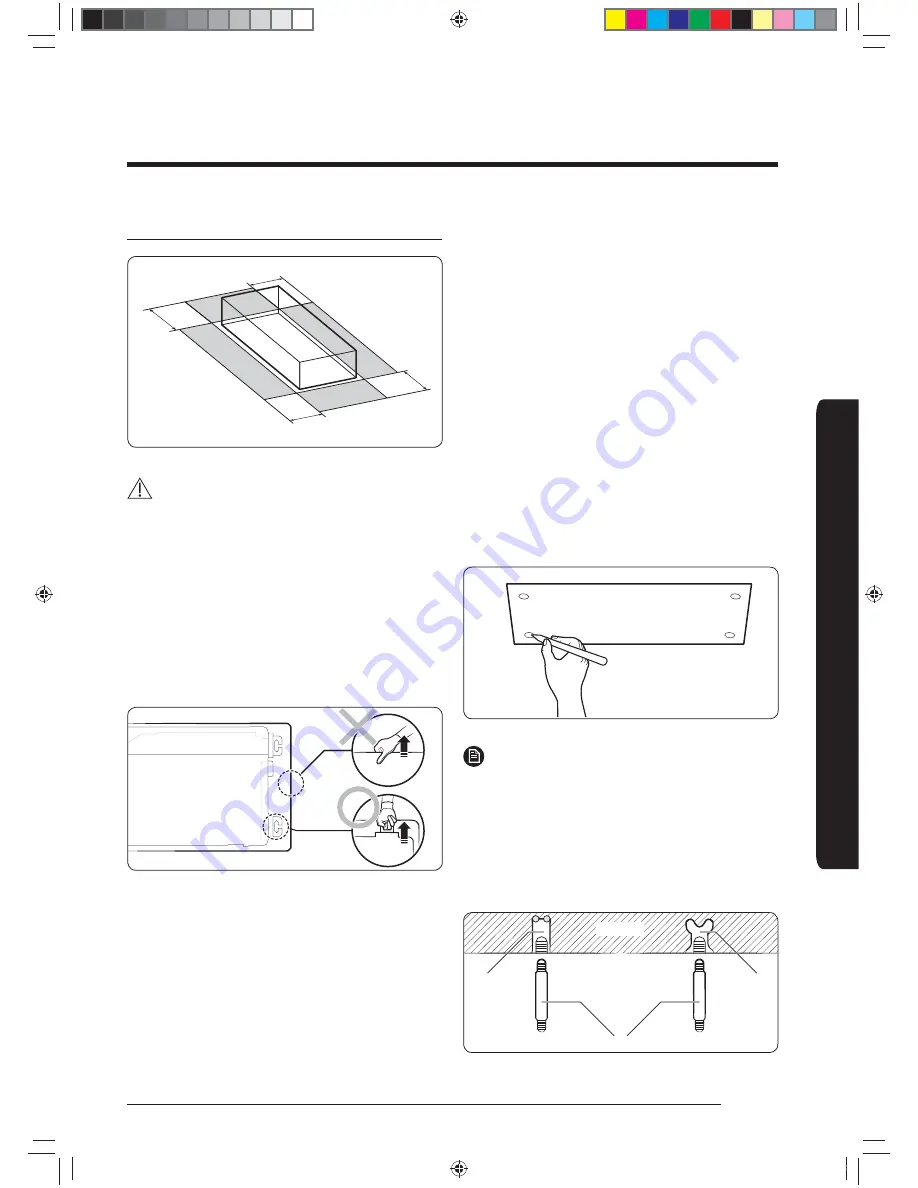
A: 1500 mm (59 inch) or more
A
A
A
A
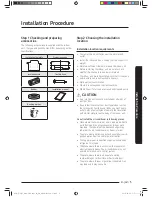
CAUTION
• The indoor unit must be installed according to the
specified distances in order to permit accessibility
from each side, to guarantee correct operation,
maintenance, and repair of the unit.
The components of the indoor unit must be reachable
and removable under safe conditions for people and
the unit.
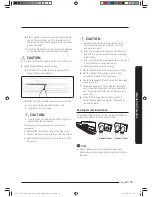
• Do not hold the discharge while carrying the indoor
unit to avoid the possibility of breakage.
• You must hold the hanger plate on the corner and
carry the indoor unit.
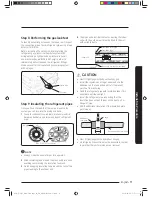
Step 3 Optional: Insulating the body of
the indoor unit
If you install a cassette type indoor unit on the ceiling
when temperature is over 27°C (80.6°F) and humidity is
over 80%, you must apply an extra 10mm (3/8 inch) thick
polyethylene insulation or a similar type of insulation to
the body of the indoor unit.
Cut away the part where pipes are pulled out for the
insulating work.
Insulate the end of the pipe and some curved area by
using separate insulator.
Step 4 Installing the indoor unit
When deciding on the location of the air conditioner the
following restrictions must be taken into account.
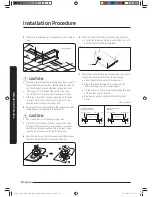
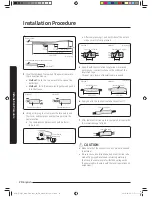
1
Place the pattern sheet on the ceiling at the spot
where you want to install the indoor unit.
NOTE
• Since the diagram is made of paper, it may shrink
or stretch slightly due to temperature or humidity.
For this reason, before drilling the holes, be sure
to maintain the correct dimensions between the
markings.
2
Insert bolt anchors, use existing ceiling supports or
construct a suitable support as shown in figure.
Concrete
Hole in anchor
Hole in plug
Suspension bolt (ø9.52(3/8") or M10)
Insert
k}t㨰䛙~TmGX ptluki]_TW^\\WhTWXUGGG^
YWX_TWYTY_GGG㝘㤸GXXaXXa[Y

