46
SAMSUNG ELECTRONICS
No.
Parts
Procedure
Remark
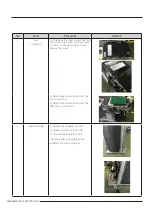
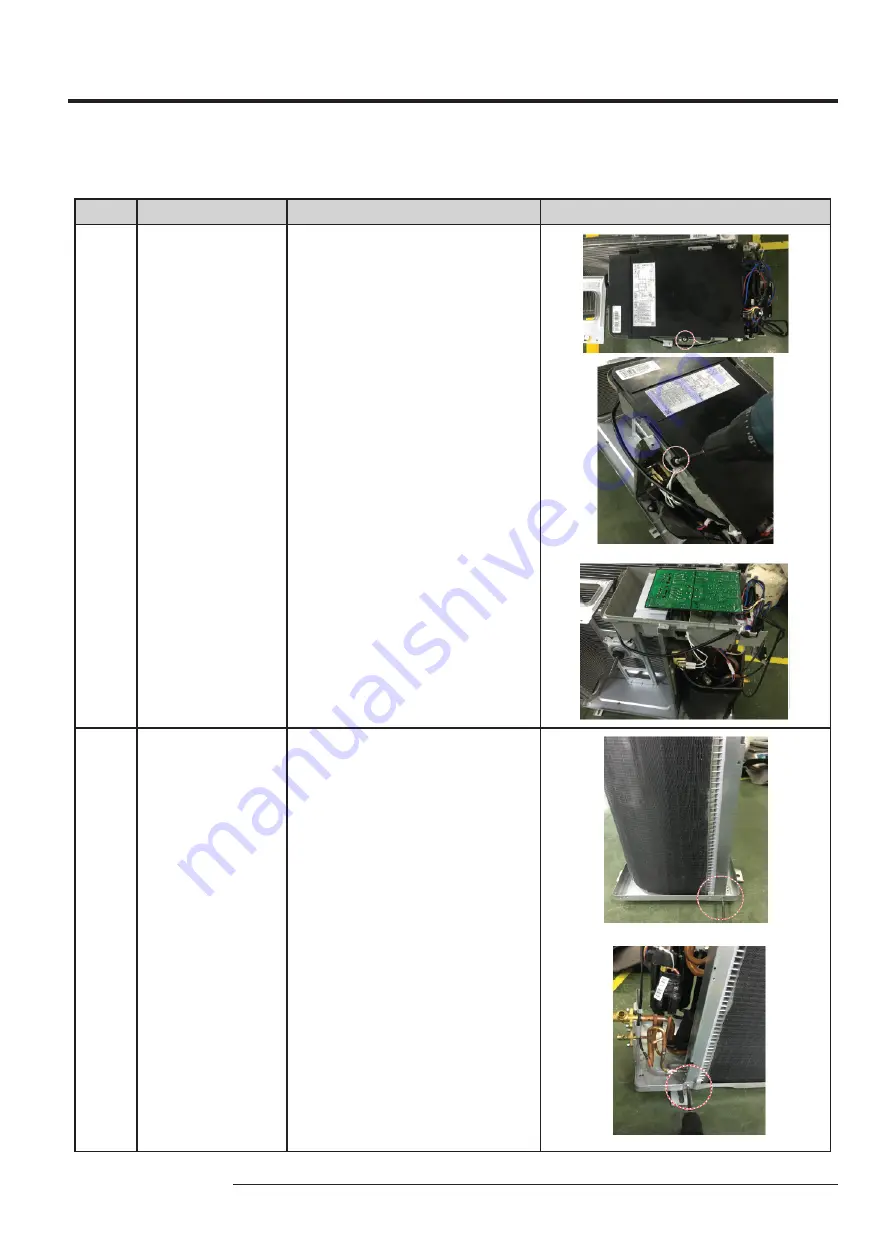
3
Assy
Control Out
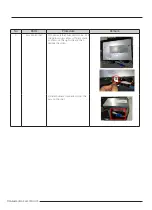
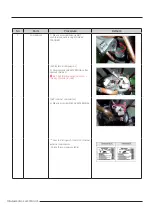
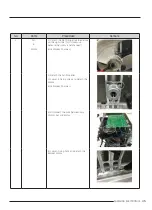
1) To remove the Cover control box : Pull
the motor wire is allow sufficient space
as shown on the right side and then
remove the screw.
2) Detach several connectors from the
Assy Control Out.
3) Detach several connectors from the
PCB of Assy Control Out.
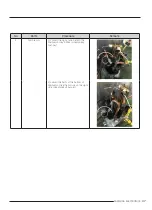
4
Heat Exchanger
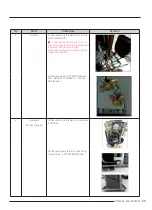
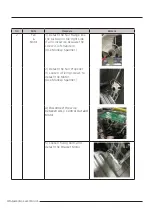
1) Release the refrigerant at first.
2) Loosen ng screw on both sides.
3) Disassemble the pipes in both
inlet and outlet with welding torch.
4) Detach the Heat Exchanger.
Summary of Contents for AR07TXCAAWKNEU
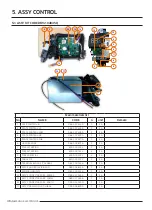
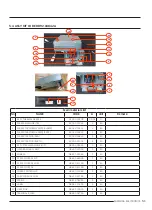
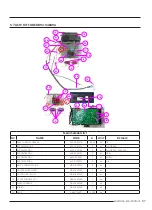
Page 49: ...49 SAMSUNG ELECTRONICS 5 2 ASSY KIT CODE DB92 04839Q ...
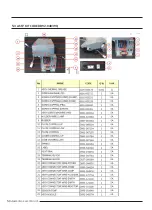
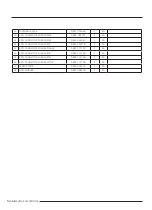
Page 50: ...50 SAMSUNG ELECTRONICS 5 3 ASSY KIT CODE DB92 04839Q ...
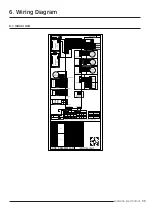
Page 59: ...59 SAMSUNG ELECTRONICS 6 Wiring Diagram 6 1 Indoor Unit CODE DB68 08680A 01 ...
Page 61: ...61 SAMSUNG ELECTRONICS 7 PCB Diagram 7 1 Indoor Main PCB DB92 04839A ...
Page 62: ...62 SAMSUNG ELECTRONICS 7 2 Outdoor PCB DB92 04837A ...
Page 63: ...63 SAMSUNG ELECTRONICS ...
Page 67: ...67 SAMSUNG ELECTRONICS 8 5 DISPLAY PCB DB92 04833B ...

