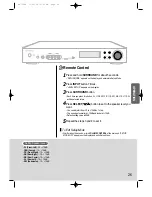
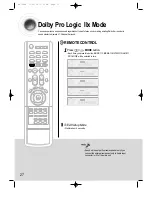
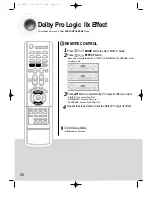

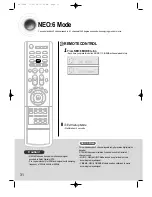
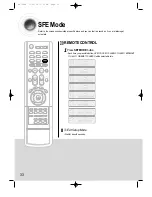

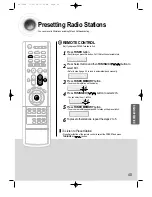
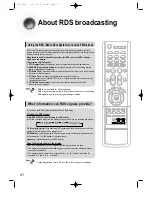
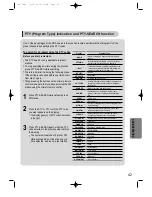

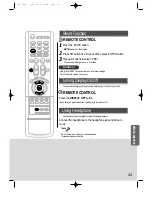
36
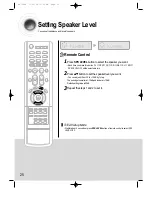
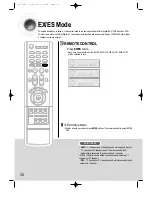
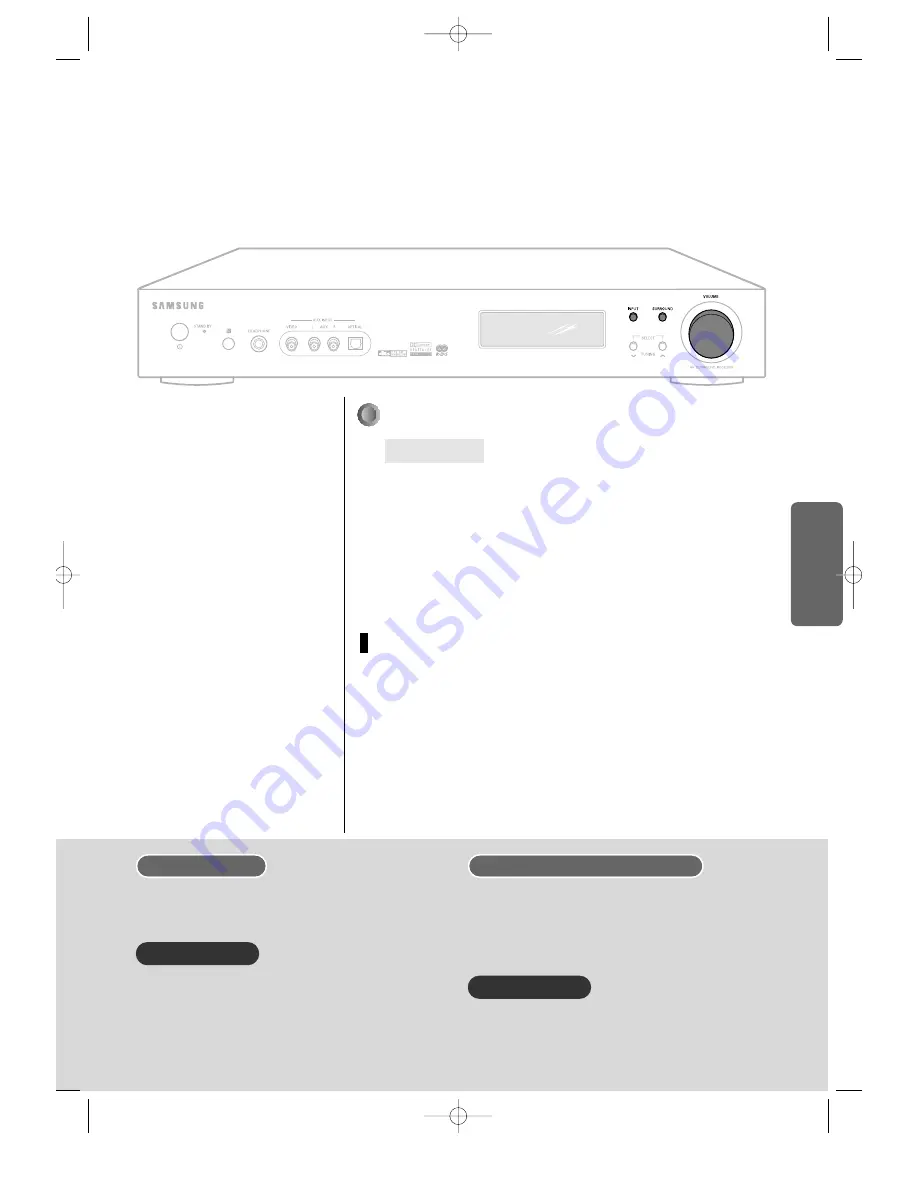
Press and hold SURROUND button for about 5 seconds.
•
“SETUP MODE” appears on the display and enters into Setup Mode.
Press INPUT button 10 times.
•
“EX/ES SETUP” appears on the display.
Press SURROUND button.
•
Each time you press this button, EX/ES : AUTO
➝
EX/ES : ON
➝
EX/ES :
OFF will be selected in turn.
Movie sound track encoded with Dolby Digital EX can play back
the rear center channel added during program mixing. Rear
center channel provides fine image, in-depth and realistic
feeling.
Dolby Digital - EX
•
You cannot use Dolby Digital-EX in the system without rear
center speaker.
•
You need to set it to EX/ES Mode when playing back disk
encoded to Dolby Digital-EX in 6.1 channel.
•
Some disks encoded with Dolby Digital-EX do not contain
identification signal. In this case, set EX/ES to ON.
Rear center channel is added to DTS 5.1 channel, improving the
sense of direction and space for sound. Since DTS-ES decoder
is built-in in the main unit, you can play back the disk encoded
with DTS-ES Discrete and DTS-ES Matrix. DTS-ES Discrete 6.1
can record the sound of all channels including rear center
channel digitally and play back the recorded sound as they are.
DTS-ES (Discrete 6.1, Matrix 6.1)
•
You cannot use DTS-ES in the system without rear center
speaker.
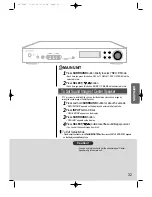
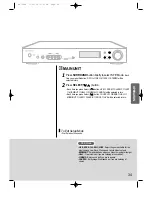
To Exit Setup Mode
•
Wait for about 5 seconds or turn VOLUME CONTROL of the main unit. ‘SETUP
MODE OFF’ appears on the display and exits Setup Mode.
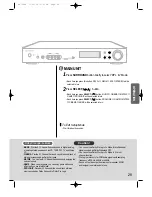
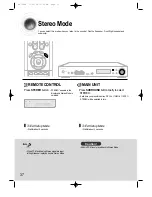
MAIN UNIT
Caution!
Caution!
Method
1
2
3
OPERA
TION
AS700GB 11/24/04 10:53 AM Page 36


