18
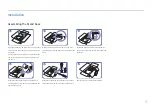
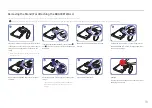
Removing the Stand (For Attaching the BRACKET WALL)
―
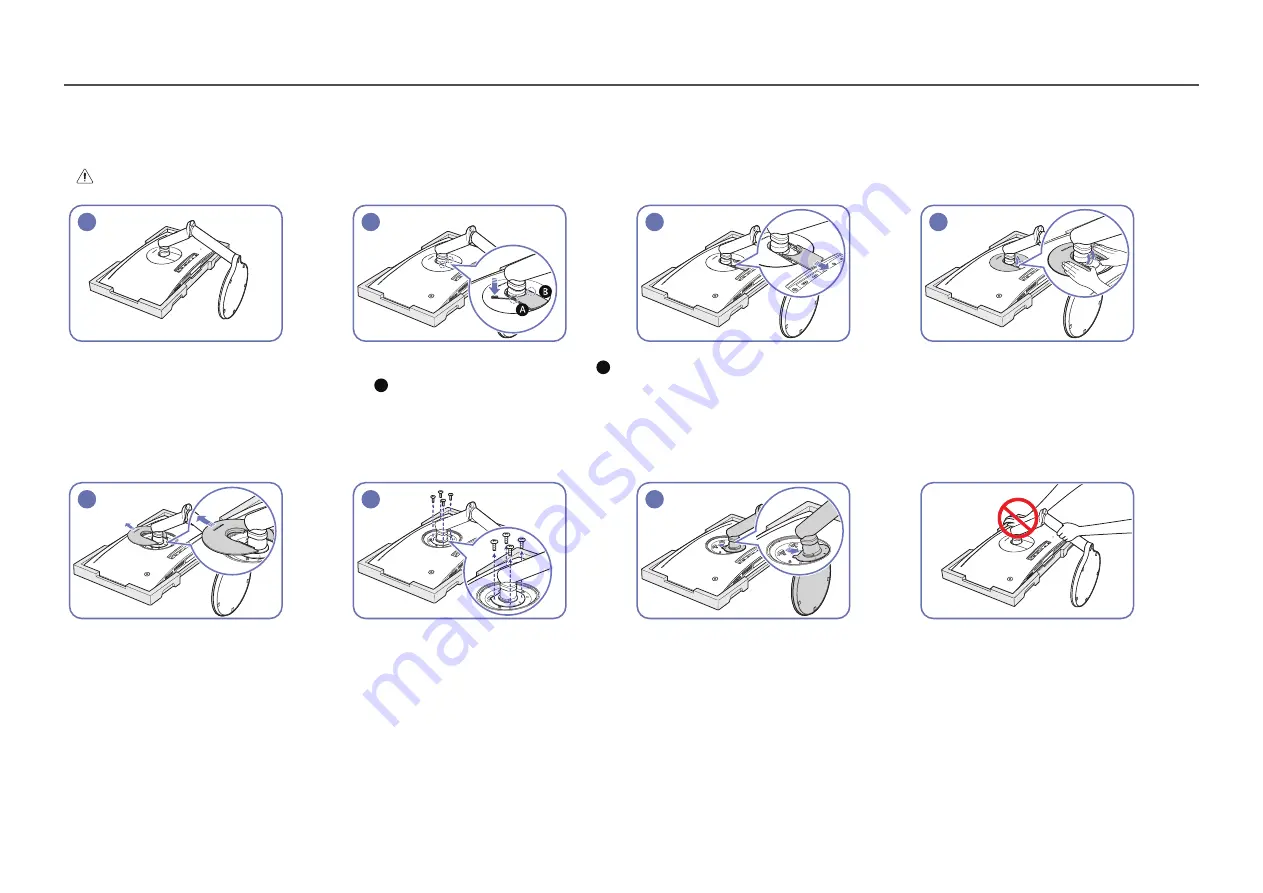
Before removing the stand from the monitor, place the monitor on a flat and stable surface with the screen facing down.
: The product is curved. Placing pressure on the product when on a flat surface may damage the product. When the product is on the ground facing up or down, do not put pressure on it.
1
2
3
4
Place the protective Styrofoam (cushion) included
in the package on the floor and place the product
facing down on the Styrofoam, as shown in the
image.
―
Make sure to use the styrofoam (cushion) that came
with the monitor.
Insert the dedicated disassembly pin into tabs
A
and
B
, then use the pin as a lever to lift the COVER
REAR SUB.
Remove the COVER REAR SUB in the arrow
direction.
On the back of the monitor, use your fingers to lift
the COVER REAR TOP in the direction of the arrows,
as shown in the image.
5
6
7
Remove the COVER REAR TOP in the direction of
the arrow.
Unfasten the screws on the stand, as shown in the
image.
―
The screws are also used to attach the BRACKET
WALL. Be careful to ensure the screws are not
missing.
Lift and remove the stand.
Caution
Do not press down on the monitor. There is a risk of
damaging the monitor.


