

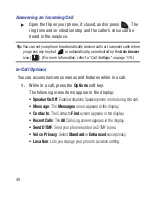
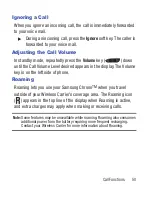
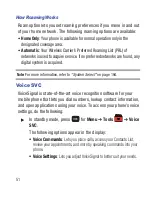
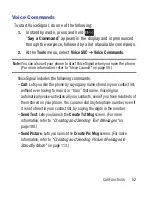


41
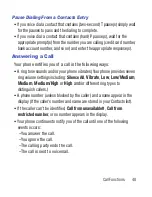
Manual Pause Calling
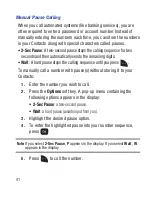
When you call automated systems (like banking services), you are
often required to enter a password or account number. Instead of
manually entering the numbers each time, you can store the numbers
in your Contacts along with special characters called pauses.
•
2-Sec Pause
: A two-second pause stops the calling sequence for two
seconds and then automatically sends the remaining digits.
•
Wait
: A hard pause stops the calling sequence until you press
.
To manually call a number with pause(s) without storing it to your
Contacts:
1.
Enter the number you wish to call.
2.
Press the
Options
soft key. A pop-up menu containing the
following options appears in the display:
• 2-Sec Pause
: a two-second pause.
• Wait
: a hard pause (awaits input from you).
3.
Highlight the desired pause option.
4.
To enter the highlighted pause into your number sequence,
press .
Note:
If you select
2-Sec Pause
,
P
appears in the display. If you select
Wait
,
W
appears in the display.
5.
Press
to call the number.
r260.book Page 41 Friday, March 18, 2011 11:57 PM


