Printing
_ 48
POSTSCRIPT OPTIONS (CLP-670 SERIES ONLY)
Following options are only supported on the Post Script driver.
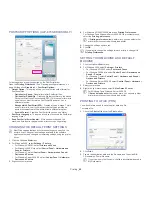
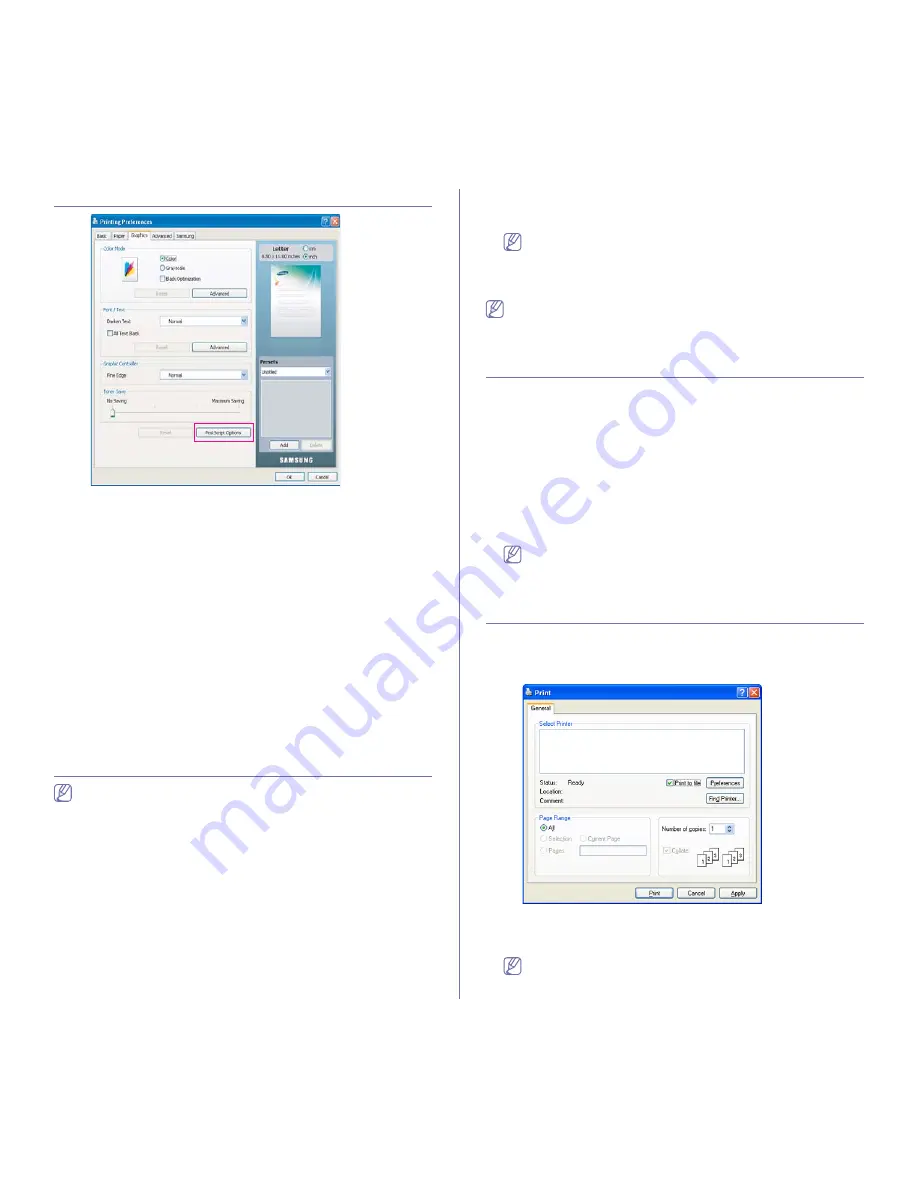
Open the
Printing Preferences
(See "Opening printing preferences" on
page 44) then click
Graphic
tab >
PostScript Options
.
•
Output Option:
This option allows you to select the output format for
PostScript files.
-
Optimize for Speed:
General format for PostScript files.
-
Optimize for Portability:
Creates a file that conforms to the Adobe
Document Structuring Conventions(ADSC). This is a useful format to
use when you want to create a PostScript file and print it on a
different machine.
-
Encapsulated PostScript(EPS):
Creates a file as a image. This is
a useful format to use if you want include the file as an image in
another document that will be printed from a different program.
-
Archive Format:
Creates a PostScript file you can use it later.
•
PostScript Language:
This option allows you to choose the PostScript
language level.
•
Send PostScript Error Handler:
If this options is checked, the
machine prints an error page when an error occurs during printing.
CHANGING THE DEFAULT PRINT SETTINGS
Most Windows applications will override settings you specify in the
printer driver. Change all print settings available in the software
application first, and change any remaining settings using the printer
driver.
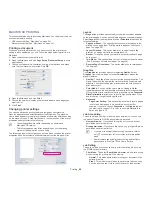
1.
Click the Windows
Start
menu.
2.
For Windows 2000, select
Settings
>
Printers
.
•
For Windows XP/2003, select
Printer and Faxes
.
•
For Windows 2008/Vista, select
Control Panel
>
Hardware and
Sound
>
Printers
.
•
For Windows 7, select
Control Panel
>
Hardware and Sound
>
Devices and Printers
.
•
For Windows Server 2008 R2, select
Control Panel
>
Hardware
>
Devices and Printers
.
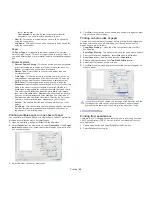
3.
Right-click your machine.
4.
For Windows XP/2003/2008/Vista, press
Printing Preferences
.
For Windows 7 and Windows Server 2008 R2, from context menus,
select the
Printing preferences
.
If
Printing preferences
item has
Ź
mark, you can select other
printer drivers connected with selected printer.
5.
Change the settings on each tab.
6.
Click
OK
.
If you want to change the settings for each print job, change it in
Printing Preferences
.
SETTING YOUR MACHINE AS A DEFAULT
MACHINE
1.
Click the Windows
Start
menu.
2.
For Windows 2000, select
Settings
>
Printers
.
•
For Windows XP/2003, select
Printer and Faxes
.
•
For Windows 2008/Vista, select
Control Panel
>
Hardware and
Sound
>
Printers
.
•
For Windows 7, select
Control Panel
>
Hardware and Sound
>
Devices and Printers
.
•
For Windows Server 2008 R2, select
Control Panel
>
Hardware
>
Devices and Printers
.
3.
Select your machine.
4.
Right-click your machine and select
Set as Default Printer
.
For Windows 7 and Windows Server 2008 R2
If
Set as default printer
item has
Ź
mark, you can select other
printer drivers connected with selected printer.
PRINTING TO A FILE (PRN)
You will sometimes need to save the print data as a file.
To create a file:
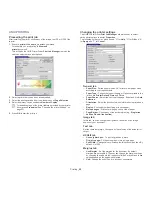
1.
Check the
Print to file
box at the
window.
2.
Click
.
3.
Type in the destination path and the file name, and then click
OK
.
For example c:\Temp\file name.
If you type in only the file name, the file is automatically saved in
My Documents.


