Wireless network setup
167
2. Using a Network-Connected Machine
Machines without a display screen
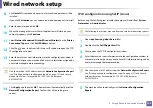
Connecting in PBC mode
1
Press and hold the
(WPS) button on the control panel for about 2 - 4
seconds until the status LED blinks quickly.
The machine starts connecting to the wireless network. The LED blinks
slowly for up to two minutes until you press the PBC button on the
access point (or wireless router).
2
Press the
WPS (PBC)
button on the access point (or wireless router).
a
The light blinks fast on the WPS LED. The machine is connecting to
the access point (or wireless router).
b
When the machine is successfully connected to the wireless
network, the WPS LED light stays on.
3
Insert the supplied software CD into your CD-ROM drive, and follow the
instructions in the window to set up the wireless network.
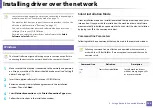
Connecting in PIN mode
1
The network configuration report, including PIN, must be printed (see
"Printing a network configuration report" on page 151).
In ready mode, Press the
(
Cancel
or
Stop/Clear
) button for more than
five seconds on the control panel.
The machine without the
(
Cancel
or
Stop/Clear
) button: Press the
(
WPS
)
button formore than ten seconds on the control panel.
You can find your machine’s PIN.
2
Press and hold the
(WPS) button on the control panel for more than
4 seconds until the status LED stays on.
The machine starts connecting to the access point (or wireless router).
3
You need to enter the eight-digit PIN within two minutes on the
computer that is connected to the access point (or wireless router).
The LED blinks slowly for up to two minutes until you enter the eight-
digit PIN.
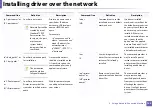
The WPS LED blinks in the order below:
a
The light blinks fast on the WPS LED. The machine is connecting to
the access point (or wireless router).
b
When the machine is successfully connected to the wireless
network, the WPS LED light stays on.
4
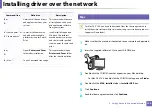
Insert the supplied software CD into your CD-ROM drive, and follow the
instructions in the window to set up the wireless network.
Summary of Contents for CLX-330 Series
Page 82: ...Redistributing toner 82 3 Maintenance...
Page 84: ...Replacing the toner cartridge 84 3 Maintenance...
Page 86: ...Replacing the waste toner container 86 3 Maintenance...
Page 88: ...Replacing the imaging unit 88 3 Maintenance...
Page 93: ...Cleaning the machine 93 3 Maintenance 1 2 1 2...
Page 101: ...Clearing original document jams 101 4 Troubleshooting...
Page 104: ...Clearing paper jams 104 4 Troubleshooting...
Page 139: ...Regulatory information 139 5 Appendix 27 China only...
Page 341: ...Index 341 Index disconnectiong 166 PBC mode 166 PBC 167 wireless network network cable 186...

