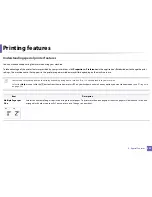


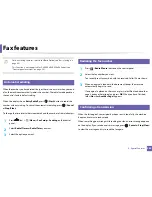


Scan features
235
4. Special Features
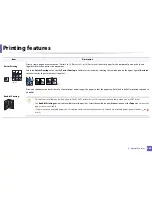
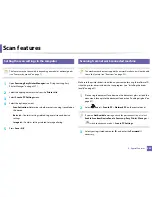
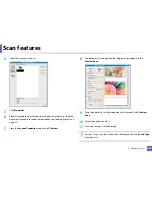
1
Make sure that the machine is connected to your computer and
powered on.
2
Place a single document face down on the document glass, or load the
documents face up into the document feeder (see "Loading originals" on
page 51).
3
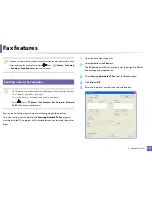
Click
Start
>
Control Panel
>
Hardware and Sound
>
Devices and
Printers
.
4
Right-click on device driver icon in
Printers and Faxes
>
Start Scan
.
5
New Scan
application appears.
6
Choose your scanning preferences and click
Preview
to see your
preferences affect the picture.
7
Scan and save your scanned image.
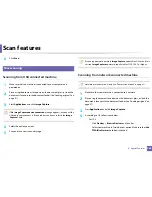
21
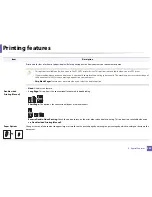
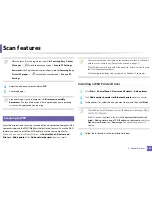
Scanning with Samsung Scan Assistant
You need to download Samsung Scan Assistant software from the Samsung
website to install the printer software (http://www.samsung.com > find your
product > Support or Downloads).
•
For Windows, you need to download
Samsung Scan Assistant from the
Samsung website to install the printer software (http://
www.samsung.com
> find your product > Support or Downloads).
•
For Mac, open the
Application
folder >
Samsung
> Samsung Scan
Assistant
.
•
For Windows, you can use the OCR (Optical Character Reader) feature
from
Samsung Scan Assistant
program.
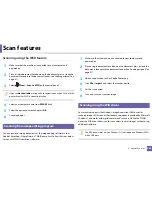
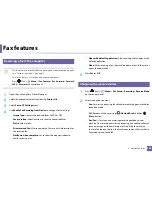
1
From the Samsung website, download the Samsung Scan Assistant
software to your computer. Then unpack and install the software.
2
Make sure that the machine is connected to your computer and
powered on.
3
Place a single document face down on the document glass, or load the
documents face up into the document feeder (see "Loading originals" on
page 51).
4
Click
Start
>
All programs
>
Samsung Printers
, and start
Samsung
Scan Assistant
.
Select the
Help
menu or click the
button from the window and click on
any option you want to know about.
5
Set the scan options.
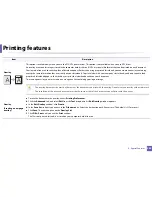
Summary of Contents for CLX-330x/330xW Series
Page 82: ...Redistributing toner 82 3 Maintenance ...
Page 84: ...Replacing the toner cartridge 84 3 Maintenance ...
Page 86: ...Replacing the waste toner container 86 3 Maintenance ...
Page 88: ...Replacing the imaging unit 88 3 Maintenance ...
Page 93: ...Cleaning the machine 93 3 Maintenance 1 2 1 2 ...
Page 102: ...Clearing original document jams 102 4 Troubleshooting ...
Page 105: ...Clearing paper jams 105 4 Troubleshooting ...
Page 109: ...Clearing paper jams 109 4 Troubleshooting ...
Page 126: ...Specifications 126 5 Appendix Free HDD space 1 GB 2 GB Items Requirements ...
Page 140: ...Regulatory information 140 5 Appendix 27 China only ...


