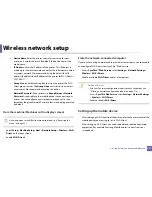
Wireless network setup
205
2. Using a Network-Connected Machine
Ad hoc via USB cable
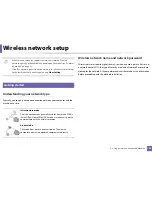
If you do not have an access point (AP), you may still connect the machine
wirelessly to your computer by setting up an ad hoc wireless network by
following these simple directions.
Items to prepare
•
Network-connected computer
•
Software CD that was provided with your machine
•
A machine installed with a wireless network interface
•
USB cable
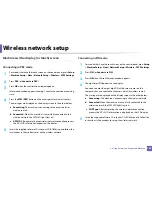
Creating the ad hoc network in Mac
1
Check whether the USB cable is connected to the machine.
2
Turn on your computer and the wireless network machine.
3
Insert the supplied software CD into your CD-ROM drive.
4
Double-click the CD-ROM icon that appears on your Mac desktop.
5
Double-click the
MAC_Installer
folder >
Installer OS X
icon.
6
Click
Continue
.
7
Read the license agreement and click
Continue
.
8
Click
Agree
to agree to the license agreement.
9
When the message that warns that all applications will close on your
computer appears, click
Continue
.
10
Click
Wireless Network Setting
button on the
User Options Pane
.
11
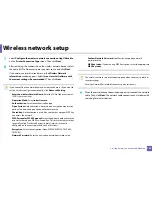
After searching the wireless networks, a list of wireless networks your
machine has searched appears. Click
Advanced Setting
.
•
Enter the wireless Network Name:
Enter the SSID name (SSID is case-
sensitive).
•
Operation Mode:
Select ad hoc.
•
Channel:
Select the channel (
Auto Setting
or 2412 MHz to 2467 MHz).
•
Authentication:
Select an authentication type.
Open System:
Authentication is not used, and encryption may or may
not be used, depending on the need for data security.
Shared Key:
Authentication is used. A device that has a proper WEP key
can access the network.
•
Encryption:
Select the encryption (None, WEP64, WEP128).
•
Network Password:
Enter the encryption network password value.
•
Confirm Network Password:
Confirm the encryption network
password value.
•
WEP Key Index:
If you are using WEP Encryption, select the appropriate
WEP Key Index
.
Summary of Contents for CLX-6260ND
Page 96: ...Redistributing toner 96 3 Maintenance...
Page 98: ...Replacing the toner cartridge 98 3 Maintenance CLX 419xN CLX 419xFN CLX 419xFW Series 5 6...
Page 101: ...Replacing the waste toner container 101 3 Maintenance 1 2 1 2 1 2...
Page 105: ...Installing accessories 105 3 Maintenance 1 2 1 2...
Page 110: ...Cleaning the machine 110 3 Maintenance...
Page 126: ...Clearing paper jams 126 4 Troubleshooting CLX 626xND CLX 626xFD CLX 626xFR CLX 626xFW Series...
Page 155: ...Specifications 155 5 Appendix Free HDD space Up to 100 MB Items Requirements...
Page 168: ...Regulatory information 168 5 Appendix 26 China only...

