


7
.7
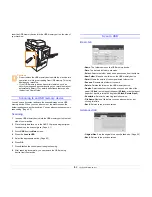
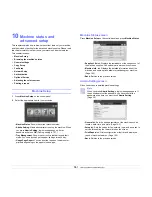
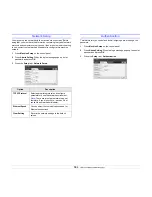
<Scanning>
3
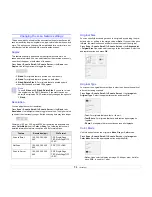
Press
Scan
from the
Main
screen.
Note
If the authentication message shows, enter User Name
and Password. This message shows only when the network
administrator has set the authentication in
SyncThru Web
Service
. (Page 11.9)
4
Press
NetScan
.
5
When the authentication message pops up, enter
ID
and
Password
.
ID
and
Password
that are which you have entered
during the configuration of the
Network Scan
program. (Page 7.6)
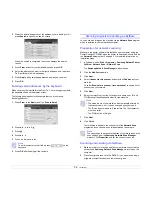
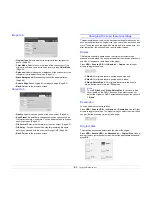
When login is completed, the screen shows the NetScan server
address which is the networked computer. Additionally, this shows
Application list that is configured in
Samsung Network Scan
Manager
.
6
Select one from the application list and press
Select
.
7
Press
Start
on the control panel to start scanning.
8
The original will be scanned and sent to your computer.
Scanning originals and sending via SMB/ FTP
(Scan to Server)
You can scan an image and send it to a total of 5 destinations via the SMB
or FTP.
Preparation for scanning to SMB/FTP
Select the folder and share it with the machine in order to receive the
scanned file.
Note
The next steps are for SMB server setting using
SyncThru Web
Service
, and the setting for FTP server is the same as SMB.
Apply the same steps for setting up the FTP server.
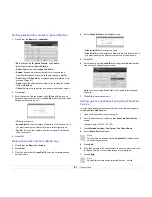
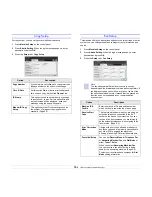
1
Turn your networked computer on and open the web browser.
2
Enter your machine's IP address as the URL in a browser.
3
Click
Go
to access the
SyncThru Web Service
.
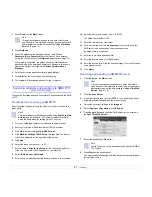
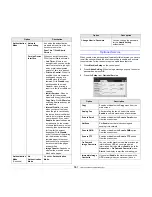
4
Click
Machine Settings
>
SMB Setup
>
Server List
. The Server
List is then displayed on the right side of the screen.
5
Click
Add
.
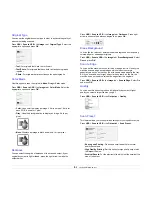
6
Select the index number from 1 to 20.
7
Enter a name in
Alias for the Setup
for the corresponding Server
List entry. This name will be displayed on your machine.
8
Select
IP Address or Host Name
.
9
Enter the server address in dotted decimal notation or a host name.
10
Enter the server port number, from 1 to 65535.
The default port number is 139.
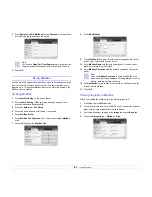
11
Enter the share name of the server.
12
Put a check mark next to in
Anonymous
if you want to allow the
SMB server to be accessed by unauthorized persons.
By default, this is unchecked.
13
Enter the login name and password.
14
Enter the domain name of the SMB server.
15
Enter the location for storing the scanned image. This is the location
you entered in step 7.
16
Click
Apply
.
Scanning and sending to SMB/FTP server
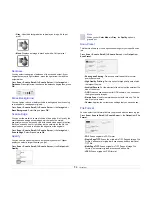
1
Press
Scan
from the
Main
screen.
Note
If the authentication message shows, enter User Name
and Password. This message shows only when the network
administrator has set the authentication in
SyncThru Web
Service
. (Page 11.9)
2
Press
Scan to Server
.
3
Place the originals face up in the DADF. Or you can place a single
original document face down on the scanner glass.
4
Adjust the document settings in the
Image
tab.
5
Select
Duplex
and
Resolution
in the
Basic
tab.
6
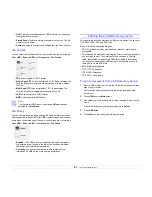
Press
Scan to Server
to show the SMB server list you entered in
the
SyncThru Web Service
.
7
Select the destination SMB server.
Note
You can select up to five destinations using both of SMB or
FTP servers.
8
Press
Start
on the control panel.
The machine begins scanning and then sends the scanned image to
the specified server.
Summary of Contents for CLX-8380ND
Page 1: ......
Page 137: ...Samsung Printer Software section...
Page 141: ...4 Scanning 47 Scanning with USB 47 Scanning with network 47...
Page 187: ...Ver 5 00...


