2 3
TAKING PHOTOS
Now let’s take a picture.
To switch on press the power button(
®Á
)
°§
The indicator ( ) on the shot information indicator and the condition indicator
lamp(green) next to the viewfinde blink while the camera is getting ready for the
operation, and they go out when the camera is ready for shots.
1
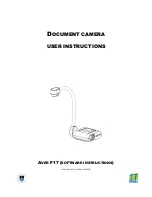
Select the desired mode (Macro or Normal) according to picturing range
by using the mode dial(
®Ë
) on the top of a camera.
°§
Macro( ) : between 20cm~80cm
°§
Normal( ) : photography range 80cm~ infinite
2
Select the suitable the image quality and the record size with the scroll
b u t t o n (
®È
), the select button(
®Í
) and LCD monitor off
°§
Refer to the page 26~33 about the shot mode using the shot information indicator.
3
®Á
®Ë
®È
®Í
2 2
CAMERA WORKING MODE
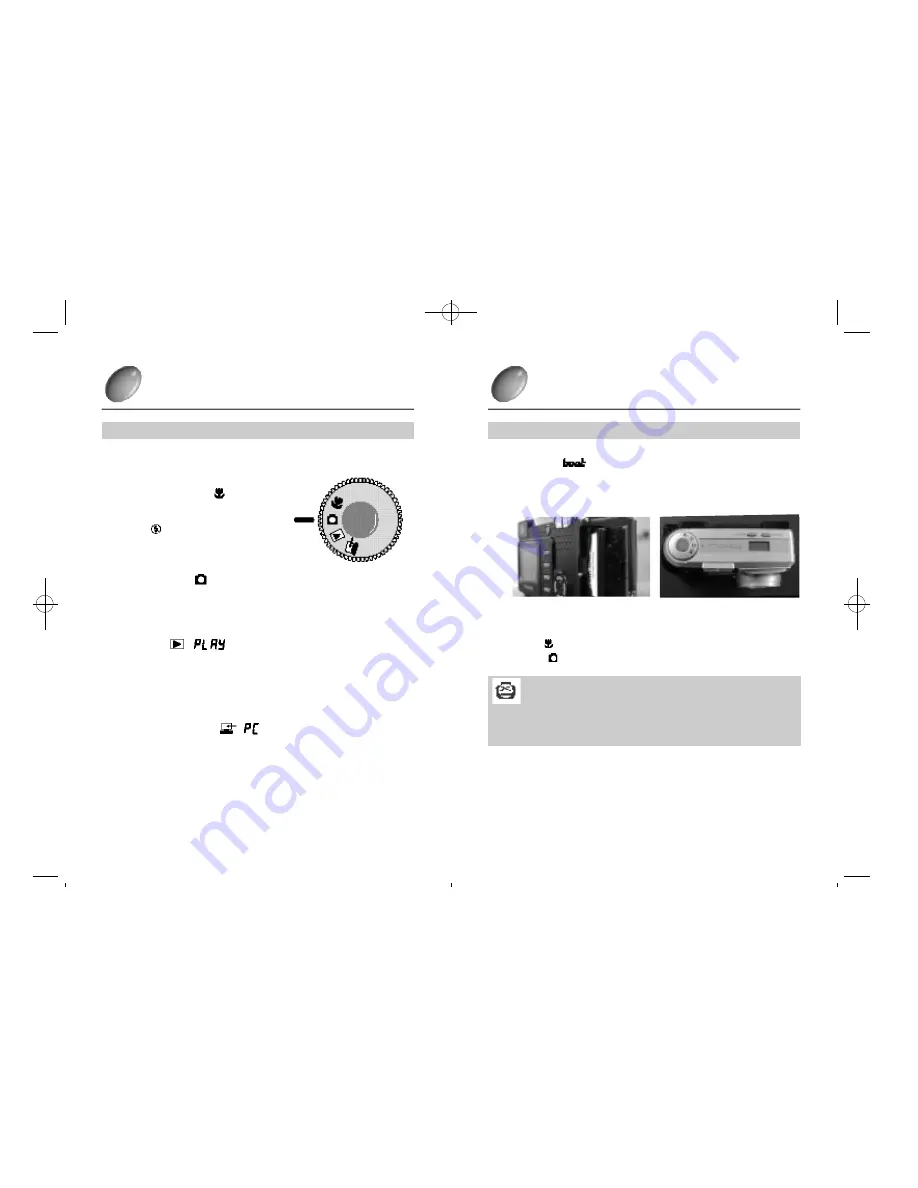
Camera working mode
°·
You can select the appropriate working mode by using the mode dial located
at the top of the camera. This digital camera has 4 working modes these are
listed below.
¢
Ú
Macro photography
( )
This mode is used for close range
photography between 20cm ~ 80cm.
The flash( )is set up to operate
automatically but you can set the flash mode
to your own preference.
¢
Ú
Normal pictures
( )
This mode is used for normal pictures from 80cm ~infinity.
In this mode, the camera uses auto exposure, auto white balance, auto focus
and the images are stored on the memory card.
¢
Ú
Play mode
( / )
In this mode, the stored images on the memory card can be viewed on the
LCD monitor on the back of the camera or on an external monitor using a
video output terminal
You can choose image play, 9 division image play, slide show image
protection, image delete or memory card formatting.
¢
Ú
PC connection mode
( / )
You can download images stored on the memory card directly to your PC.
°[
Mode dial indicator
°\
Note
°§
You cannot get the clear image of the object if you don
°Ø
t
select the suitable shot
mode(normal shot or macro shot)according to the distance between the object and the
c a m e r a .
-Digimax210SE(02~47) 00.10.24 8:32 AM
D
‰¿Ã¡ˆ22


