


92
MGI PhotoSuite III SE
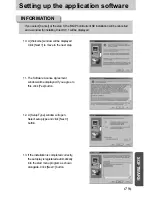
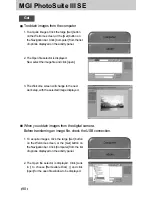
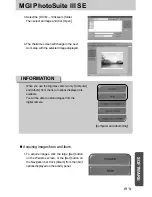
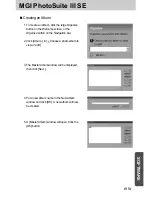
2. After selecting Album on the [ Choose a photo
album], click an image in the album and click
[Open].
3. The Welcome screen will change to the next
work step, with the selected image displayed.
Refer to page 95 for more information about
creating an Album.
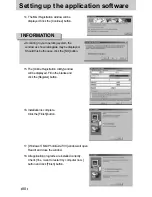
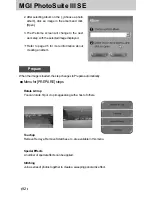
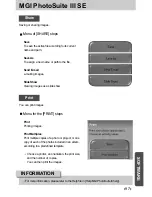
Prepare
When the image is loaded, the step changes to Prepare automatically.
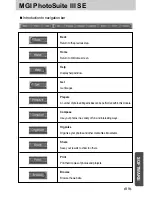
Menu for [PREPARE] steps
Rotate & Crop
You can rotate, flip or crop images along with a host of others.
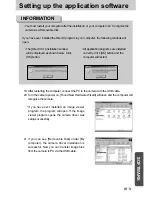
Touchup
Remove Red eye, Remove Scratches etc.. are available in this menu.
Special Effects
A number of special effects can be applied.
Stitching
Join a series of photos together to create a sweeping panoramic effect.


