


DSR 9500A FT
A, CI, EM VIA, VIA CI
GB-16
D
I
G
I
T
A
L
S
A
T
E
L
L
I
T
E
R
E
C
E
I
V
E
R
DSR 9500A FT
A, CI, EM VIA, VIA CI
GB
GB-17
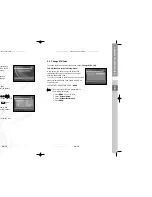
●
Select from Menu Mode:
"
User
" mode :
Enables control of basic positioner function
recommended for beginners. General user uses “
User
” mode.
"
Installer"
mode :
Complete control of the positioner’s full functions
recommended for installers and professional users.
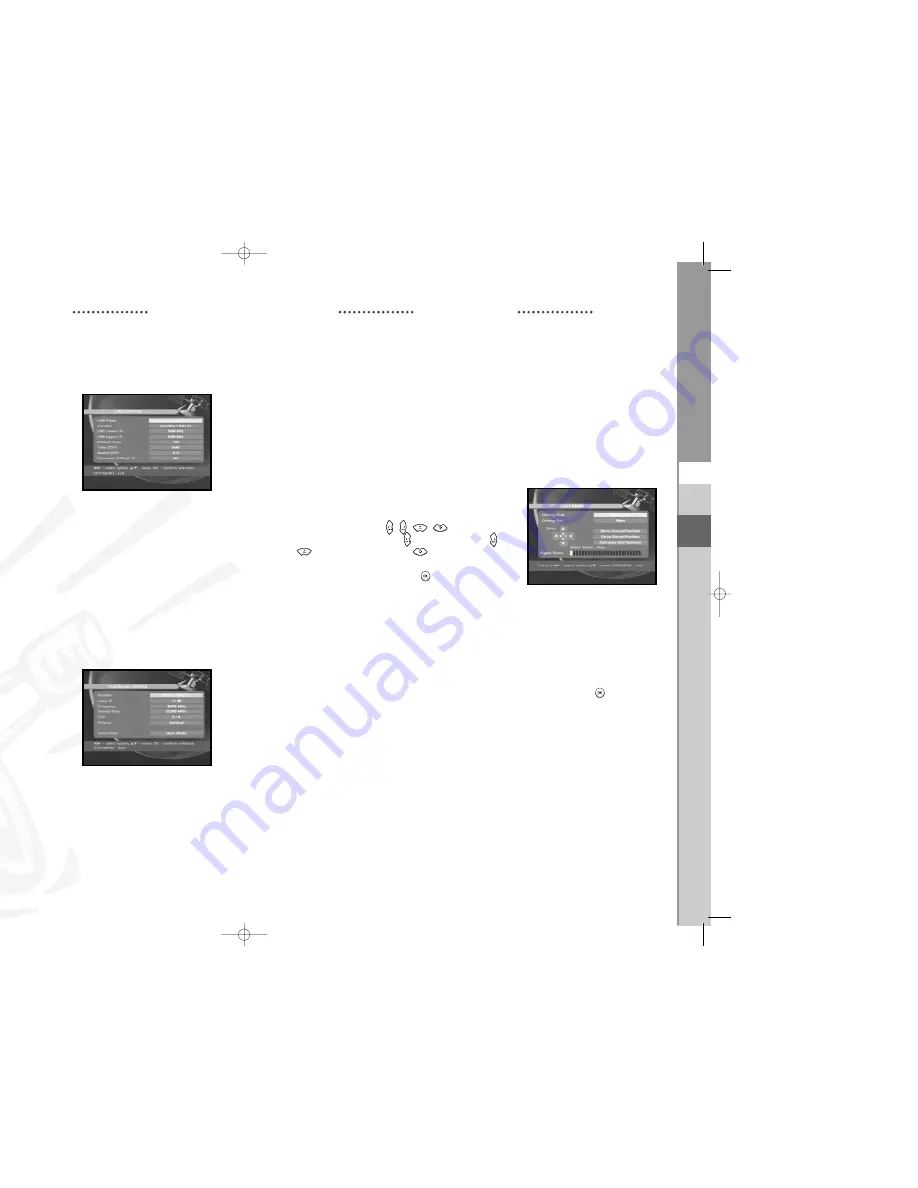
1.2.1 User Mode
●
Select Driving Mode:
You have an option to choose the positioner’s
movement type: Continuous, Step or Time.
●
Position the antenna with north, south, east
and west and use the
/ ,
/
key to drive
motor. key drives to west, key drives to east,
key drives to north and
key drives to south.
●
If you finished driving of motor, select “
Store
current Position.
” and press
key, to reset
new driving motor.
N
No
otte
e
:
The level indicated in the “Signal Status” is only for reference.
The signal quality may be adequate even though the level indicated is
not maximum.
●
Go to Stored Position.
When the stored position is reached then screen displays "
Stop
",
you can now continue with the further operations.
●
Select the Calculate Sat Positions to recalculate the satellite position and
key.
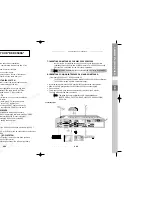
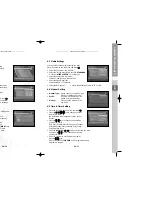
1.1 LNB Setting
You can select the satellite and LNB setting conditions
to execute channel search and you can alter the settings
for 22kHz tone. The parameters set in this menu are
needed for programming the channels for the "
Auto
scanning
" and "
Manual scanning
".
The necessary information can be found at your antenna
and LNB brochures, or you can ask your dealer.
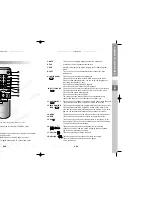
●
Select LNB power supply "
On
".
●
Select the desired satellite name.
●
Select the LNB type (frequency).
●
Select the DiSEqC Mode
(Off, DiSEqC A, DiSEqC B, DiSEqC C, DiSEqC D, Tone Burst A, Tone Burst B)
If you are using a Positioner, select this option. (“
Yes
” or “
No
”)
22KHz:
In case you are using a dual LNB or two antennas connected to a 22KHz
tone switch box, with the 22 KHz tone switch ("
On
", "
Off
" or "
Auto
") you
can switch between both LNB or antennas.
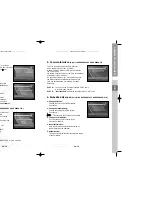
1.2 Positioner Setting
If you have a DiSEqC 1.2 motorized system, then you can
take advantage of the DiSEqC 1.2 functions available.
●
Select Satellite.
●
Select any transponder from above satellites and
check out the Frequency, Symbol Rate, FEC and Polarity.
In case problems arise, ask your dealer.
OPERATING THE RECEIVER
OPERATING THE RECEIVER
DSR 9500A_GB_10.10 10/12/02 9:15 AM Page 16


