


GB-22
GB-23
D
i
g
i
t
a
l
T
e
r
r
e
s
t
r
i
a
l
R
e
c
e
i
v
e
r
GB
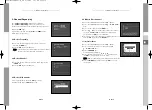
4.3 Media Settings
You can set the various media settings you want.
Place the cursor on this sub menu and press the
OK
key.
●
Press the
/
keys to move the sub items and press
the
/
keys to select the option.
●
Press the
OK
key to confirm.
●
Press the
MENU/EXIT
keys to exit the menu.
●
Select the TV system :
PAL
or
SECAM
.
●
Select the TV Aspect Ratio according to your TV:
STANDARD
4 : 3
ratio or WIDE SCREEN
16 : 9
ratio type.
●
Select the Aspect Ratio Conversion :
None
,
Letter Box
or
Pan & Scan
.
●
Select the Video Signal Type :
Composite
or
CoRGB
.
●
RF Channel :
Off
or
K21 CH ~ K69 CH
●
Broadcasting System :
B/G
,
I
,
D/K
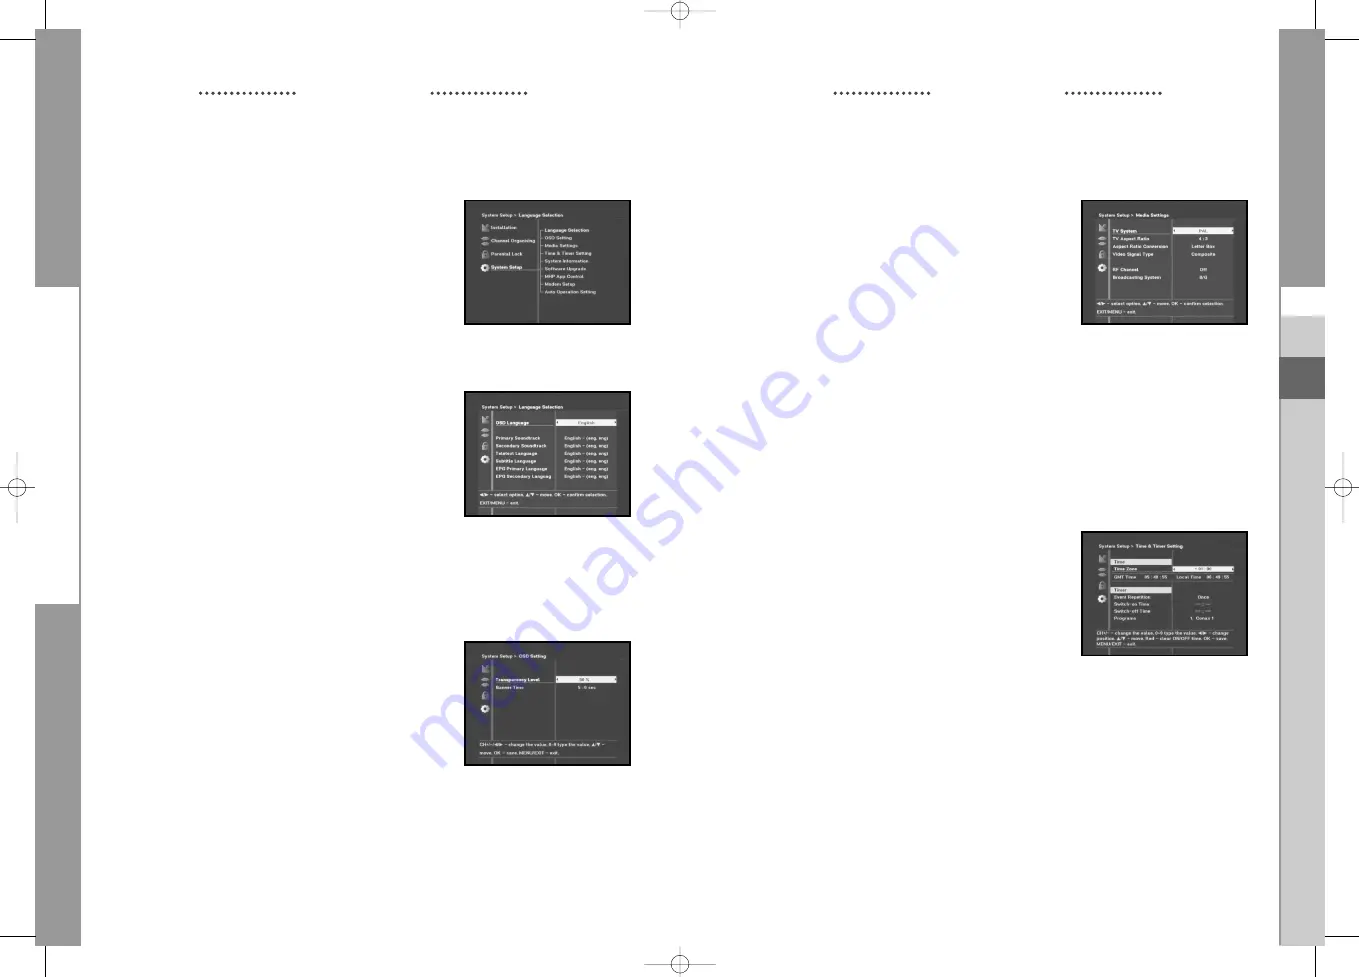
4.4 Time & Timer Setting
Various time modes can be set, such as current local time,
switch on/off time.
The exact local present time can be adjusted by using the GMT.
●
Place the cursor on this sub menu and press the
OK
key.
●
Press the
/
keys to change the Local time in Time Zone.
The local time will be changed according to your location.
GMT is referred to the standard time of Greenwich.
This cannot be changed.
●
Press the
/
keys to choose Event Repetition you want to
reserve : Once, Daily, Every Sunday, Every Monday, Every
Tuesday, Every Wednesday, Every Thursday, Every Friday
and Every Saturday.
●
Insert the preferable Switch on/off time by the
Numerical (0~9)
keys and
/
keys.
Press the
/
keys to choose a switch time you want to reserve.
●
Select program to set the event program by pressing the
/
and
Numerical (0~9)
keys.
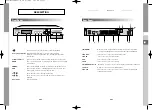
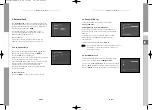
4. System Setup
This option enables you to change the factory preset system
settings as per your requirements.
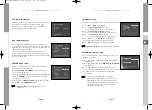
4.1 Language Selection
The “
Language Selection
” option allows the user to select
the desired language of the OSD, Soundtrack, Teletext, and EPG.
●
To accommodate user from different regions speaking
different languages, OSD languages are available 5 languages.
(English, Deutsch, Français, Italiano, and Español provided
currently)
●
To select the desired language menu, press the
/
keys to
change language and press the
OK
key.
●
The OSD, Soundtrack, Teletext, or EPG language will
vary according to the selected language.
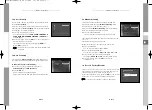
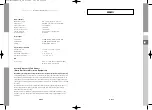
4.2 OSD Setting
You can set the OSD transparency and the display(banner) time.
●
Select OSD Transparency level.
The OSD Transparency level from 0 to 100%.
Setting is made with the numeric keys,
/
keys or
CH+/CH-
keys.
●
Set the display duration of the information(banner) box
displayed in the screen.
The time ranges from 0.5 to 60.0 seconds.
Setting is made with the numeric keys,
/
keys to be
decrement/increment of 0.5sec and
CH+/CH-
keys 1sec.
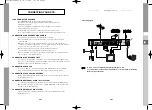
OPERATING THE RECEIVER
OPERATING THE RECEIVER
MF68-00345A(REV1.2)_GB 4/18/05 1:27 PM Page 22


