background image

CAUTION

The battery used in this product contains the chemicals that are
harmful to the environment.

Do not dispose of batteries in the general household waste.

It is recommended that the replacement of the battery should be
done by a technician.

2

P

recautions

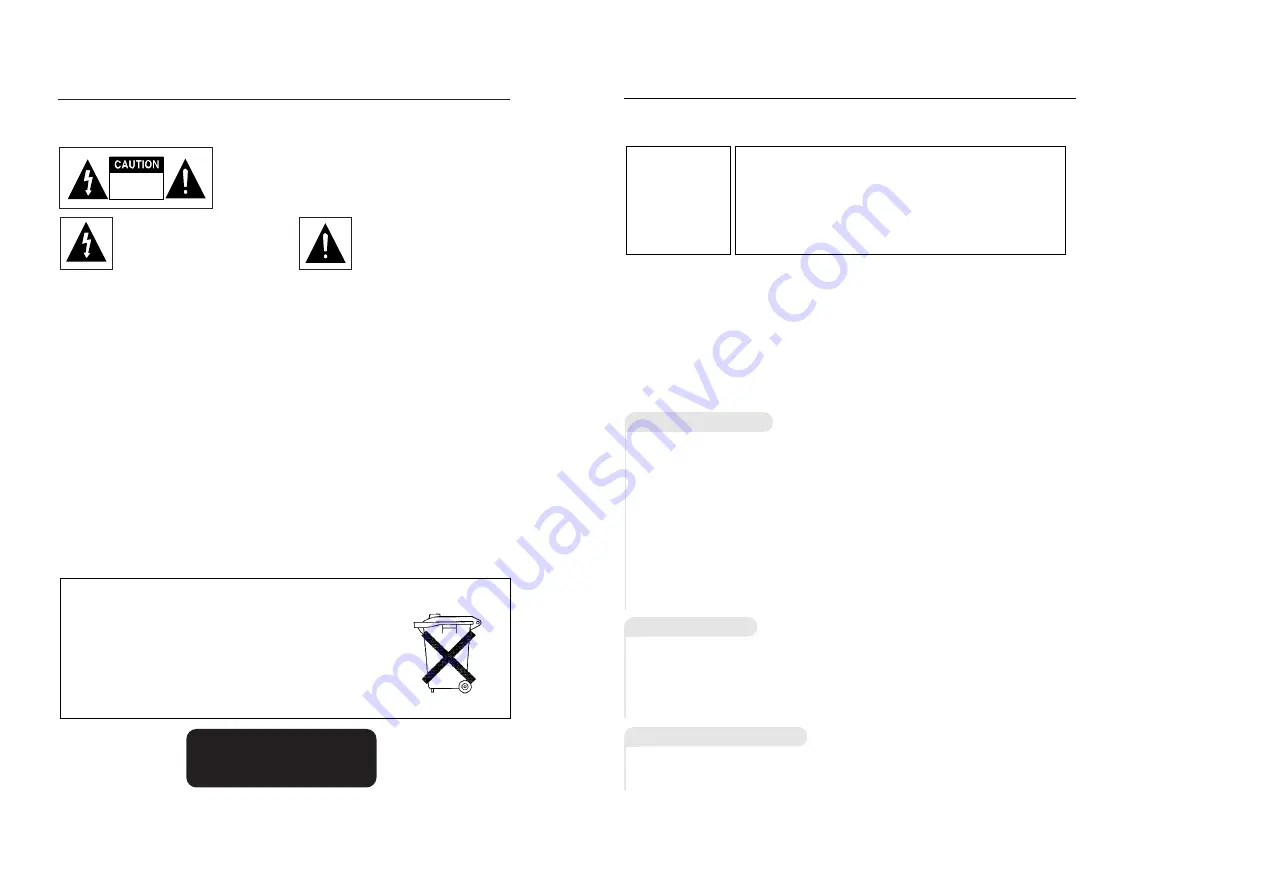
TO REDUCE THE RISK OF ELECTRIC SHOCK, DO NOT
REMOVE THE COVER(OR BACK).
NO USER-SERVICEABLE PARTS ARE INSIDE. REFER
SERVICING TO QUALIFIED SERVICE PERSONNEL.

This symbol indicates “danger-
ous voltage” inside the product
that presents a risk of electric
shock or personal injury.

This symbol indicates important
instructions accompanying the
product.

RISK OF ELECTRIC SHOCK

DO NOT OPEN

CAUTION: DVD PLAYERS USE AN INVISIBLE LASER BEAM WHICH CAN

CAUSE HAZARDOUS RADIATION EXPOSURE IF DIRECTED.

BE SURE TO OPERATE PLAYER CORRECTLY AS INSTRUCTED.

CAUTIONS

Caution

:

To prevent electric shock, match wide blade of plug to wide slot, fully insert.

To prevent electromagnetic interference with electric appliances, such as radios and televi-
sions, use shielded cables and connectors for connections.

CAUTIONS

Protect the unit from damp and excess heat. Disconnect the power cable from the mains
electricity supply when the unit malfunctions.
In particular, you should ensure that the motor driven disc drawer is not prevented from mov-
ing properly. If the disc loading system is hindered, the loading mechanism may be dam-
aged. Install the DVD player horizontally, away from a source of heat (fireplace) or equipment
creating strong magnetic or electric fields.

• Do not place anything heavy on it.
• Do not stack components on it.

CLASS 1    LASER PRODUCT

LUOKAN 1 LASER LAITE

KLASS 1    LASER APPARAT

3

P

recautions

CAUTION

THIS PRODUCT UTILIZES A LASER. USE OF CONTROLS OR
ADJUSTMENTS OR PERFORMANCE OF PROCEDURES
OTHER THAN THOSE SPECIFIED HEREIN MAY RESULT IN
HAZARDOUS RADIATION EXPOSURE. DO NOT OPEN
COVER AND DO NOT REPAIR YOURSELF. REFER SERVIC-
ING TO QUALIFIED PERSONNEL.

Note:

• This unit can be used only where the power supply is AC 110-240V, 50/60Hz. It can-

not be used elsewhere.

• This DVD player is designed and manufactured to respond to the Region

Management Information. If the Region number of a DVD disc does not correspond to
the Region number of this DVD player, the DVD player cannot play the disc.

• This device is protected by U.S. patent numbers 4,631,603, 4,577,216 and 4,819,098

and other intellectual property rights. The use of Macrovision’s copy protection tech-
nology in the device must be authorized by Macrovision and is intended for home and
other limited pay-per-view uses only, unless otherwise authorized in writing by
Macrovision. Reverse engineering or disassembly is prohibited.

WARNING

To reduce the
risk of fire or
shock hazard, do
not expose this
DVD player to
rain or moisture.

• Before connecting other components to this player, be sure to turn them all off.
• Do not move the player while a disc is being played, or the disc may be scratched or

broken, and the player’s internal parts may be damaged.

• Do not put a flower vase filled with water or any small metal objects on the player.
• Be careful not to put your hand into the disc tray.
• Do not place anything other than the disc in the disc tray.
• Exterior interference such as lightning and static electricity can affect normal operation

of this player. If this occurs, turn the player off and on again with the POWER button, or
disconnect and then reconnect the AC power cord to the AC power outlet. The player
will operate normally.

• Be sure to remove the disc and turn off the player after use.
• Disconnect the AC power cord from the AC outlet when you don’t intend to use the play-

er for long periods of time.

• Clean the disc by wiping in a straight line from the inside to the outside of the disc.

Be careful not to harm the disc because the data on these discs is highly vulnerable to the
environment.
• Do not keep under direct sunlight.
• Keep in a cool ventilated area.
• Store vertically.
• Keep in a clean protection jacket.

For safety reasons, be sure to disconnect the AC power cord from the AC outlet.
• Do not use benzene, thinner, or other solvents for cleaning.
• Wipe the cabinet with a soft cloth.

Handling Cautions

Disc Storage

Maintenance of Cabinet

Summary of Contents for DVD-811

Page 1: ...AH68 00442E V I D E O DVD PLAYER DVD VIDEO CD CD DVD 811 ELECTRONICS ...

Page 2: ...0V 50 60Hz It can not be used elsewhere This DVD player is designed and manufactured to respond to the Region Management Information If the Region number of a DVD disc does not correspond to the Region number of this DVD player the DVD player cannot play the disc This device is protected by U S patent numbers 4 631 603 4 577 216 and 4 819 098 and other intellectual property rights The use of Macro...

Page 3: ...ound Sound Speaker Setup 31 Setting Up the Display Options 32 Controlling a TV with the Remote 33 Troubleshooting Guide 34 Specifications 35 Warranty card UNITED KINGDOM 36 General Features 6 Disc Type and Characteristics 7 Description 8 Front Panel Controls 8 Front Panel Display 8 Rear Panel 9 Tour of the Remote Control 10 Before You Start 1 Open the battery cover on the back of the remote 2 Inse...

Page 4: ...mber 6 General Features Excellent Sound Dolby Digital a technology devel oped by Dolby Laboratories pro vides crystal clear sound reproduc tion Screen Video with MPEG 2 compression technology Both regular and widescreen 16 9 pictures can be viewed Slow Motion An important scene can be viewed in slow motion Programmed Play You can program tracks to play in desired order Parental Control The parenta...

Page 5: ...eo cable to connect to the Video input jack on your television S VIDEO OUT JACK Use the S Video cable to connect this jack to the S Video jack on your tele vision for a higher quality picture The S Video must be selected in the VIDEO OUT SELECT VIDEO OUT SELECT SWITCH Use the switch to set video out If Scart jack is selected S Video may not work If S Video is selected Scart jack may not work SCART...

Page 6: ...OLUME CON Button To control the master volume of the player 3D SOUND Button BOOKMARK Button PLAY PAUSE Button Begin Pause disc play SKIP Buttons Use to skip the title chapter or track CLEAR Button Use to remove menus or status displays from the screen MODE Button Allows you to program a specific order DISPLAY Button Displays the current disc mode MENU Button Brings up the Disc menu ENTER DIRECTION...

Page 7: ...put Jack Audio Video If Scart jack is selected in the VIDEO OUT SELECT TV Normal Widescreen Projection etc Connection to a TV For Video R L VIDEO OUT S VIDEOOUT MIXED AUDIO OUT R1 L1 R2 L2 V2 V1 AV1 TV Audio Input Jacks Good picture Basic Audio OR OR AV Cable included S Video Cable included Scart Cables not included Better picture Best picture If RGB is selected in the SETUP MENU Video Input Jack ...

Page 8: ...d off after approximately 30 minutes have elapsed in the stop mode auto power off feature If the player is left in the stop mode for more than one minute without any user interac tion a screen saver will be activated and the TV screen will fade in and fade out repeat edly Press PLAY button to resume normal play This icon indicates an invalid button press 1 1 Stopping Playback Press the STOP button...

Page 9: ...press the PLAY PAUSE button When in search mode 8X 16X 32X on a DVD or high speed playback on a VCD no sound will be heard When 2X SCAN AUDIO is set to ON in the SETUP MENU no sound will be heard on discs which are recorded with LPCM DTS or MPEG 2 Depending on the disc audio may not be heard when a disc is in 2X play back mode Using the Search Skip Functions 16 BASIC FUNCTIONS NOTE When Playing a ...

Page 10: ...k is completed before marking the end B the end of title or track becomes B automatically When in VCD 2 0 mode MENU ON mode this function does not work 18 Repeat Play BASIC FUNCTIONS Off Track Disc A B VCD CD DVD NOTE Program Playback DVD VCD CD 1 1 Press the MODE button 2 2 Use the LEFT RIGHT button to select PROGRAM Press the ENTER button 3 3 Use the LEFT RIGHT button to select the first chapter...

Page 11: ...RO mode INTRO lets you listen to the beginning of each track for about 10 seconds 01 01 example example ENTER 20 Using the Disc View Function ADVANCED FUNCTIONS NOTE Using the AUDIO Button Using the MENU Button 1 1 Press the AUDIO button 2 2 Use the UP DOWN button to select the desired language on a DVD The audio and subtitle languages are represented by abbreviations 3 3 Use the UP DOWN button to...

Page 12: ...p to 32 subtitle languages How to have the same subtitle language come up whenever you play back a DVD Refer to Setting Up the Language Features on page 28 1 English 2 Francais example 1 Audio 2 Subtitle ENG On 22 Selecting the Subtitle Language ADVANCED FUNCTIONS Using the ANGLE button When a DVD contains multiple angles of a particular scene you can select the Angle function Check to see if an A...

Page 13: ...e Bookmark Function ADVANCED FUNCTIONS NOTE Using the Zoom Function DVD VCD Using the 3D Sound Function 1 1 During playback or pause mode press the ZOOM button on the remote A square will be displayed on screen 2 2 Use the UP DOWN or LEFT RIGHT but ton to select the part of the screen you want to zoom 3 3 Press the ENTER button During DVD playback press ENTER to zoom in 2X 4X normal in order Durin...

Page 14: ...ter setting up press the SETUP button again ENTER RETURN SETUP MENU 1 Player Menu English 2 Disc Menu English 3 Audio English 4 Subtitle Automatic 5 Parental Unlocked 6 Audio Options 7 Display Options Depending on the disc some Setup Menu selec tions may not work 26 Using the Setup Menu CHANGING SETUP MENU Using the Disc Menu Language Using the Player Menu If you set the player menu disc menu audi...

Page 15: ... Setting Up the Language Features CHANGING SETUP MENU The Parental Control function works in conjunction with DVDs that have been assigned a rating which helps you control the types of DVDs that your family watches There are up to 8 rating levels on a disc e g Setting up in LEVEL 6 ENTER RETURN PARENTAL CONTROL ENTER RETURN PARENTAL CONTROL ENTER RETURN RATING LEVEL Level 8 Adult Level 7 Level 6 L...

Page 16: ...tration If you don t connect a subwoofer always select Found Large illustration for the Front Speakers L R When you don t have a particular speaker connected select Not found No illustration visible Setting up DELAY TIME When 5 1CH Surround Sound is played you can enjoy the best sound if the distance between you and each speaker is the same You can set Delay Time in the Center Surround Speaker to ...

Page 17: ... C MIVAL LG B SHARP C JVC Setting Up the Display Options 1 1 With no disc playing press the SETUP button 2 2 Use the UP DOWN button to select DIS PLAY OPTIONS Then press the ENTER button 3 3 Use the UP DOWN button to select the desired item Then press the LEFT RIGHT button TV ASPECT 4 3 LETTER BOX Select when you want to see the total 16 9 ratio screen DVD supplies even though you have a TV with a...

Page 18: ...nutes to drain the microprocessor inside the remote to reset it Reinstall batteries and try remote again Ensure that the disc is installed with the label side facing up Check the region number of the DVD This player cannot play CD ROMs DVD ROMs CD R etc Insert a DVD a VIDEO CD or a CD 5 1 channel sound is reproduced only when the following conditions are met 1 The DVD player is connected with the ...

Page 19: ... warranty 4 This product is not considered to be defective in materials nor workmanship by reason that it requires adaptation in order to conform to national or local technical or safety standards in force in any Country other than the one for which the product was originally designed and manufactured This warranty will not cover and no imbursement will be made for such adapta tion nor any damage ...

Reviews: