70 - English
P
layback
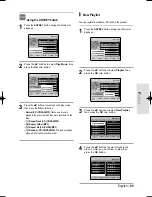
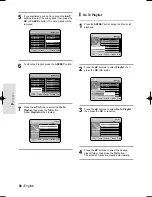
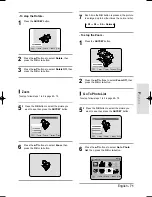
Rotate
To setup, follow steps 1 to 4 in pages 69~70.
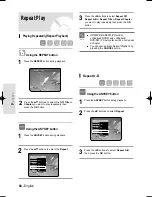
5
-1 Press the OK button to select the picture you
want to see, then press the ANYKEY button.
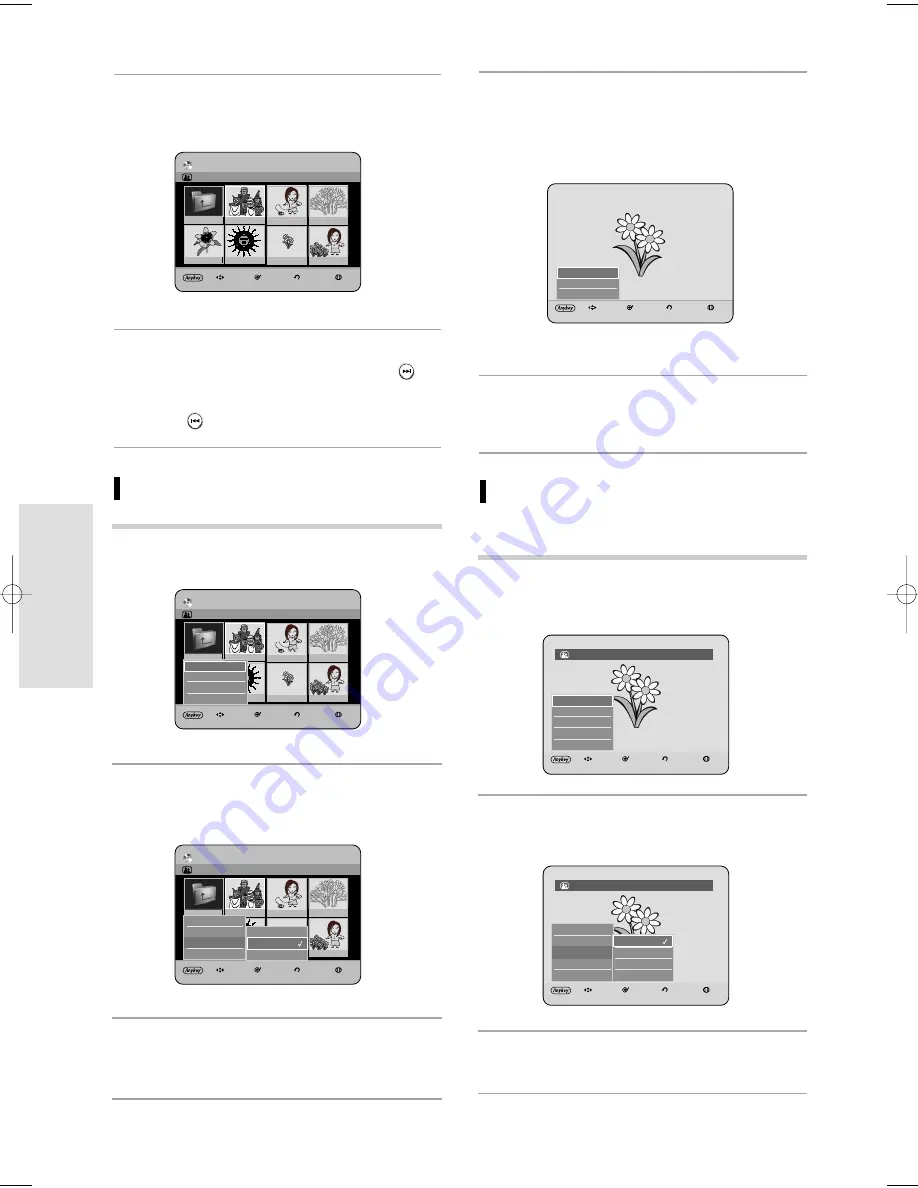
6
Press the
…†
buttons to select Rotate, then
press the OK or
√
button.
7
Press the
…†
buttons to select the rotate angle,
then press the OK or
√
button.
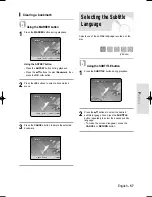
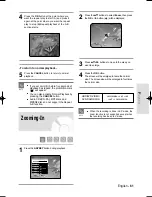
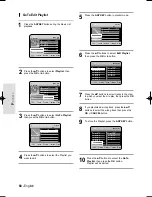
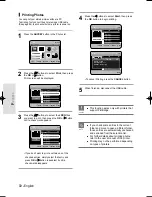
3
Press the
…†
buttons to select Photo, then press the
OK or
√
button.
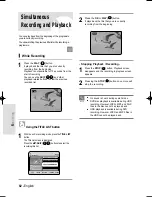
4
Press the
…† œ √
buttons to select a picture.
• To see the next 8 pictures, press the SKIP (
)
button.
• To see the previous 8 pictures, press the
SKIP(
) button.
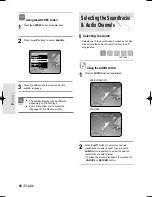
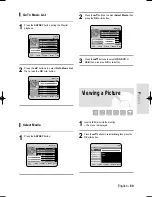
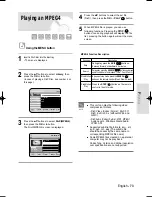
Slide Show
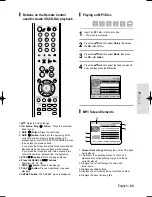
5
Press the ANYKEY button.
6
Press the
…†
buttons to select Slideshow, then
press the OK or
√
button.
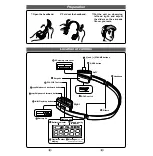
7
Press the
…†
buttons to select the slideshow
speed, then press the OK or
√
button.
The slide show starts.
CD
Photo List
Image 1.jpg
1/17
MOVE
SELECT
RETURN
EXIT
ROOT
Image 1.jpg
Image 10.jpg
Image 11.jpg
Image 13.jpg
Image 14.jpg
Image 15.jpg
Image 16.jpg
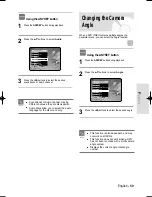
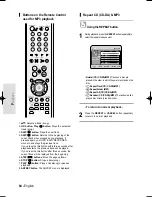
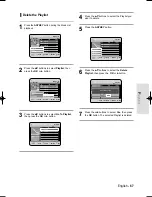
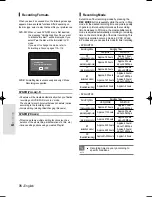
- To stop the Slide Show -
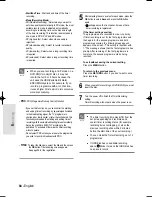
1
Press the ANYKEY button.
2
Press the
…†
buttons to select Slideshow Off,
then press the OK or
√
button.
MOVE
SELECT
RETURN
EXIT
Slideshow
√
Slideshow Off
Go to Photolist
Slideshow
√
CD
Photo List
Image 1.jpg
1/17
MOVE
SELECT
RETURN
EXIT
ROOT
Image 1.jpg
Image 10.jpg
Image 11.jpg
Image 13.jpg
Image 14.jpg
Image 15.jpg
Image 16.jpg
Copy
√
√
Slideshow
√
√
Select Media
√
√
Copy
√
√
CD
Photo List
Image 1.jpg
1/17
MOVE
SELECT
RETURN
EXIT
ROOT
Image 1.jpg
Image 10.jpg
Image 11.jpg
Image 13.jpg
Image 14.jpg
Image 15.jpg
Image 16.jpg
Copy
√
√
Slideshow
√
√
Select Media
√
√
Slideshow
√
√
Slow
Normal
Fast
Normal
MOVE
SELECT
RETURN
EXIT
é
00:00:00
Slideshow
√
√
Rotate
√
√
Zoom
Go to Photolist
Image 15.jpg
6/17
MOVE
SELECT
RETURN
EXIT
é
00:00:00
Slideshow
√
√
Rotate
√
√
Zoom
Go to Photolist
Rotate
√
√
Image 15.jpg
6/17
Rotate Off
Rotate 90
Rotate 180
Rotate 270
Rotate Off
HR733-HR738_XEU_59~88 6/23/06 10:28 AM Page 70


