E
diting
English - 97
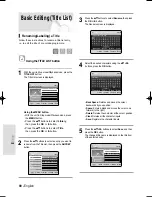
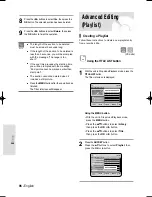
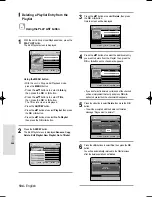
3
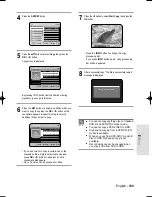
Press the
…†
buttons to select New Playlist,
then press the OK or
√
button.
The Make Playlist screen is displayed.
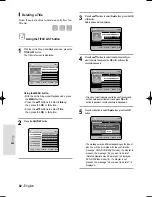
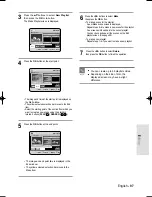
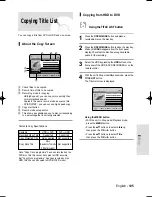
4
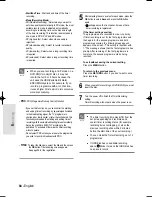
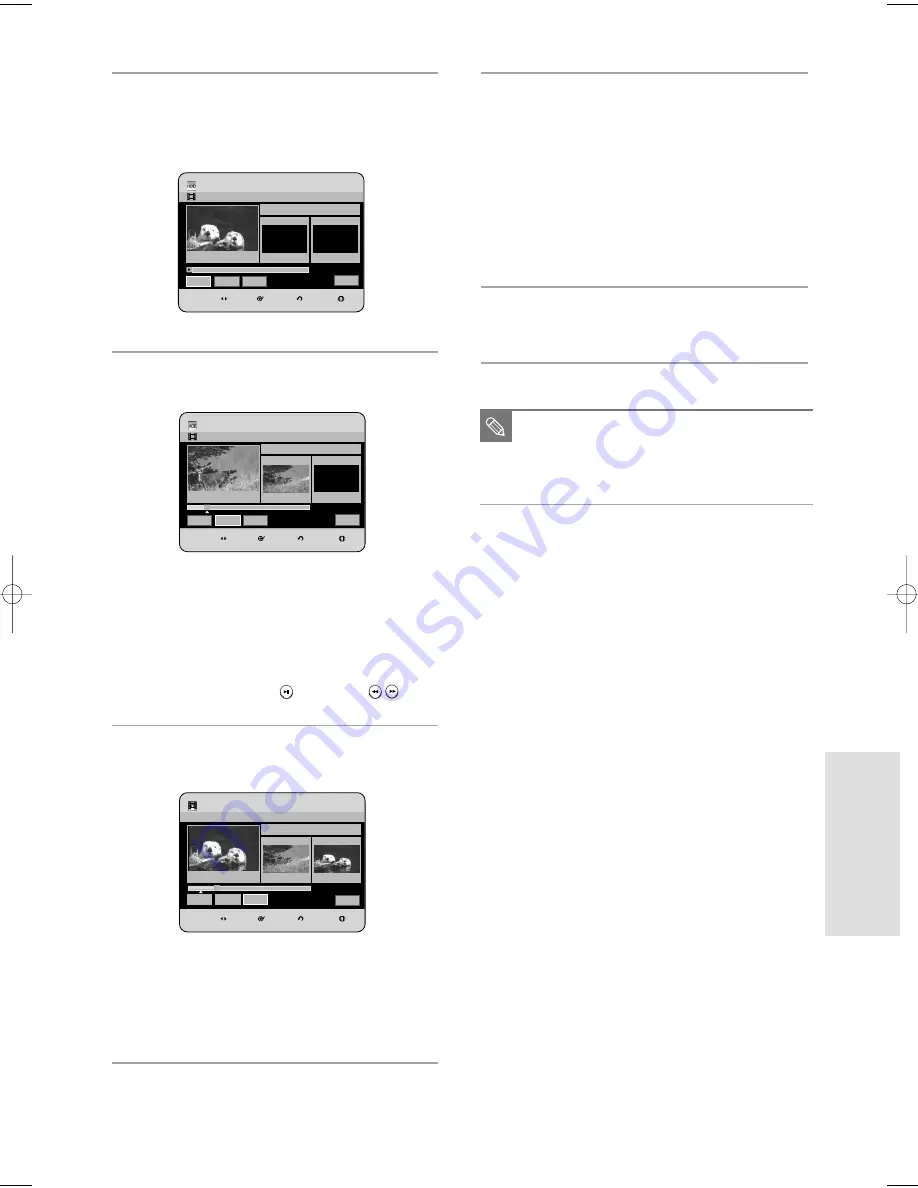
Press the OK button at the start point.
• The image and time at the start point is displayed on
the Start window.
• The yellow-coloured selection bar moves to the End
item.
• Select the starting point of the section from which you
want to create a new scene using the playback
related buttons (PLAY(
), SEARCH (
)
).
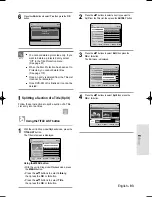
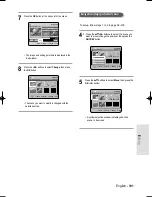
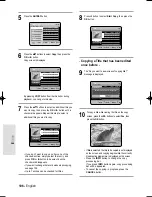
5
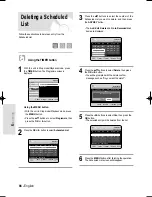
Press the OK button at the end point.
• The image and end point time is displayed in the
End window.
• The yellow-coloured selection bar moves to the
Make item.
HDD
Make Playlist
New Playlist
MOVE
SELECT
RETURN
EXIT
00:00:00
Scene No. 001
Start
00:00:00
End
00:00:00
Return
Start
End
Make
Title List 1/3
HDD
Make Playlist
New Playlist
MOVE
SELECT
RETURN
EXIT
00:08:38
Scene No. 001
Start
00:08:38
End
00:00:00
Return
Start
End
Make
Title List 1/3
HDD
Make Playlist
New Playlist
MOVE
SELECT
RETURN
EXIT
00:11:03
Scene No. 001
Start
00:08:38
End
00:11:03
Return
Title List 1/3
Start
End
Make
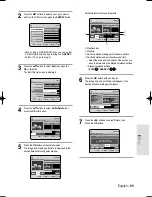
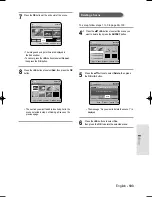
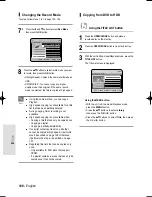
6
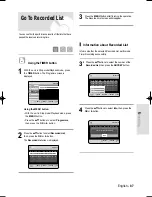
Press the
œ √
buttons to select Make,
then press the OK button.
• To make a scene for the playlist.
A new Make scene screen is displayed.
Repeat steps 4~6 to make a new scene for the playlist.
A new scene will be added to the current playlist.
You can check and see all the scenes on the Edit
playlist screen. (See page 99)
• To make a new playlist.
Repeat steps 1~6 if you want to make a new playlist.
7
Press the
œ √
button to select Return,
then press the OK button to finish the operation.
■
You can create up to 99 playlist entries.
■
Depending on the kind of disc, the
displayed screen may have a slight
difference.
NOTE
HR733-HR738_XEU_89~127 6/23/06 10:33 AM Page 97


