1
1
Press Stop if in play mode.
2
2
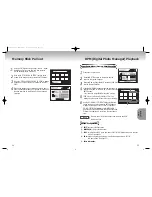
Press the M.STICK button on the remote and the
screen to the right will appear.
3
3
Insert the Memory Stick/Photo CD containing JPEG files
into the Memory Stick Slot.
4
4
Press the UP/DOWN buttons on the remote control to
select DIGITAL PHOTO MANAGER, and then press the
ENTER button.
•Your selection is highlighted with yellow borders.
5
5
JPEG files in the Memory Stick/Photo CD will be
displayed on the screen in the order of their recording.
1
1
If using DPM (Digital Photo Manager) or DAM (Digital
Audio Manager), move to Exit, and then press the
ENTER button to exit to Start Menu.
2
2
Move to the "STOP MEMORY STICK" function at the
bottom of the menu and then press the ENTER button.
3
3
When the "PLEASE REMOVE MEMORY STICK" message
appears on the top of the menu, remove the Memory
Stick.
4
4
If the above sequence is not followed and the Memory
Stick is inadvertently removed or the power is turned off,
the data recorded on the Memory Stick may become
corrupted.
Memory Stick Pull out
DPM (Digital Photo Manager) Playback
34
35
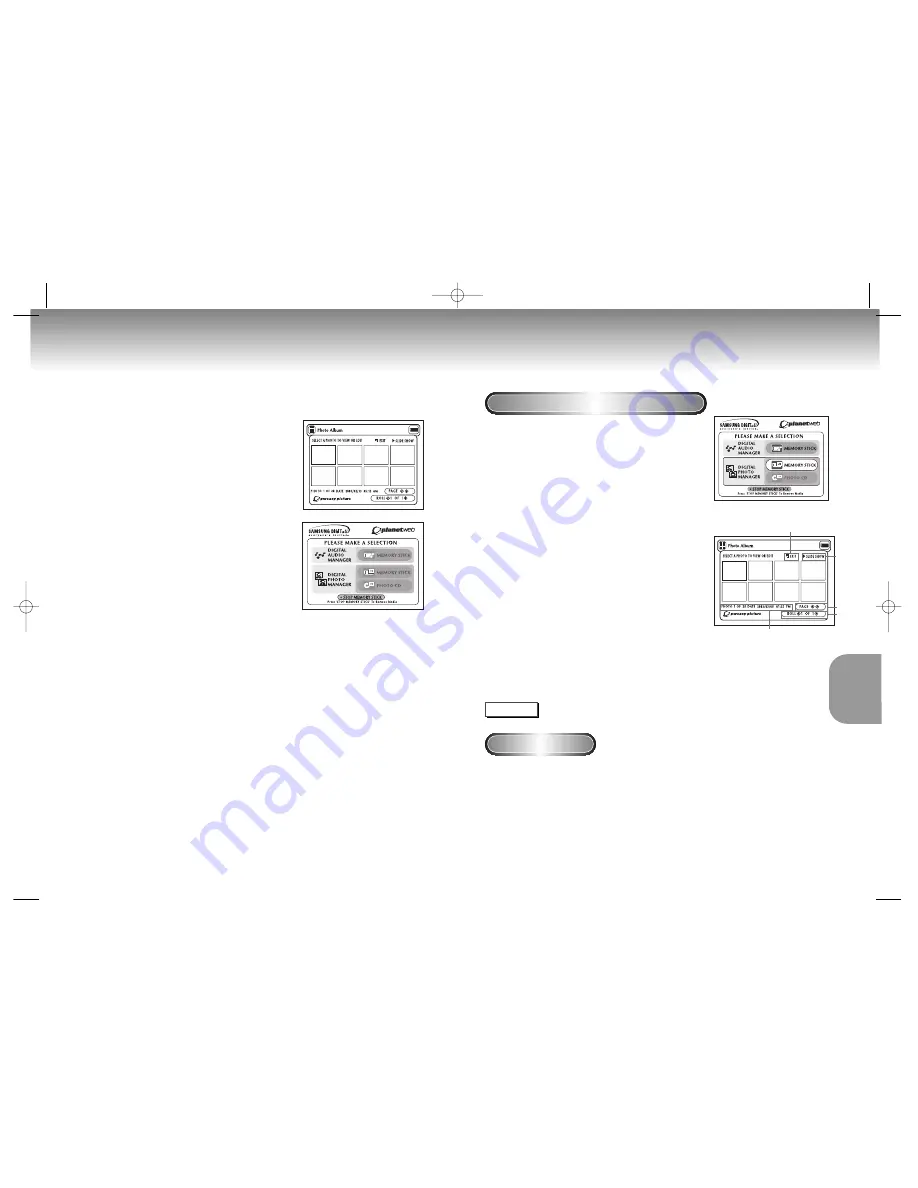
View Photo Album (Memory Stick/Photo CD)
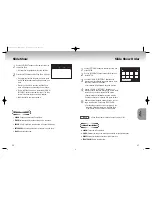
Screen Configuration
1. EXIT:
Takes you to the Start menu.
2. SLIDE SHOW :
Begins the slide show.
3. PAGE :
Highlight the PAGE menu item and use LEFT/RIGHT buttons to move to the next
page of thumbnails.
4. ROLL:
Allows navigation when there are multiple directories below ‘/DCIM’
of Memory Stick. (See page 32)
5. Photo lnformation.
MEMOR
MEMOR
Y
Y
STICK
STICK
1
5
2
3
4
6
6
Use the UP/DOWN/LEFT/RIGHT buttons to select the
image you want, and then press the ENTER button to
display it in full view on the TV screen, or use the UP/
DOWN/LEFT/RIGHT buttons to select SLIDE SHOW,
and then press the ENTER button to begin the slide show.
Slides will be displayed in order for a few seconds at a
time.
The Auto Power Off function does not work while any DPM
function is active.
NOTE
00049Y DVD-P728M-2(GB) 7/15/02 4:20 PM Page 34

