background image

ENG-7

Basic Connections/Auto Setup

ENG-6

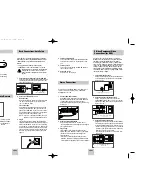
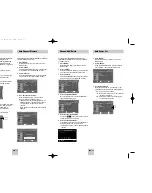
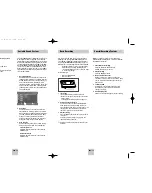
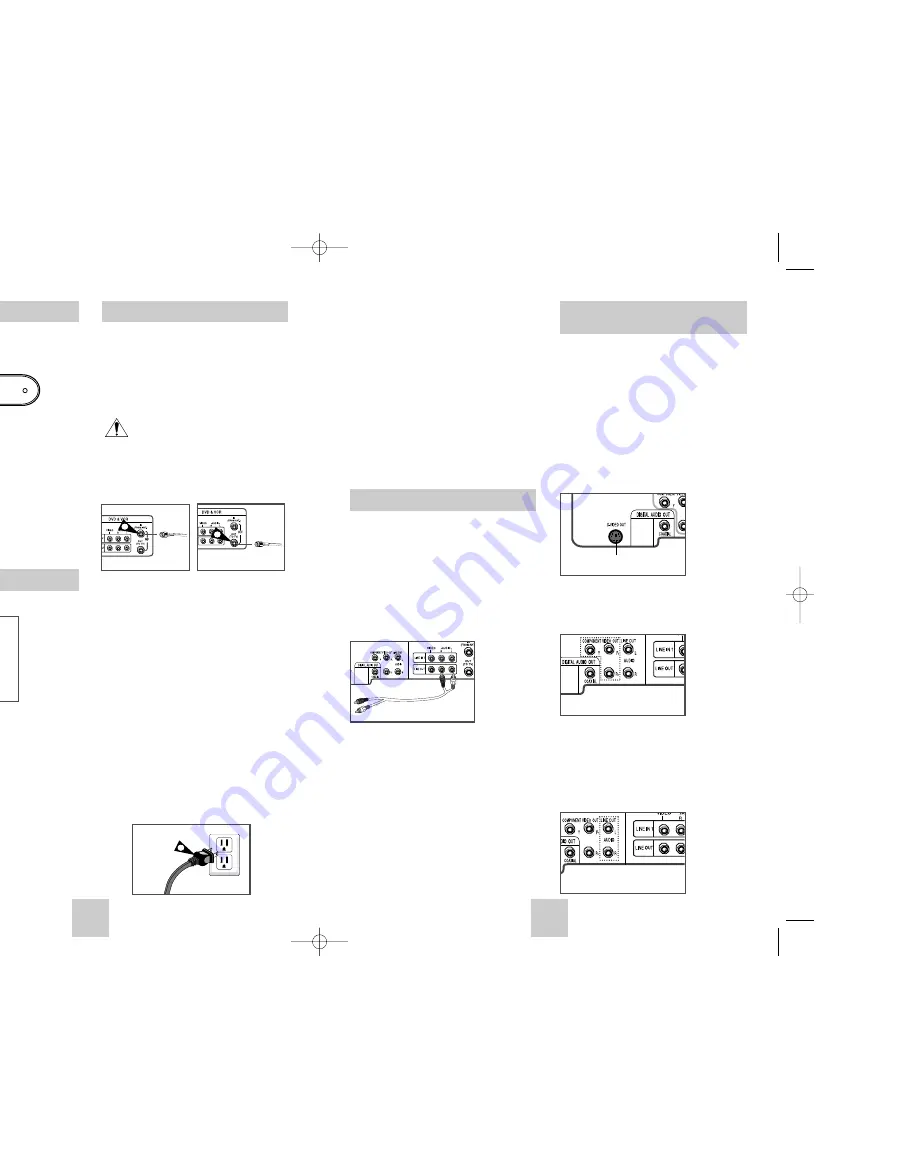
You will need to connect the DVD-VCR to a TV and run

Auto Setup. The Auto Setup will automatically search for

channels and then set your DVD-VCR's internal clock.
NOTES:
• See Appendix A for Advanced Connections.
• Standard RF or Line connection between  your TV

and DVD-VCR are required to run DVD+VCR

setup menu, even if you connect S-Video or

Component Video Output for a better picture

quality.

1

Connect the RF Antenna Cable to your DVD-VCR
Connect an external indoor/outdoor antenna or wall
outlet antenna cable to the Ant-In jack on the rear 
panel. (RF Through Only)

2

Connect your DVD-VCR to a TV

RF Connection
Using the RF antenna cable, connect the OUT jack 
(TO TV) on the rear panel of your DVD-VCR to 
your TV’s Antenna Input.

Line Connection
Using an RCA-type audio/video cable (red, white, 
yellow), connect the LINE OUT jacks on the rear 
panel of your DVD-VCR to your TV's Line In jacks. 
Use the three cables as follows: red for right audio, 
white for left audio, and yellow for video.
NOTE:  If your TV is equipped with RCA jacks, it is 

better to use the Line Connection method.

3

Plug In
Your DVD-VCR's power should be plugged into a 
standard 120V/60Hz wall outlet. Avoid pressing any
buttons on the remote control or on the unit during 
an Auto Setup. It would take about 7 minutes. After 
Auto Setup is complete Operate your DVD-VCR. In
case Auto Clock set fails to locate a channel to set 
the clock, you should set the clock manually. See 
page 11.

From Antenna or Cable

1

To TV’s Antenna Input

2

3

Insert Batteries into Remote

Front Panel LAMP

• Remove the battery cover on the remote
• Insert two 1.5V “AAA” batteries as shown, 

making sure of the correct pola/-)

• Slide the cover back onto remote.

DVD

R

VCR

1

When the light is on, DVD is operating.

When the light is on, CD is operating.

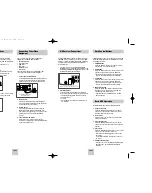
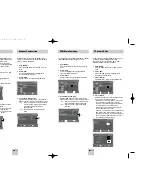
S-Video/Component Video
Connections (for DVD)

Use the S-Video or Component Video connection

method only for the DVD player. The tuner and VCR

can still be viewed through the RF or line inputs.

To activate your alternative (S-Video or Component)

video selection, follow the “Alt Video Out” instructions

on page 18. Keep in mind that you can choose either 

S-Video or Component only, but not both. A superior

video quality can be obtained when watching a DVD

on your DVD-VCR if your TV is equipped with S-Video

or Component Video inputs.

1

Connect S-Video Out to TV
Using an S-Video cable, connect the S-VIDEO OUT
on the rear panel of your DVD-VCR to the S-Video 
Input on your TV.

2

Connect Component Video Out to TV
Using a component video cable, connect the 
COMPONENT VIDEO OUT (Y, Pb, Pr) on the rear 
panel of your DVD-VCR to the  Component Video 
Input on your TV. .

3

Connect Audio Out (DVD only)
Using RCA audio cables, connect the LEFT/RIGHT
Line Out jacks on the rear panel of your DVD/VCR 
to the LEFT/RIGHT Audio Line In jacks on your TV.
• When connecting your DVD-VCR to a TV with the

S-Video or Component Video Output, make sure 
that you use these Line Out jacks. 

• To activate your connection, see “Alt Video Out” 

on page 18.

To S-Video Input on Your TV

To Component Video Input 

on Your TV

To Left/Right Audio Inputs 

on Your TV

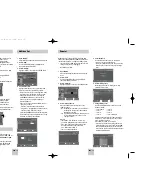
Stereo Connections

You can connect your DVD-VCR to your home stereo

system or stereo TV and enjoy stereo sound when

watching a movie or TV.

1

Connect DVD-VCR to Stereo
Using RCA cables, connect the Line Out Left and 
Right Audio jacks on the rear panel of the DVD-VCR 
to the Auxiliary Inputs on your stereo receiver. 
Connect the Video Output also in case you are using 
a stereo TV.

2

Set Stereo to Auxiliary Mode
Set your stereo receiver or TV to either “Aux” or 
“Tape” regardless of which line input you are using for
your particular device.

3

Play a Tape
Insert a DVD or Hi-Fi stereo videotape into your 
system. Be sure to adjust the volume on your stereo 
receiver or TV. Audio will be heard through your 
stereo speakers
• If there is no stereo sound even after you have 

inserted a Hi-Fi stereo videotape, press the AUDIO
button until “Hi-Fi” appears on the on-screen display.

4

Turn On your DVD-VCR
Turn on the power by pressing the POWER button 
on the remote control or on the front panel of the 
unit.

5

Turn On your TV
Turn on the TV by pressing the POWER button on 
the TV remote control.

6

Set the TV to Line
Set your TV to its Line Input.

00367A DVD-V4500/XAC-ENG  12/10/03 10:57 AM  Page 6

Summary of Contents for DVD-V4500

Page 1: ......

Page 2: ......

Page 3: ...Parental 19 8 DVD Operations Special Playback Features 20 Disc Menu Navigation 20 EZ View 21 Title Chapter Time Selection 22 Angle View 23 Subtitle 23 A to B Repeat 24 Repeat Chapter Title 24 Audio 25...

Page 4: ...Region Number Both the DVD player and the discs are coded by region These regional codes must match in order for the disc to play If the codes do not match the disc will not play The Region Number fo...

Page 5: ...that you can choose either S Video or Component only but not both A superior video quality can be obtained when watching a DVD on your DVD VCR if your TV is equipped with S Video or Component Video in...

Page 6: ...theater experience that DVD offers you may want to connect your DVD VCR to a complete Surround Sound system including an A V Receiver and six Surround Sound speakers Before You Begin If your A V recei...

Page 7: ...to the Clock Set Adjust Press the RETURN button three times to exit the menu Language English Auto Power Off Off Language English Auto Power Off Off Language English Auto Power Off Off Manual Clock 2...

Page 8: ...l to Add Delete Use the CH buttons to tune in the channel number you wish to add or delete 6 Select Channel Add Delete Press RIGHT button to add or press left button to delete the channel from your ch...

Page 9: ...s in Stop mode 2 Select DVD Use the UP DOWN buttons to highlight DVD then press the ENTER button 3 Select Language Move the selection bar to Language then press ENTER to select 4 Select Subtitle Highl...

Page 10: ...hlight DVD then press the ENTER button 3 Select Audio Highlight Audio then press the ENTER button 4 Set PCM Down Sampling Highlight PCM Down Sampling then press the RIGHT button to select one of the f...

Page 11: ...play a DVD that exceeds the selected rating an error message will appear Not all discs are rated 1 Open MENU Press the MENU button while the DVD is in Stop mode 2 Select DVD Use the UP DOWN buttons t...

Page 12: ...io discs Wide Screen Displays the content of the DVD title in 16 9 aspect ratio Screen Fit The top and bottom of the screen are cut off When playing a 2 35 1 aspect ratio disc the black bars at the to...

Page 13: ...nguage or if you prefer turn them off from the screen A DVD disc can have up to 32 different subtitles Title Chapter Time Audio Subtitle Angle View Subtitle Some DVD Movies provide you with various ca...

Page 14: ...y not work 4 Play Bookmark During playback press the MARK button on the remote control Use the LEFT RIGHT buttons to move to a previously set bookmark Press the ll PLAY PAUSE button to play the bookma...

Page 15: ...press the ENTER en press the ENTER ss the ENTER button press the ENTER ess the ENTER button ress the ENTER nction Special VCR Playback Features While a videotape is playing you can enjoy a variety of...

Page 16: ...Press the REC button on the remote control or front panel For options while recording is in progress see Special Recording Features Recording from the DVD player to the VCR is not possible yback high...

Page 17: ...same time every day Monday through Friday If you want to set the timer program press the ENTER key Timer Program No Ch Start End Date Speed 1 2 3 4 5 6 7 How to Set a Timer Recording ows you to add r...

Page 18: ...t if this product fails to operate properly within the specified warranty period and the failure is due to improper workmanship or defective material SECA will repair or replace the product at its opt...

Page 19: ......

Page 20: ......

Page 21: ......

Page 22: ...le que toute modification de cet appareil risque d annuler le droit de l utilisateur de l utiliser k match wide blade of plug to wide slot fully insert cs lectriques introduire la lame la plus large d...

Page 23: ...mballage v rifiez qu il contient bien les l ments suivants D ballage DVD R VCR PLAY REC DVD VCR Mode d emploi AK68 00367A T l commande AK59 00021B C ble RCA de connexion audio vid o AC97 01746A Piles...

Page 24: ...IE OUT situ e sur le panneau arri re du DVD magn toscope la prise d entr e du t l viseur Connexion de la ligne Raccordez un c ble audio vid o de type RCA rouge blanc jaune reli la prise de SORTIE OUT...

Page 25: ...agn toscope aux prises d entr e audio num rique correspondantes de l ampli syntoniseur AV Coaxial sur l ampli syntoniseur AV Utilisez n importe quelle borne de connexion disponible sur votre r cepteur...

Page 26: ...T BAS et appuyez sur ENTER pour s lectionner 3 S lectionner Langue Mettez Langue en surbrillance l aide des touches HAUT BAS et appuyez sur la touche ENTER 4 Choisir la langue du menu D placez la barr...

Page 27: ...op ou Play 2 S lectionner SETUP D placez le curseur de s lection sur SETUP l aide des touches HAUT BAS et appuyez sur ENTER pour s lectionner 3 S lectionner Cha nes Mettez Cha nes en surbrillance l ai...

Page 28: ...Langue en surbrillance puis appuyez sur la touche ENTER 4 S lectionner Sous Titre S lectionnez Sous Titre puis appuyez sur ENTER pour valider 5 D finir la Langue des Sous Titres S lectionnez la langue...

Page 29: ...PCM Mettez Echantillonnage PCM en surbrillance et appuyez sur la touche RIGHT afin de s lectionner l une des options suivantes Oui Lorsqu un disque audio 96K est lu 96K sera sous chantillonn 48K et mi...

Page 30: ...od s 1 Ouvrir MENU Appuyez sur la touche MENU lorsque le DVD est en mode Stop 2 S lectionner DVD Utilisez les touches HAUT BAS pour mettre DVD en surbrillance et appuyez sur la touche ENTER 3 S lectio...

Page 31: ...et param tres voir p 18 2 Connexion un t l viseur 16 9 Les disques au rapport d aspect 16 9 Ecran Large Le contenu des DVD s affiche au rapport 16 9 Ajustement l cran Des bandes noires cachent les par...

Page 32: ...sactiver la fonction des sous titres Un disque DVD peut comporter un maximum de 32 sous titres subtitles Title Chapter Time Audio Subtitle ENG On ENG Off Angle Sur certains DVD il est possible en cour...

Page 33: ...tre clignote lorsque la fonction R p tition chapitre est activ e 3 R p tition d un Chapitre Pour activer cette fonction appuyez sur ENTER 4 S lection du Titre Appuyez sur les touches DROITE GAUCHE pou...

Page 34: ...Lecture 1 Arr t sur image Pour effectuer un arr t sur image appuyez sur la touche ll LECTURE PAUSE alors que vous vous trouvez en mode Lecture 2 Avance sur image Pour passer l image suivante appuyez...

Page 35: ...ion du VCR Aller 0 00 00 Terminer la Recherche Balayage vers l avant d intro Enregistrement de Base Vous pouvez enregistrer un programme TV en cours en introduisant une cassette vierge et en appuyant...

Page 36: ...nt si la cassette n a pas assez d espace pur r ussir l enregistrement programm la vitesse de d filement change automatiquement de SP en SLP 7 Programmation quotidienne hebdomadaire Hebdomadaire DIM SA...

Page 37: ...rant la p riode de garantie SECA se r servera le droit de r parer ou de remplacer l appareil d fectueux Toutes les r parations sous garantie doivent tre effectu es par un Centre de service autoris SEC...

Page 38: ......

Reviews: