41
GB
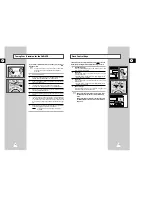
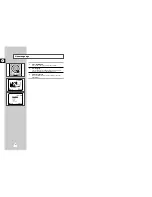
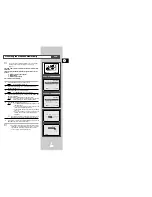
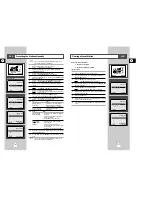
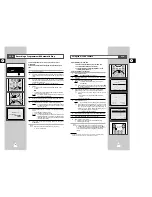
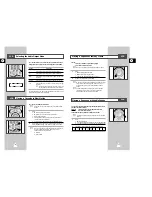
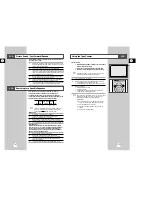
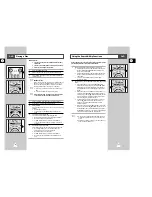
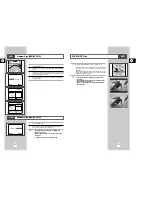
Using the Assemble Edit Function
Recording from Another VCR or Camcorder
This function allows you to start a new recording at a specific
position on the cassette while maintaining a very smooth scene
change.
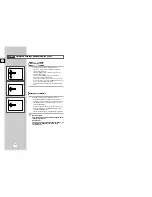
1
Insert the cassette to be edited in your DVD-VCR.
2
Press the
❿
ll button to start playback.
3
When you reach the position from which you wish to start the new
recording, press the
❿
ll button.
4
Turn the JOG Dial again as often as necessary to advance frame
by frame, until the exact recording position is located.
5
While the DVD-VCR is in still mode, hold the REC button (
●
)
down for a while to activate the Assemble Edit function.
Result:
Record symbol flashes in the display.
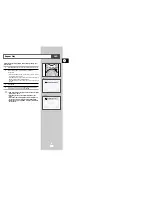
6
Select the source from which you wish to record by pressing:
◆
The PROG/TRK (
$
or
❷
) buttons for television channels
◆
The INPUT SEL. button for the LINE input sources
7
Press the
❿
ll button to start recording.
8
When you have finished recording, press
■
.
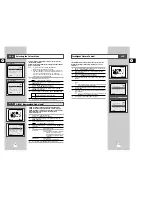
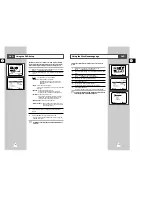
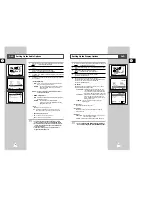
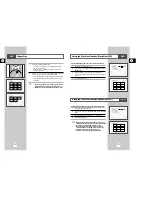
You can copy a cassette to your DVD-VCR from another video
source, such as another VCR or a camcorder.
☛
It is an infringement of copyright laws to copy prerecorded
cassettes or to re-record them in any form without the
permission of the owners of the corresponding copyright.
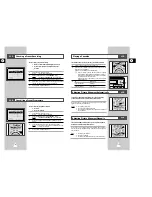
1
Connect the DVD-VCR, from which the cassette is to be copied, to
the appropriate RCA audio and video input connectors on the rear
of your DVD-VCR, as indicated on page 11.
2
Insert a blank cassette in your DVD-VCR.
3
Insert the pre-recorded cassette in the other video source (VCR or
camcorder).
4
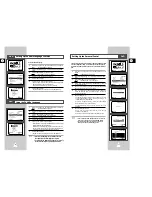
Press the INPUT SEL. button to select the appropriate input on
your DVD-VCR: LINE IN for the RCA input
5
Start playing back the cassette to be copied.
6
Hold REC (
●
) down for a while to start recording on your
DVD-VCR.
7
When you have finished recording, press
■
on both VCR and
DVD-VCR.
➢
If you wish to view the cassette being copied:
◆
Your DVD-VCR must be connected as usual to the
television (see page 10 for further details)
2
7
6
EJECT
SELECT COPY
REC
PROG
VIDEO
L
AUDIO R
OPEN/CLOSE
STANDBY/ON
LINE IN 2
5
4
2
40
GB
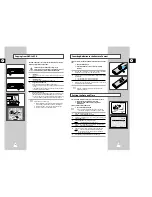
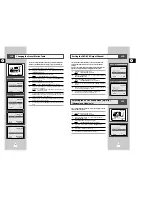
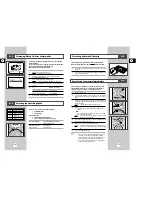
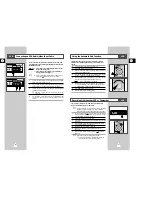
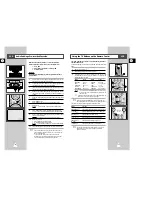
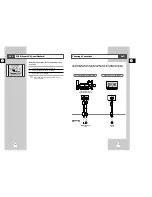
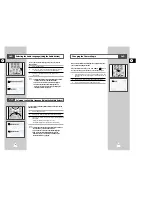
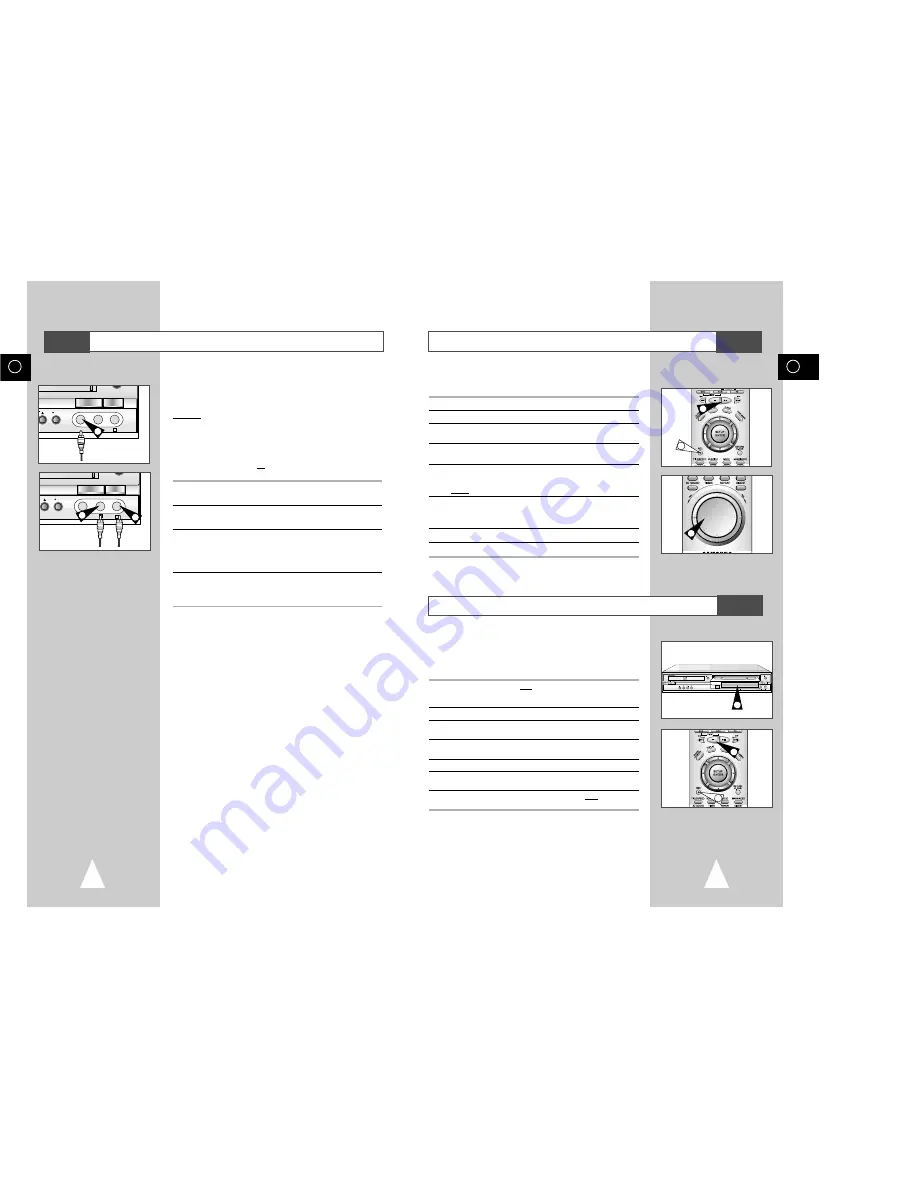
Connecting an RCA Audio/Video Input Cable
You can connect other audio/video equipment to your DVD-VCR
using audio/video cables if the appropriate outputs are available on
the equipment chosen.
Examples:
◆
You wish to copy a video cassette with the help of a
second VCR (see page 41).
◆
You wish to play back and/or copy pictures taken
with a camcorder (see page 41).
☛
◆
Make sure that both the television and the DVD-VCR
are switched off before connecting the cables.
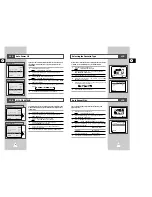
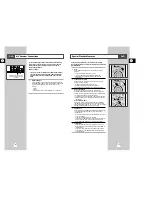
1
Connect one end of the RCA audio/video cable into the VIDEO
socket on the Front of the DVD-VCR.
2
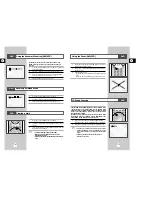
Plug the other end of the audio/video cable into the appropriate
output connector on the other system (VCR or camcorder).
3
Connect one end of the RCA audio cable into the AUDIO sockets
on the Front of the DVD-VCR.
➢
Take care to respect the colour coding of the left and right
channels.
4
Plug the other end of the audio cable into the appropriate output
connectors on the other system (VCR, camcorder or Hi-Fi sound
system).
SELECT COPY
REC
G
VIDEO
L
AUDIO R
LINE IN 2
SELECT COPY
REC
VIDEO
L
AUDIO R
LINE IN 2
1
3
3
VCR
VCR
VCR

