


Disassembly and Reassembly _ 11
Part
Figure
Description
DOOR HINGE
(except
DW6*M****IB)
DW6*M****F*/DW6*M****U*/DW6*M****SS
DW6*M****BB/DW60M****IB
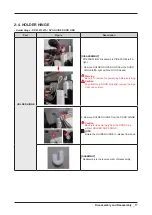
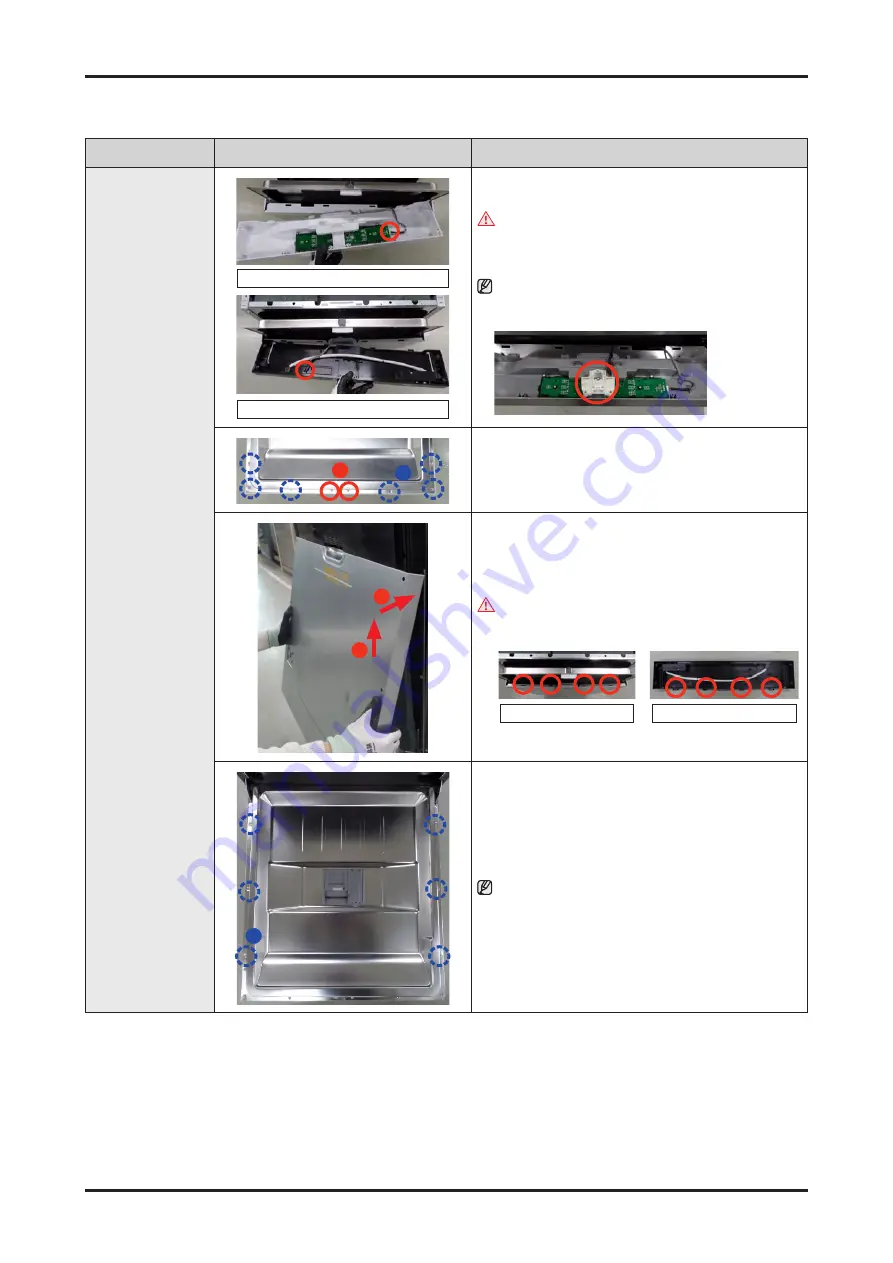
5. Connect the wire harness to Sub PBA.
Caution
Make sure the Wire harness are not getting stuck in
other parts.
NOTE
:
Incase of DW6*M5*** models, place the DOOR
SWITCH assembly on the CONTROL PANEL also.
B
A
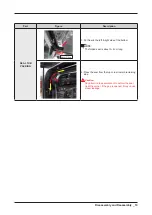
6. Fix 8 screws to assemble the ASSY CONTROL
PANEL with Torx® T15 screwdriver.
- Type A: DD81-01371A / 2 pcs
- Type B: DD81-02466A / 6 pcs
1
2
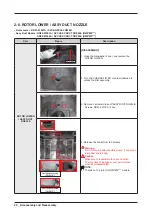
7. Assemble the holes of
DOOR OUTER
to hooks of
CONTROL PANEL
.
Warning
Do not this work without safety gloves. It can cause
injury from sharp edge.
Holes of DOOR OUTER
Hooks of CONTROL PANEL
C
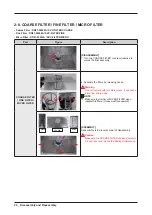
8. Fasten 6 screws to fix the
DOOR OUTER
.
NOTE
:
Use the Torx® T15 screw driver.
- Type C: DD81-01370A / 6 pcs


