22
Starting the recording mode
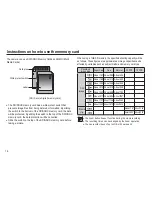
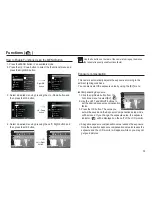
Using the Photo Help guide mode ( )
Helps the user learn the correct picture taking method and includes
solutions for potential problems that may occur. This also enables
the user to practice the best way to take the pictures.
Available functions of the photo help guide
Function that can be used when focusing is dif
fi
cult
Functions that can be used when the image is blurred
Function that can be used when
fi
lming in the dark
Function that can be used when adjusting the picture brightness
Function that can be used when adjusting the picture colour
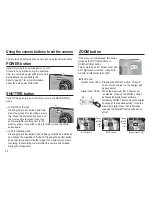
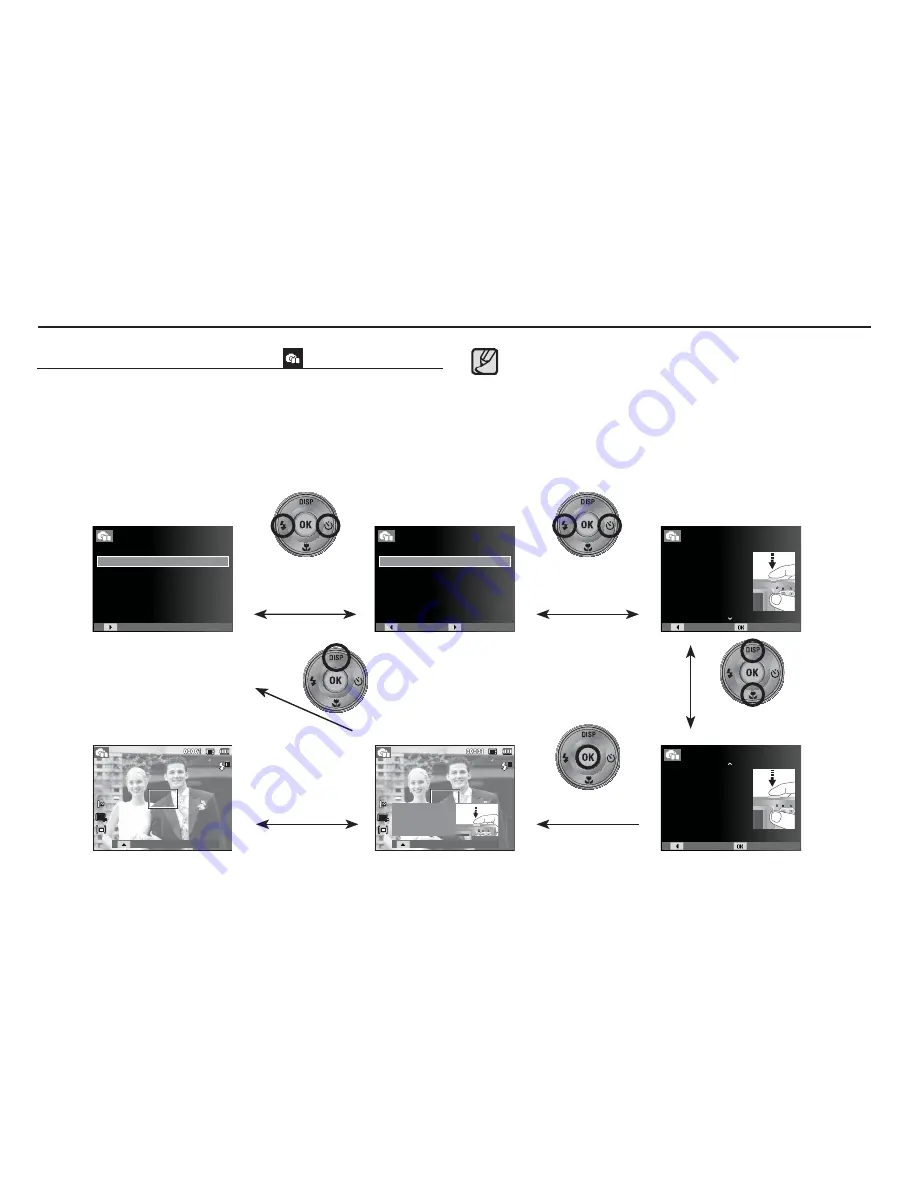
[Function that can be used when focusing is dif
fi
cult]
Pressing the
Left/Right button
Pressing the OK button
Pressing the
Up/Down button
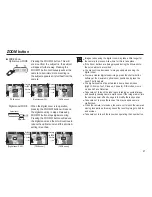
Pressing the
Up button
Pressing the OK button
Pressing the shutter button
Press the shutter button
to practice using this
feature.
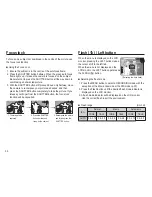
Guide list
Photo Help Guide
Features to reduce camera shake
Features to use when adjusting brightness
Features to use when the image is out of focus
Features to use in low light conditions
Features to use when adjusting colours
Photo Help Guide
When the subject is in focus,
press the shutter button
completely to capture the image
or video. If the subject is out of
focus, try half-pressing the shutter
button again.
2/2
Back Practice
Photo Help Guide
To focus on your subject, half-
press the shutter button:
- Green frame: subject is in focus
- Red frame: subject is out of focus
1/2
Back Practice
Photo Help Guide
Guide list
Pressing the
Left/Right button
Pressing the OK button
Features to use when the image is out of focus
To focus on a subject 80 cm or farther
To focus on people’s faces
Half-press the shutter button to focus
To focus on a subject less than 80 cm away
Photo Help Guide
Back Change
Change


