74
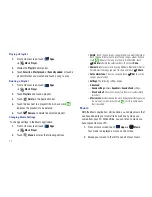
Viewing Photos with the Image Viewer
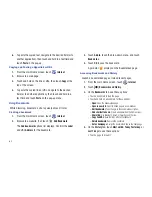
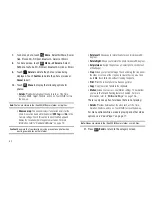
After taking a photo, use the Image Viewer to view, share, delete,
or edit photos.
1.
Touch
Image Viewer
to view the photo.
2.
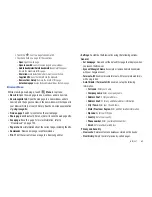
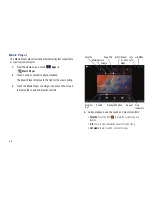
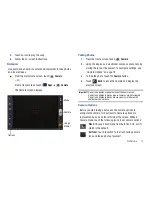
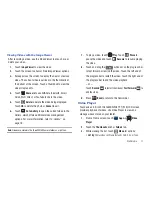
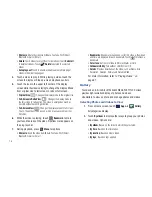
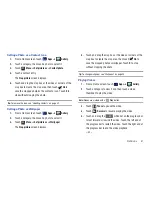
Touch the screen to show or hide Image Viewer options.
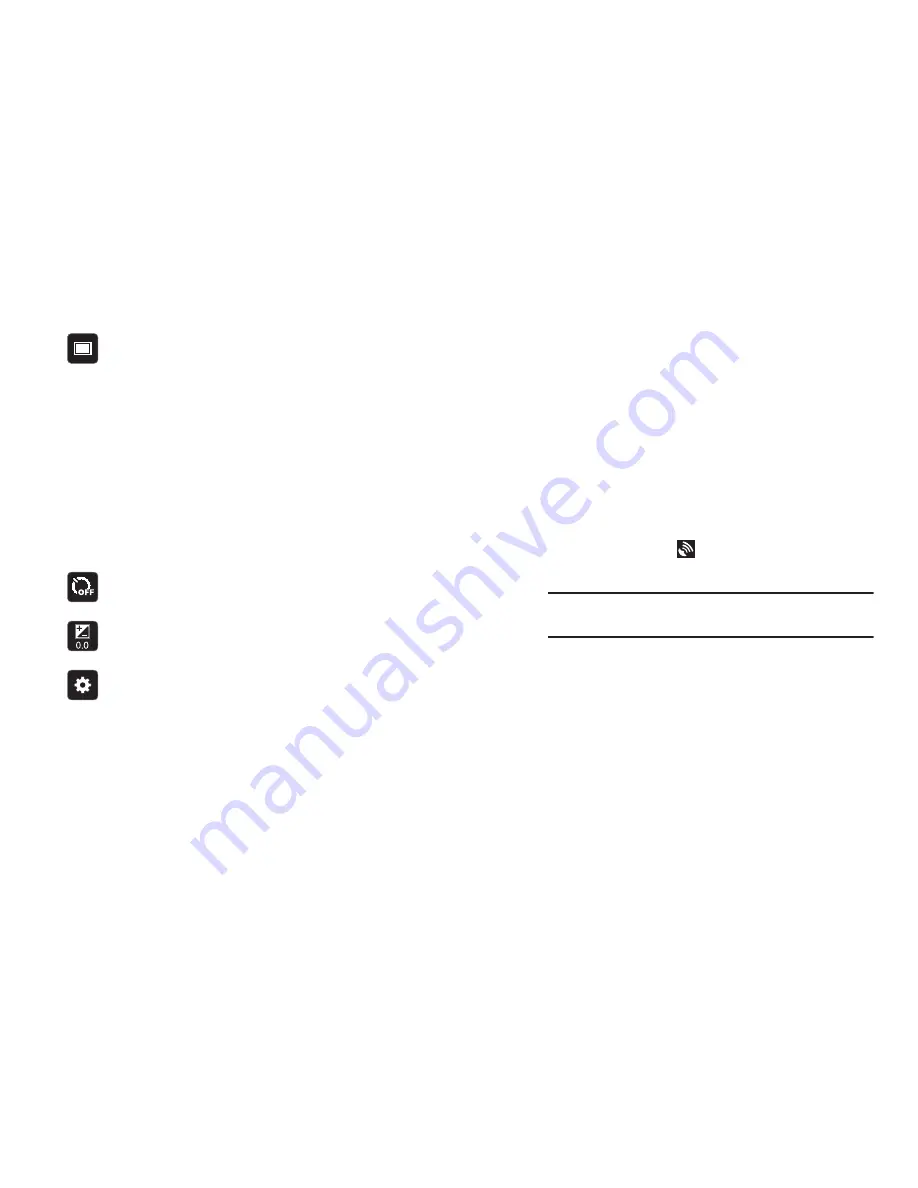
Shooting mode
: Choose an automatic shooting mode:
•
Single shot
: Take a single photo.
•
Smile shot
: Touch the Camera button to
automatically focus on the subject’s face and take
the photo.
•
Panorama
: Touch the Camera button to take a photo,
then use the on-screen guideline to move the
viewfinder and take the next 7 shots automatically.
•
Action shot
: Detects action and creates a panorama
of the moving object.
Timer
: Set a timer for how long to wait before taking a
photo. Options are: Off, 2 sec, 5 sec, and 10 sec.
Exposure value
: Set the brightness of the photo by
sweeping the bar up or down.
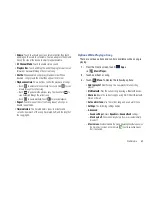
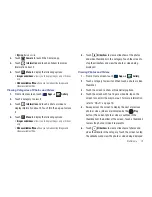
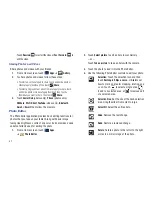
Settings
:
•
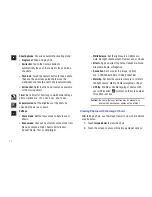
Focus mode
: Set the focus mode to Auto focus or
Macro.
•
Scene mode
: Choose an automatic scene mode from
None, Landscape, Night, Sports, Party/Indoor,
Sunset, Dawn, Text, or Candlelight.
•
White balance
: Set the light source. Options are:
Auto, Daylight, Incandescent, Fluorescent, or Cloudy.
•
Effects
: Apply an effect to photos. Options are: None,
Grayscale, Sepia, or Negative.
•
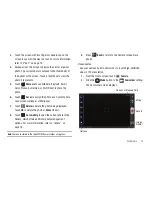
Resolution
: Set a size for the image. Options
are: 3.2M (2048x1536) or 0.8M (1024x768).
•
Metering
: Set how the camera measures or meters
the light source: Matrix, Center-weighted, or Spot.
•
GPS tag
: Enable or disable tagging of photos with
your GPS location.
displays on the screen when
this option is active.
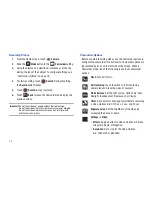
Caution!:
Be aware that your location may be present on a
photo when posting your photos on the internet.

