66
2.
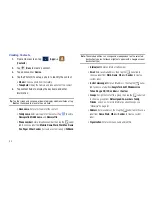
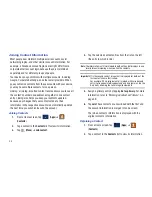
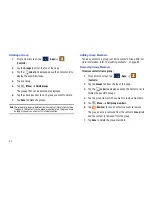
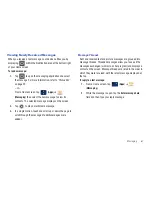
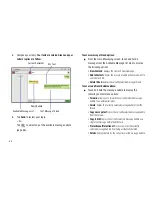
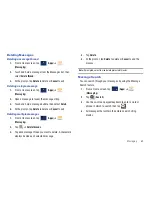
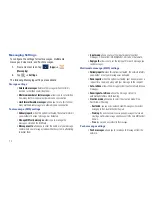
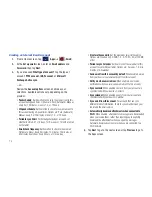
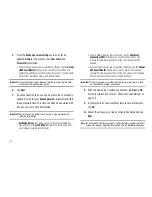
Tap the
Enter recipient here
field to manually enter a
recipient.
– or –
3.
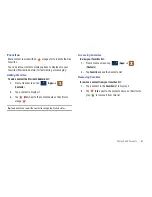
Tap
(
Add new contact
) to select from one of the
following:
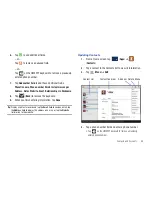
• Contacts
: to select a recipient from your Contacts list (valid entries
must have a wireless phone number or email address).
• Favorites
: to select a recipient from the Favorites list.
• Groups
: to select a recipient from the Group list.
4.
If adding a recipient from the above categories, tap the
contact to place a checkmark then tap
Done
. The contact
displays in the recipient field.
Note:
Delete any unnecessary members in the list by selecting the trash can
icon and deleting unwanted entries.
5.
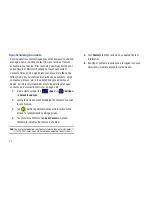
Tap the
Enter message here
field and use the on-screen
keypad/keyboard to enter a message. For more
information, refer to
“Text Input Methods”
on page 41.
6.
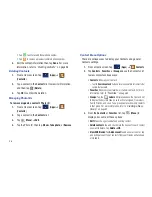
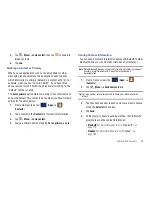
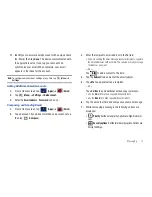
Add more recipients by tapping either the
Enter recipient
here
field or
and selecting recipients.
7.
Review your message and tap
.
Note:
If you exit a message before you tap send the message automatically
saves as a draft.
Message Options
1.
From a Home screen, tap
(
Apps
)
➔
(
Messaging
)
.
2.
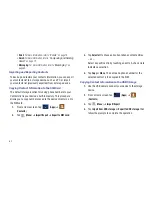
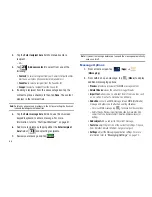
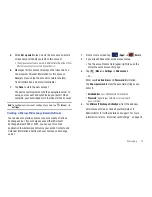
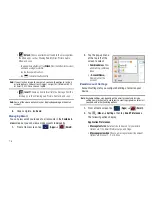
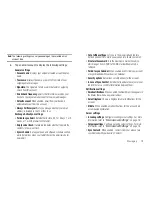
From within an open message, tap
(
Menu
) to display
additional messaging options:
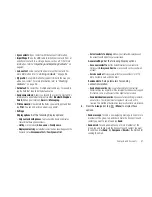
• Preview
: provides a preview of the MMS message content.
• Delete threads
: erases the current message threads.
• Import text
: allows you to add text items from sources such
as: Location, Contacts, Calendar, and Memo.
• Add slide
: converts an SMS message into an MMS (Multimedia)
message and allows you to attach an existing slideshow.
–
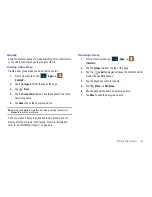
Once in an MMS message, tap
to choose from these options:
–
Delete threads, Preview, Import text, Add slide, Remove slide, Add
subject, Font size, Remove subject, Duration, Slideshow layout, or
Settings.
• Add subject
: adds a subject to the current message.
• Font size
: adjust the font size of the current text strings. Choose
from: Smallest, Smaller, Medium, Larger, or Largest.
• Settings
: adjust the Messaging application settings. For more
information, refer to
“Messaging Settings”
on page 70.
Send


