76
5.
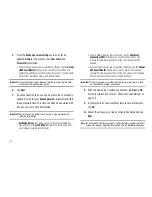
From the
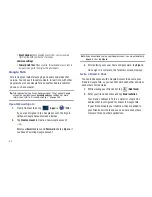
Exchange server settings
screen, enter an
updated
Domain
, and confirm your
User name
and
Password
information.
•
If your network requires you accept SSL certificates, tap the
Accept
all SSL certificates
field to place a check mark in the box and
activate this additional level. Most often, this option is not required.
Confirm this information with your IT Administrator.
Important!:
If your exchange server requires this feature, leaving this field
unchecked can prevent connection.
6.
Tap
Next
.
7.
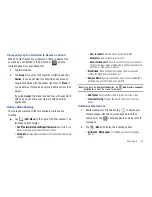
If your connection fails, you can be prompted to manually
update or re-enter your
Exchange server
information within
the appropriate field. This field can often be populated with
incorrect or out of date information.
Important!:
Do not accept the default entry as this is a guess based on
returned information.
• Exchange Server
: your exchange server remote email address.
Typically starts with
mail.XXX.com
. Obtain this information from
your company network administrator.
•
If your network requires SSL encryption, tap the
Use secure
connection (SSL)
field to place a check mark in the box and
activate this additional level. Most often, this option should be
enabled.
•
If your network requires you accept SSL certificates, tap the
Accept
all SSL certificates
field to place a check mark in the box and
activate this additional level. Most often, this option is not required.
Confirm this information with your IT Administrator.
Important!:
If your exchange server requires this feature, leaving this field
unchecked can prevent connection.
8.
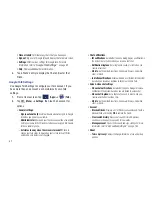
With the new server information entered, tap
Next
➔
OK
.
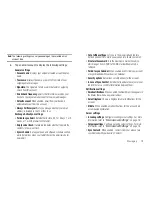
For more information, refer to
“Email Account Settings”
on
page 78.
9.
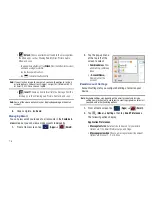
If prompted to accept additional remote security features,
tap
OK
.
10.
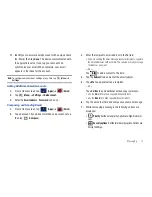
Adjust the various on-screen configuration fields and tap
Next
.
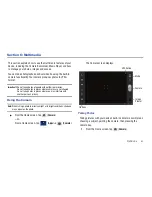
Note:
For Exchange ActiveSync accounts, the Activate device administrator?
screen may appear. Read the information and tap
Activate
to continue.

