Samsung Electronics
3-4
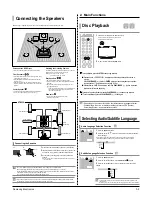
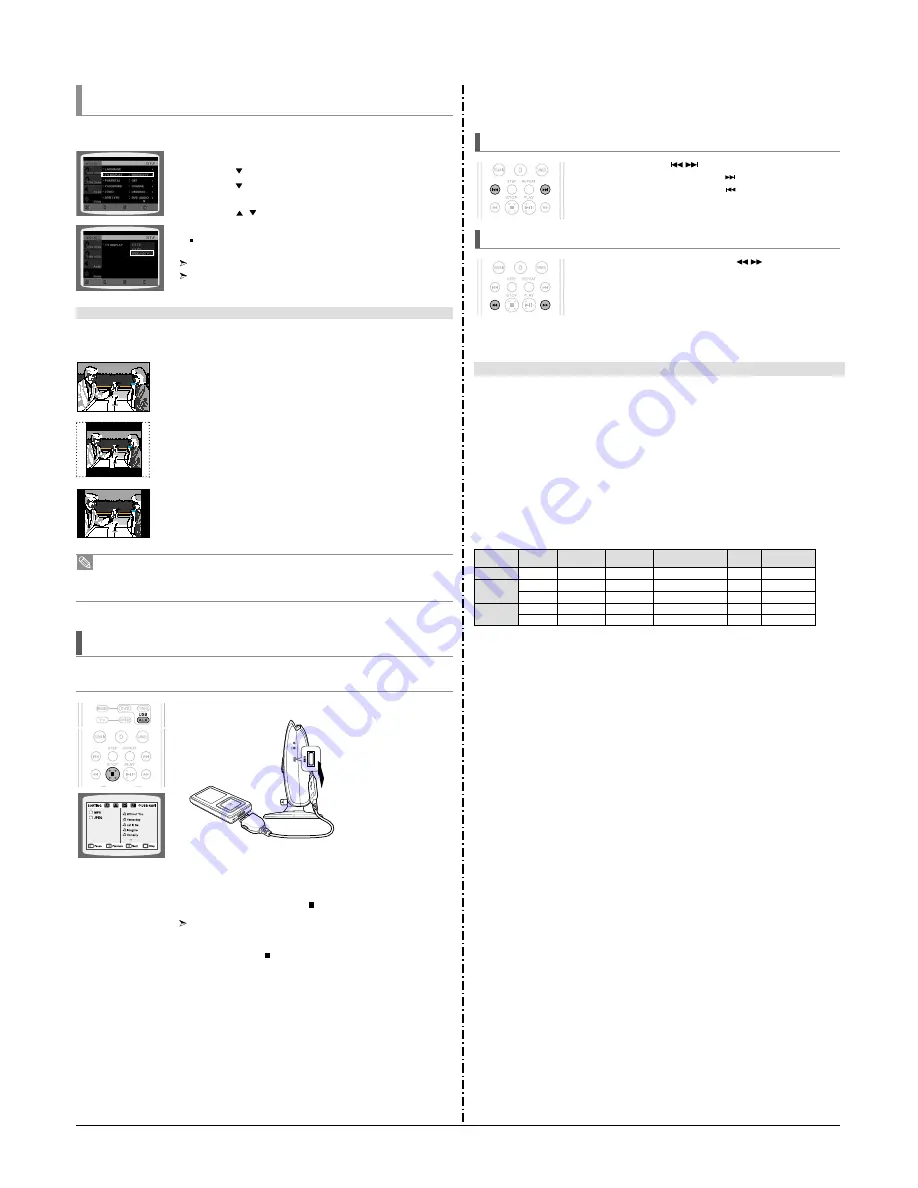
Setting TV Screen type
Depending on your TV type (Wide Screen or conventional 4:3), you can select the TV's aspect ratio.
The horizontal to vertical screen size ratio of conventional TVs is 4:3, while that of widescreen and high definition TVs is 16:9. This ratio is
called the aspect ratio. When playing DVDs recorded in different screen sizes, you should adjust the aspect ratio to fit your TV or monitor.
For a standard TV, select either "4:3LB" or "4:3PS" option according to personal preference. Select "16:9" if you have a widescreen TV.
1
In Stop mode, press MENU button.
2
Press Cursor
button to move to <Setup> and then press ENTER button.
3
Press Cursor
button to move to <TV DISPLAY> and then press
ENTER button.
4
Press Cursor
,
button to select the desired item and then press
ENTER button.
Once the setup is complete, you will be taken to the previous screen.
Press RETURN button to return to the previous level.
Press MENU button to exit the setup screen.
WIDE
Select this to view a 16:9 picture in the full-screen mode on your widescreen TV.
■
You can enjoy the widescreen aspect.
4:3LB (4:3 Letterbox)
Select this to play a 16:9 picture in the letter box mode on a conventional TV.
■
Black bars will appear at the top and bottom of the screen.
4:3PS (4:3 Pan&Scan)
Select this to play a 16:9 picture in the pan & scan mode on a conventional TV.
■
You can see the central portion of the screen only (with the sides of the 16:9 picture cut off).
Adjusting the TV Aspect Ratio (Screen Size)
• If a DVD is in the 4:3 ratio, you cannot view it in widescreen.
• Since DVD discs are recorded in various image formats, they will look different depending on the software,
the type of TV, and the TV aspect ratio setting.
• In HDMI operation, the screen is automatically converted to Wide mode.
MOVE
ENTER
EXIT
RETURN
MOVE
SELECT
EXIT
RETURN
You can enjoy media files such as pictures, movies and music saved in an MP3 player, USB memory or digital camera in high
quality video with 5.1 channel home theater sound by connecting the storage device to the USB port of the home theater.
Playing Media Files using the USB Host Feature
1
Connect the USB device to the USB port on the side of the unit.
2
Press the FUNCTION button on the DVD Player or the USB button on the
remote control to select the USB mode.
■
<USB> appears on the display screen and then disappears.
■
The USB MENU screen appears on the TV screen and the saved file is played.
3
To stop playback, press the STOP (
) button.
Safe USB Removal
To prevent damage to the memory stored in the USB device, perform safe removal before
disconnecting the USB cable.
(1) Press the STOP (
) button twice in a row.
The display will show REMOVE USB.
(2) Remove the USB cable.
PHONES
USB
During playback, press the
button.
■
When there is more than one file and you press the
button, the next file is selected.
■
When there is more than one file and you press the
button, the previous file is selected.
Skip Forward/Back
To play back the disc at a faster speed, press the
button during playback.
■
Each time you press either button, the playback speed will change as follows:
2x
➝
4x
➝
8x
➝
32x
➝
Normal.
Fast Playback
•
CBI (Control/Bulk/Interrupt) is not supported.
•
Digital Cameras that use PTP protocol or require additional program installation when connected
to a PC are not supported.
•
A device using NTFS file system is not supported. (Only FAT 16/32 (File Allocation Table 16/32) file
system is supported.)
•
Some MP3 players, when connected to this product,may not operate depending on the sector size
of their file system.
•
The USB HOST function is not supported if a product that transfers media files by its manufacturer-
specific program is connected.
•
Does not operate with Janus enabled MTP (Media Transfer Protocol) devices.
•
The USB host function of this product does not support all USB devices.
For information on the supported devices, see page 64.
Supported Formats
File name
File Bit rate
Version Pixel
Sampling
extension
Frequency
Still Picture
JPG
JPG .JPEG –
– 640x480
–
Music
MP3
.MP3 80~384kbps – – 44.1kHz
WMA .WMA 56~128kbps V8 – 44.1kHz
Movie
WMV
.WMV
4Mbps V1,V2,V3,V7 720x480 44.1KHz~48KHz
DivX
.AVI,.ASF
4Mbps DivX3.11~DivX5.1,XviD 800x600 44.1KHz~48KHz
Compatible Devices
1. USB devices that support USB Mass Storage v1.0. (USB devices that operate as a removable disc
in Windows (2000 or later) without additional driver installation.)
2. MP3 Player: HDD and flash type MP3 players.
3. Digital camera: Cameras that support USB Mass Storage v1.0.
• Cameras that operate as a removable disc in Windows (2000 or later) without additional driver installation.
4. USB HDD and USB Flash Drive: Devices that support USB2.0 or USB1.1.
• You may experience a difference in playback quality when you connect a USB1.1 device.
• For a USB HDD, make sure to connect an auxiliary power cord to the USB HDD for proper operation.
5. USB card Reader: One slot USB card reader and Multi slot USB card reader.
• Depending on the manufacturer. the USB card reader may not be supported.
• If you install multiple memory devices into a multi card reader, you may experience problems.
6. If you use a USB extension cable, the USB device might not be recognized.
Summary of Contents for HT-X250
Page 2: ... Samsung Electronics Co Ltd JAN 2007 Printed in Korea Code no AH68 000000 ELECTRONICS ...
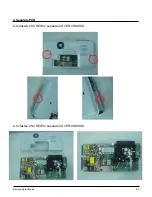
Page 20: ...5 4 Samsung Electronics D Separate MAIN SET ...
Page 22: ...6 1 Samsung Electronics 6 TroubleShooting 1 Main ...
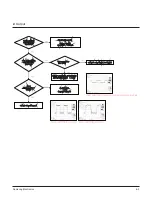
Page 23: ...Samsung Electronics 6 2 2 Output ...
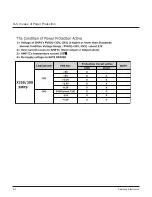
Page 24: ...6 3 Samsung Electronics 3 1 In case of Power Protection ...
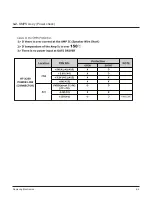
Page 25: ...Samsung Electronics 6 4 3 2 SMPS Ass y Power check ...
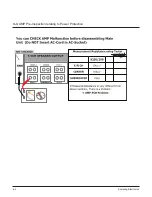
Page 26: ...6 5 Samsung Electronics 3 3 AMP Pre Inspection relating to Power Protection ...
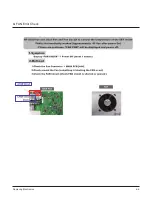
Page 27: ...Samsung Electronics 6 6 4 FAN Error Check ...
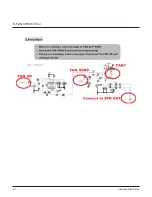
Page 28: ...6 7 Samsung Electronics 5 FAN CHECK Error ...
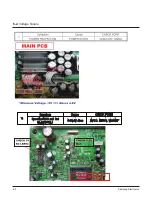
Page 29: ...Samsung Electronics 6 8 6 1 Communication Failure ...
Page 30: ...6 9 Samsung Electronics 6 2 Voltage Failure ...
Page 31: ...Samsung Electronics 6 10 ...
Page 32: ...6 11 Samsung Electronics 6 3 Communication Failure ...
Page 33: ...Samsung Electronics 6 12 7 Checking out AMP PCB ...
Page 34: ...6 13 Samsung Electronics 8 AMP PCB Short Check flow ...
Page 47: ...9 1 Samsung Electronics 9 Block Diagram 1 Block ...
Page 48: ...Samsung Electronics 10 1 10 Wiring Diagram 1 Wire Sheet ...
Page 49: ...10 2 Samsung Electronics 2 GND ...
Page 50: ...Samsung Electronics 10 3 3 VDD ...
Page 51: ...10 4 Samsung Electronics 4 SMPS ...
Page 52: ...11 1 Samsung Electronics 11 PCB Diagram 1 MAIN PCB ...
Page 53: ...Samsung Electronics 11 2 2 MAIN PCB Description ...
Page 54: ...11 3 Samsung Electronics 2 MAIN PCB Description ...
Page 55: ...Samsung Electronics 11 4 3 SMPS PCB ...
Page 64: ...Samsung Electronics 12 9 This Document can not be used without Samsung s authorization 2 KEY ...
Page 66: ...13 1 Samsung Electronics 13 Circuit Board Description 1 PCB Assy Layout 1 HT X250 X200 ...
Page 67: ...Samsung Electronics 13 2 2 Functional Description SMPS Main Front ...
Page 68: ...13 3 Samsung Electronics 3 Functional Description Amp HDMI Video ...
Page 69: ...Samsung Electronics 13 4 4 1 MAIN PCB Block 4 2 MAIN PCB Connectors ...
Page 70: ...13 5 Samsung Electronics 5 MAIN PCB HDMI VIDEO OUT ...
Page 71: ...Samsung Electronics 13 6 6 1 SUB PCB Block 6 2 SUB PCB Connectors ...
Page 72: ...13 7 Samsung Electronics 7 AMP PCB Block ...


