background image

English-59

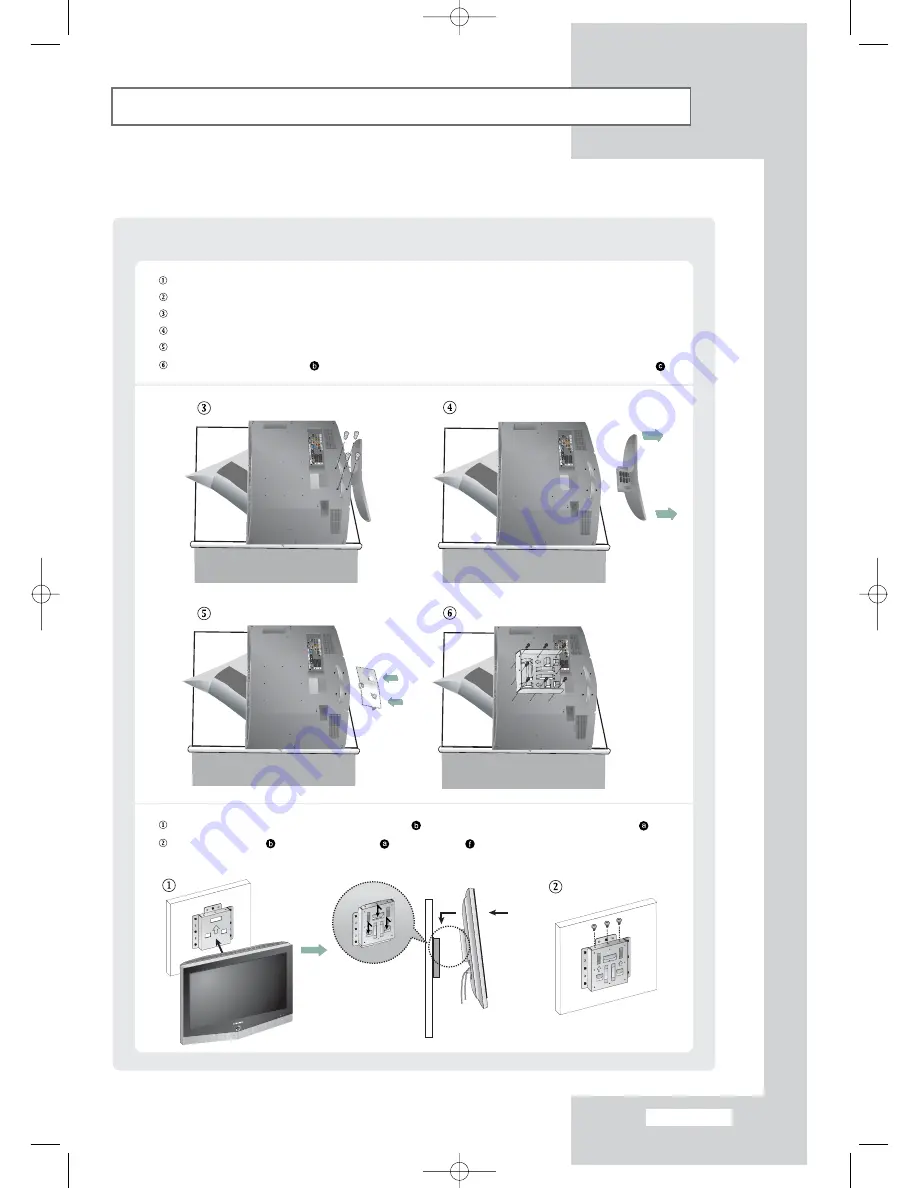
Installing the Wall Mount Kit (LE32R51B, LE40R51B)

Turn the power off and unplug the power cord from the outlet.

Place the TV faced down on a soft cloth or cushion on a table.
Remove the four screws from the  back of the TV.
Separate the stand from the TV.
Cover the bottom hole with a cap

Attach the set-bracket onto the rear side of the TV set and secure the screws .

Insert three Hangers of the set-bracket into the grooves of the wall-bracket .
Fix set-bracket and wall-bracket with screws .

Note: Before installing the set on the wall, connect the cables to the set first.

How to assemble the Wall Mount Bracket

BN68-00801F-00Eng.qxd  1/11/05 2:41 PM  Page 59

Summary of Contents for LE26R51B

Page 1: ...English 5 Viewing the Connection Panel Whenever you connect an audio or video system to your set ensure that all elements are switched off Power Input BN68 00801F 00Eng qxd 1 11 05 2 40 PM Page 5 ...

Page 2: ...et Set Bracket Screw 8EA M4 X L20 Wood Screw 4EA Anchor 4EA Installation Guide How to assemble the Wall Mount Bracket 1 Mark the location of hole on the wall Drill a hole of 35mm depth on the marked location Fix anchors on each hole on the wall Connect wall bracket to the wall with wood screws after fitting anchors into the wall bracket Note If the bracket is not firmly fixed to the wall LCD TV ca...

Page 3: ...arate the stand from the TV Cover the bottom hole with a cap Attach the set bracket onto the rear side of the TV set and secure the screws 3 Insert three Hangers of the set bracket into the grooves of the wall bracket Fix set bracket and wall bracket with screws Note Before installing the set on the wall connect the cables to the set first How to assemble the Wall Mount Bracket BN68 00801F 00Eng q...

Page 4: ...t Screw 8EA Wood Screw 7EA Anchor 7EA Screw 3EA Installation Guide How to assemble the Wall Mount Bracket 1 Mark the location of hole on the wall Drill a hole of 35mm depth on the marked location Fix anchors on each hole on the wall Connect wall bracket to the wall with wood screws after fitting anchors into the wall bracket Note If the bracket is not firmly fixed to the wall LCD TV can fall off M...

Page 5: ...V Separate the stand from the TV Cover the bottom hole with a cap Attach the set bracket onto the rear side of the TV set and secure the screws 3 Insert three Hangers of the set bracket into the grooves of the wall bracket Fix set bracket and wall bracket with screws Note Before installing the set on the wall connect the cables to the set first How to assemble the Wall Mount Bracket BN68 00801F 00...

Page 6: ...h 60 Installing the stand LE26R51B LE32R51B 1 Lower the TV set in the direction of the arrow and fix the stand 2 Use the four screws to tightly fix the stand 1 2 BN68 00801F 00Eng qxd 1 11 05 2 41 PM Page 60 ...

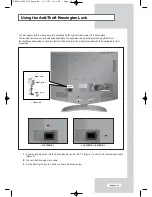
Page 7: ...eavy stationary object The Kensington lock is a device used to physically fix the system when using it in a public place The locking device has to be purchased separately The appearance and locking method may differ from the illustration depending on the manufacturer Please refer to the manual provided with the Kensington lock for proper use Cable Figure 1 Figure 2 Optional LE32R51B LE26R51B LE40R...

Page 8: ...al 0 7 Vp p 75 ohm 0 7 Vp p 75 ohm 0 7 Vp p 75 ohm TV Colour System PAL SECAM B G D K PAL SECAM B G D K PAL SECAM B G D K I I I L L NTPB AV3 58 4 43 I I I L L NTPB AV3 58 4 43 I I I L L NTPB AV3 58 4 43 Sound System BG DK I L BG DK I L BG DK I L Video Colour System PAL NTSC SECAM PAL NTSC SECAM PAL NTSC SECAM Video System CVBS S VHS RGB CVBS S VHS RGB CVBS S VHS RGB SCART 1 Video Input Output 1 0 ...

Page 9: ...eo Jack 32Ω Frequency RF 80Hz 15kHz at 3dB RF 80Hz 15kHz at 3dB RF 80Hz 15kHz at 3dB Response A V 80Hz 20kHz at 3dB A V 80Hz 20kHz at 3dB A V 80Hz 20kHz at 3dB Sound Output 5 W X 2 10 W X 2 10 W X 2 3D Surround SRS TrusurroundXT SRS TrusurroundXT SRS TrusurroundXT Stereo Nicam A7 Nicam A3 Nicam A2 Both screen position and size will vary depending on the type of PC monitor and its resolution The ta...

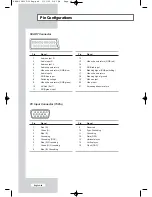
Page 10: ...3 Video chassis return RGB red 14 15 RGB red input 16 Blanking signal RGB switching 17 Video chassis return 18 Blanking signal ground 19 Video output 20 Video input 21 Screening chassis return PC Input Connector 15Pin Pin Signal 1 Red R 2 Green G 3 Blue B 4 Grounding 5 Grounding DDC 6 Red R Grounding 7 Green G Grounding 8 Blue B Grounding Pin Signal 9 Reserved 10 Sync Grounding 11 Grounding 12 Dat...

Reviews: