23
DISASSEMBLY AND REASSEMBLY
·
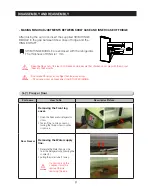
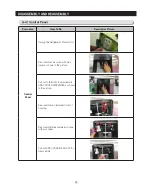
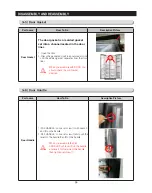
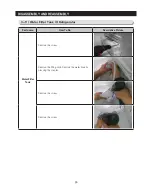
Lift the door straight up.
·
Be careful not to pinch the water tubing and wire harness on the door.
·
Place doors on a protected surface.
·
After disassembling the freezer / refrigerator door, move it to the appropriate location.
NOTE
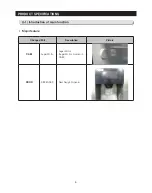
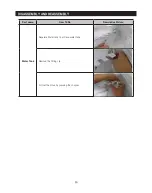
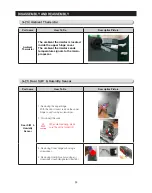
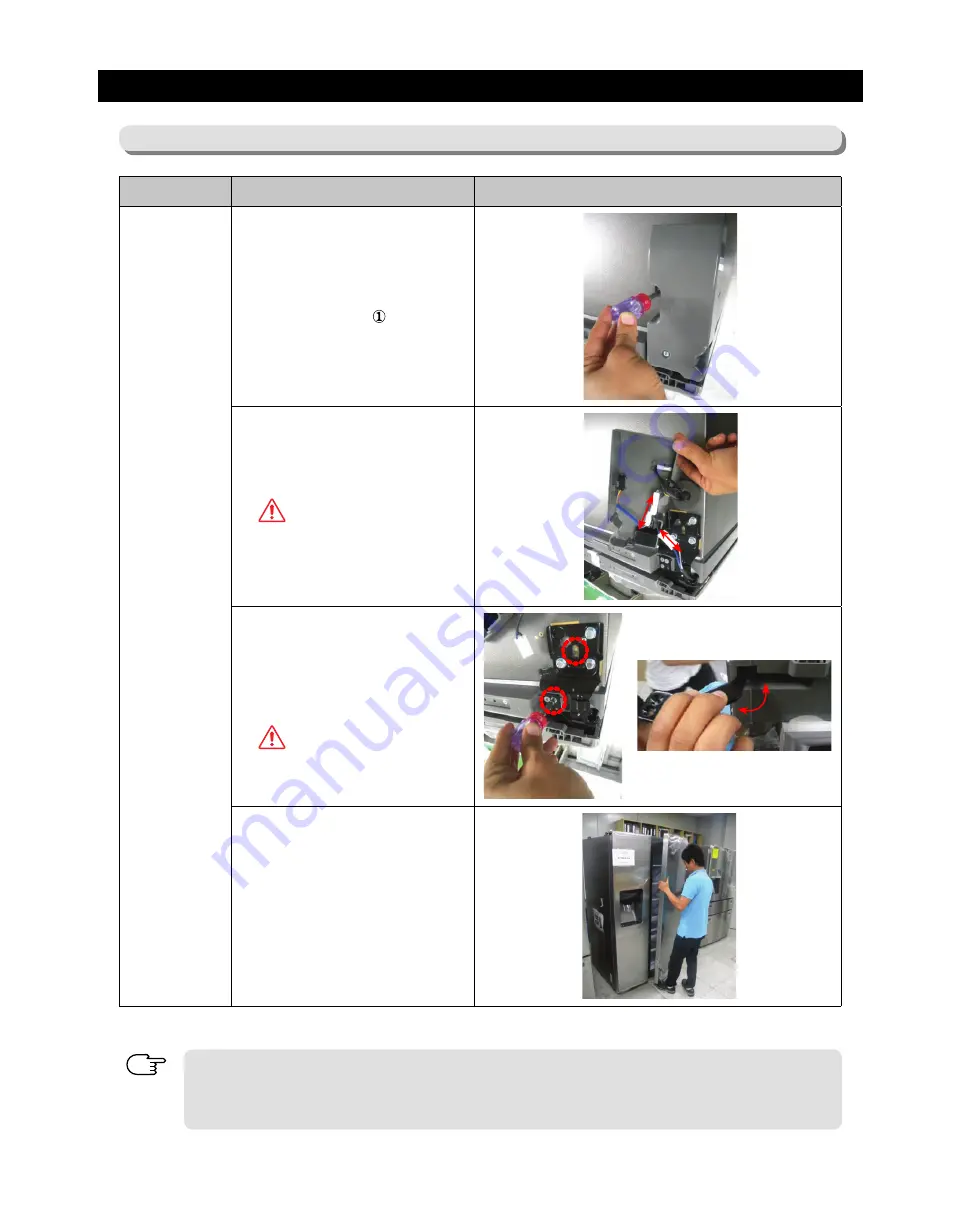
3-3) Refrigerator Out Door & In Door
Part name
How To Do
Descriptive Picture
Door Ref Out
.
e
g
n
i
h
r
e
p
p
U
e
h
t
g
n
i
v
o
m
e
R
.
1
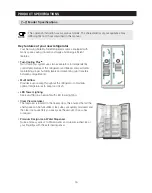
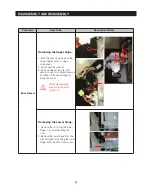
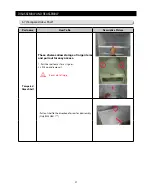
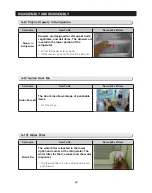
With the door closed, remove the
upper hinge cover ( ) using a
screwdriver.
2. Disconnect the wires.
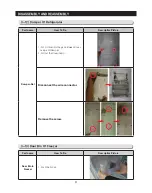
CAUTION
When disassembling,
make sure the unit is
turned off
e
h
t
ff
o
e
k
a
T
P
P
U
E
G
N
I
H
g
n
i
v
o
m
e
R
.
3
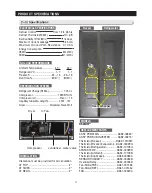
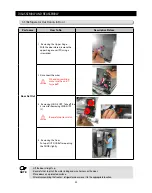
3 screw for Removing HINGE UPP
(2).
CAUTION
Be careful not to scratch
r
o
o
D
e
h
t
g
n
i
v
o
m
e
R
.
4
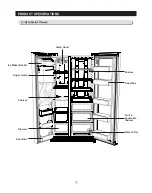
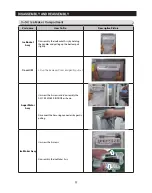
Put up a OUT DOOR after opening
the DOOR slightly
Summary of Contents for LS3165H52HR
Page 52: ...54 TROUBLESHOOTING Diode Voltage of IPM ...
Page 69: ...72 PCB DIAGRAM 6 3 Connector Arrangement Main Board ...
Page 71: ...69 5 WIRING DIAGRAM ...
Page 72: ...74 7 1 Block Diagram 7 SCHEMATIC DIAGRAM ...
Page 73: ...75 SCHEMATIC DIAGRAM 7 2 Block Diagram INVERTER PBA DC 13 2V 5V ...
Page 76: ...EXPLODED VIEW 1 FREEZER ...
Page 78: ...15 EXPLODED VIEW 2 FRIDGE 16 ...
Page 83: ...1 7 1 8 4 5 7 3 8 2 8 3 11 10 12 EXPLODED VIEW 4 DOOR FRE 4 6 9 3 13 ...
Page 85: ...3 4 5 1 3 2 2 3 3 3 4 3 4 1 3 1 6 EXPLODED VIEW 5 DOOR REF IN ...
Page 87: ...3 3 1 2 1 1 1 4 1 5 1 6 1 7 4 EXPLODED VIEW 6 DOOR REF OUT 1 ...

