background image

11 

GB

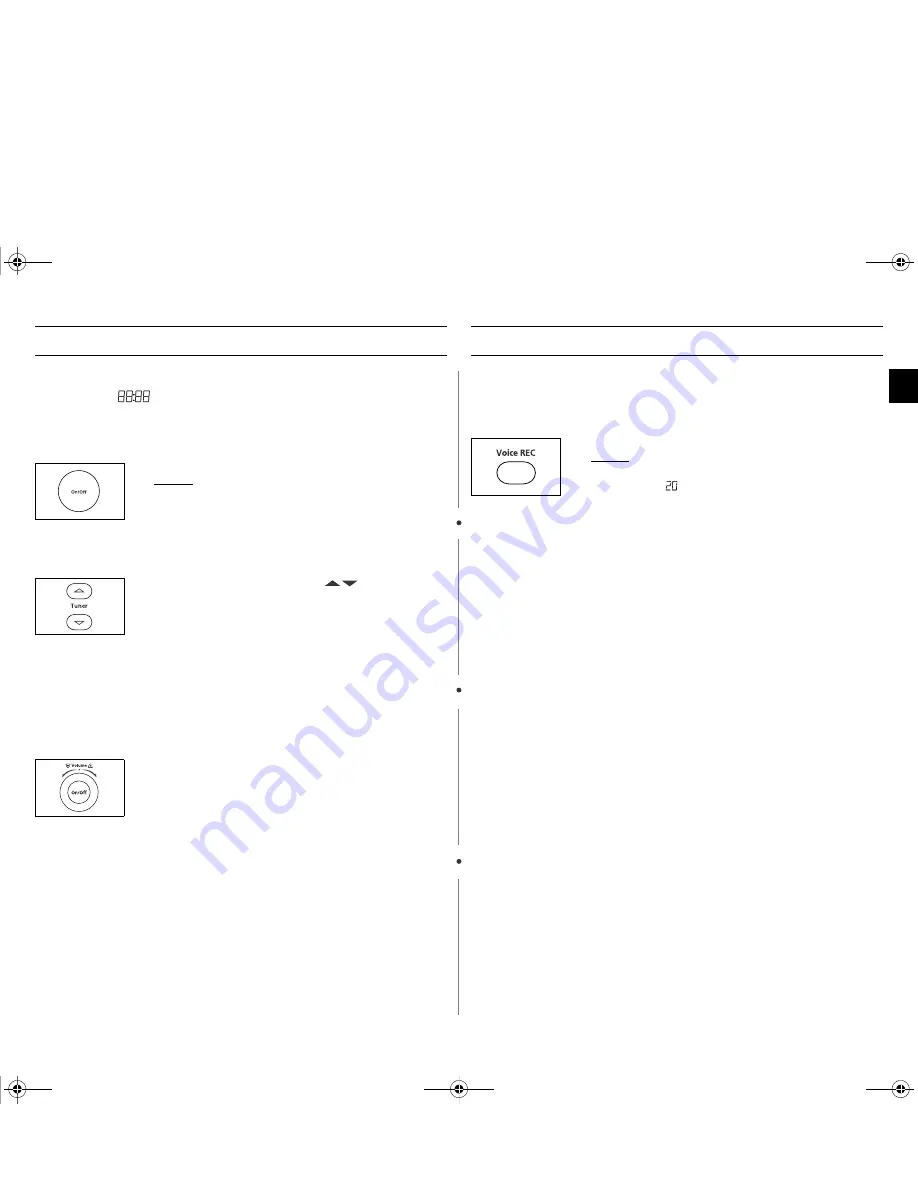
Using the Radio Feature

When you plug the power cable, the unit is initialized to MWO Mode. 
"MWO" and 

 will be displayed on the screen.

If there is a recorded message, "Play" icon appears on the screen at 
that time.
To listen to the radio, 

You can enter the Radio mode only during clock mode or MWO 
cancel mode.

While the unit is in Radio Mode, the operation of MWO START, Dial, 
or MWO function button switches the unit to MWO Mode immediately, 
and the red backlight of the screen is turned to green. In this case, you 
can listen to the current channel on the radio. (The operation of MWO 
while listening to the radio, may make a noise that does not mean the 
unit is out of order. In this case, please try to change the antenna 
direction.)

The radio Usable sensitivity is different in accordance with installed 
area, So move the MWO th other place or change the direction of 
antenna

If the antenna is pulled strongly, it may be broken down

Using the Voice Recorder Feature

You can leave a short message for your family members using this 
function.

To leave a message,

To stop recording while operation, press Voice Rec button. You can 
record a message up to 20 seconds.

If the unit is not in the Child Look status, you can record a message.

1.

Press Radio / MWO select (On/Off) button.
Result :

The green backlight of the screen is turned to 
red, "Radio" icons appears on the top and 
"FM" and "MHZ" icon appear on the bottom of 
the screen, and the current frequency of the 
channel is displayed on the screen.
The frequency of the channel appeared on the 
screen is the frequency of the last channel.

2.

Press Tuner More/Less button (

) to select your 

desired channel.

Pressing the button for less than 1 second increases 
or decreases the frequency by 50KHZ (or 100KHZ).

Pressing the button for more than 1 second button 
runs automatic turning function with a short beep 
sound. When it finds a channel, automatic turning 
function stops searching.

Pressing the button continuously increases or 
decreases frequency until you Key off.

You can listen to only FM channels within the 
frequency range of 87.50MHZ~108.00MHZ. 

3.

Turn the Radio Volume Dial to a comfortable volume..

Press Voice Rec button.
Result :

1) Upon pressing the button, "Rec" icon and 

 appears on the top of the screen, 

recording begins, and the time on the 
screen decreases by the second.

2) When recording is completed, the screen 

returns to the previous status. (The screen 
returns to clock, or radio mode.) 
Then, the "Play" icon on the top of the 
screen would blink. (If you have listened to 
the recorded message, the "Play" icon 
stops blinking.).

tX`^kmTniU”GGwˆŽŒGXXGG~Œ‹•Œš‹ˆ SGhœŽœš›GXZSGYWWZGG`a[XGht

Summary of Contents for M197DF

Page 1: ...ng the Auto Reheat Feature 8 Auto Reheat Settings 8 Using the Auto Cook Feature 9 Auto Cook Setting 9 Using the Auto Power Defrost Feature 10 Auto Power Defrost Settings 10 Using the Radio Feature 11...

Page 2: ...tre fitting on to the coupler Purpose The turntable serves as the main cooking surface it can be easily removed for cleaning VENTILATION HOLES DOOR LATCHES DOOR TURNTABLE COUPLER ROLLER RING SAFETY IN...

Page 3: ...e any metallic cookware in the microwave oven Metallic containers Dinnerware with gold or silver trimmings Skewers forks etc Reason Electric arcing or sparking may occur and may damage the oven 2 DO N...

Page 4: ...oils stuck to oven walls or floor can cause paint damage and reduce the efficiency of the oven 12 You may notice a Clicking sound during operation especially when the oven is defrosting Reason This s...

Page 5: ...h before using your microwave oven for the first time Setting the Time Your microwave oven has an inbuilt clock The time can be displayed in either the 24 hour or 12 hour notation You must set the clo...

Page 6: ...f interference is detected by the oven s microprocessor the display may be reset To solve this problem disconnect the power plug and reconnect it Reset the time If the above guidelines do not enable y...

Page 7: ...when the Microwave Auto Reheat and Auto Cook modes are selected Power Level Output FULL HIGH MEDIUM HIGH MEDIUM MEDIUM LOW DEFROST LOW KEEP WARM 1000 W 850 W 600 W 450 W 300 W 180 W 100 W Time Increa...

Page 8: ...od Serving Size Standing Time Recommendations 1 Ready Meal Chilled 300 350 g 400 450 g 3 min Put on a ceramic plate and cover with microwave cling film This programme is suitable for meals consisting...

Page 9: ...0 g 300 350 g 400 450 g 500 550 g 600 650 g 700 750 g 3 mins Weigh the vegetables after washing cleaning and cutting into similar size Put them into a glass bowl with lid Add 30 ml 2 tablespoons water...

Page 10: ...ing begins The oven beeps halfway through defrosting to remind you to turn the food over Press button again to finish defrosting Food Serving Size Standing Time Recommendations Meat 200 2000 g 20 60 m...

Page 11: ...atus you can record a message 1 Press Radio MWO select On Off button Result The green backlight of the screen is turned to red Radio icons appears on the top and FM and MHZ icon appear on the bottom o...

Page 12: ...en can be locked at any time Press Voice Play button Result 1 The recorded message is played back and the elapsed time increases by the second as the message is played 2 When playing the recorded mess...

Page 13: ...Polystyrene cups containers Paper bags or newspaper Recycled paper or metal trims Can be used to warm food Overheating may cause the polystyrene to melt May catch fire May cause arcing Glassware Oven...

Page 14: ...h the dishwasher safe plate whenever necessary DO NOT spill water in the vents NEVER use any abrasive products or chemical solvents Take particular care when cleaning the door seals to ensure that no...

Page 15: ...e Model M197DF Power source 230V 50 Hz Power consumption Microwave 1400 W Output power 100 W 1000 W IEC 705 Operating frequency 2450 MHz Radio frequency 87 5 MHz 108 0 MHz Magnetron OM75P 31 Cooling m...

Page 16: ...tX kmTniU GGw GX GG SGh GXZSGYWWZGG a XGht...

Reviews: