GB
39
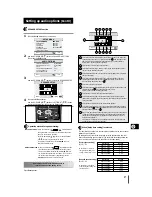
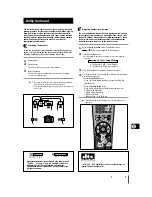
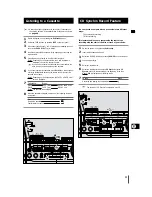
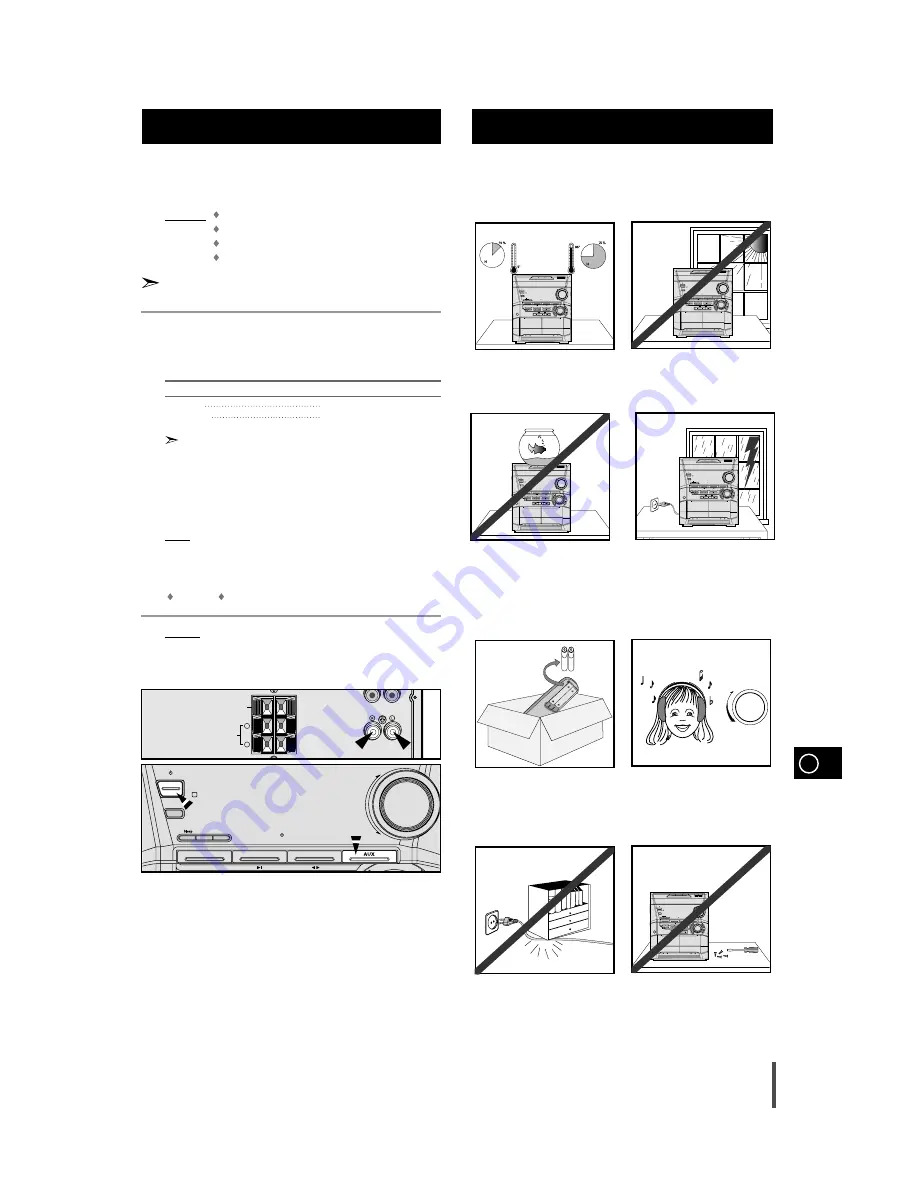
The auxiliary input can be used to take advantage of the
sound quality of your mini-compact system when listening to
other sources.
Examples: A
television
A video disc player
A DAT cassette player
A Hi-Fi stereo video cassette recorder
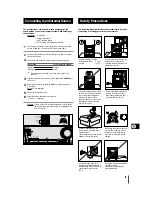
To connect the external source, the source must have an audio
output. In addition, you need an RCA connection cable.
Set the system to standby mode and disconnect it and the external
source from the main.
Connect the audio cable to the rear of the mini-compact system.
Connect the...
To the connector marked...
Red jack
R (right)
White jack
L (left)
For optimum sound quality, do not invert the right and left
channels.
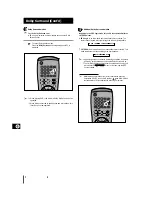
Plug the system back into the main socket and press On/Standby to
switch it on.
Select the AUX source by pressing AUX on the front panel one or
more times.
Result:
AUX
is displayed.
Switch the external source on.
Adjust the volume and balance as required:
Volume
Equalizer
Example: You can watch a film and take advantage of stereo sound
provided that the original sound track is in stereo(as if you
were in a cinema).
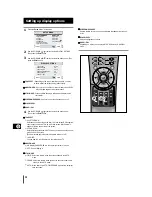
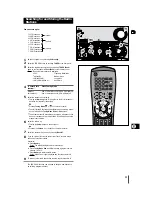
The following diagrams illustrate the precautions to be taken
when using or moving your mini-compact system.
Connecting to an External Source
Safety Precautions
FRONT
SPEAKERS
(6
Ω
)
AUX IN
L
R
SURROUND
SPEAKER
(6
Ω
)
CENTER SPEAKER
(6
Ω
)
1
2
3
4
5
6
Ambient operating conditions:
Ambient temperature
5°C-35°C
Humidity
10-75%
Do not expose the unit to direct sun
radiation or other heat sources.
This could lead to overheating and
malfunction of the unit.
On/Standby
Demo
PTY
RDS
TUNER
DVD/CD
TAPE
AUX
+
–
Volume
Disc Change
Disc 3
Disc 2
Disc 1
Disc Selection / Direct Play
Band
Mono/ST
Memory
CD Synchro
Display
Deck 1/2
REV. Mode
Normal
TAPE
TAPE REC
HI-Speed
REC/Pause
Phones
REC Lock
Tuning Mode
Down
Up
Display
Timer
/Clock
DOLBY DIGITAL
R
Su
rro
un
d
Do
lby
S
. B
as
s
D
S
P
/E
Q
P/
So
un
d
En
te
r
Do not place potted plants or vases
on top of the unit. Moisture entering
the unit could lead to dangerous
electric shock and can cause
equipment damage. In such events
immediately disconnect the main
plug from the socket.
During thunderstorms, disconnect
the main plug from the socket.
Main voltage peaks due to light-
ning could damage the unit.
On/Standby
Demo
PTY
RDS
TUNER
DVD/CD
TAPE
AUX
+
–
Volume
Disc Change
Disc 3
Disc 2
Disc 1
Disc Selection / Direct Play
Band
Mono/ST
Memory
CD Synchro
Display
Deck 1/2
REV. Mode
Normal
TAPE
TAPE REC
HI-Speed
REC/Pause
Phones
REC Lock
Tuning Mode
Down
Up
Display
Timer
/Clock
DOLBY DIGITAL
R
Su
rro
un
d
Do
lby
S
. B
as
s
D
S
P
/E
Q
P/
So
un
d
En
te
r
VOLUME
UP
DOWN
Remove the batteries from the
remote control, if not used for any
extended period.
Leaking batteries can cause serious
damage to the remote control.
When using headphones, take care
not to listen at excessive volumes.
Extended use of headphones at
high volumes will lead to hearing
damage.
Do not place heavy items on the
main lead. Main cable damage can
lead to damage of the equipment (fire
hazard) and can cause electric
shock.
Do not remove any equipment panels.
The inside of the unit
contains live components, which
cause electric shock.
On/Standby
Demo
PTY
RDS
TUNER
DVD/CD
TAPE
AUX
+
–
Volume
Disc Change
Disc 3
Disc 2
Disc 1
Disc Selection / Direct Play
Band
Mono/ST
Memory
CD Synchro
Display
Deck 1/2
REV. Mode
Normal
TAPE
TAPE REC
HI-Speed
REC/Pause
Phones
REC Lock
Tuning Mode
Down
Up
Display
Timer
/Clock
DOLBY DIGITAL
R
Su
rro
un
d
Do
lby
S
. B
as
s
D
S
P
/E
Q
P/
So
un
d
En
te
r
On/Standby
Demo
TUNER
DVD/CD
TAPE
AUX
+
–
Volume
Band
DOLBY DIGITAL
R
Timer
On/Off
Timer
/Clock

