GB
17
Playing USB
You can play MP3 files by connecting to various external USB storage
devices such as USB flash memory or HDD. time.
Connect the external USB storage device to your player.
Select USB function by using the
USB/AUX
button.
The first track of the first directory plays automatically.
1
2
TAPE
USB/MP3-CD/CD
2
Please be aware of the followings before using USB.
Depending on the type of external USB storage device, it may not
work even if it’s connected to the player.
With external HDD, FAT format can be played, but not NTFS
format.
With USB 2.0 HDD, connect to a separate power source.
If it’s not connected to a separate power source, it may not work.
If memory of an external USB storage device is segmented
into several parts, MP3 files of only the first hard disk drive
can be played.
Regarding directories, up to fourth directory can be played.
DRM applied files are not played.
Digital Rights Management: Technology and service that protect the
profit and rights of copyright owners by disallowing unauthorized use
of digital contents.
Even if the file name ends with .mp3, the file does not play if actual
file format is MPEG layer 1 or 2.
Disconnect the external USB storage device only in safe
removal mode(“USB REMOVE” display ON/OFF). Otherwise,
internal file can be damaged.
Press the Stop (
) button more than 3 times to get into the
safe removal mode.
If you want to play files in the safe removal mode, disconnect
and reconnect the external USB storage device.
USB hub will not be recognized.
Directory names are shown up to 14 letters, and MP3 file names up
to 30 letters.
Delay
When selecting USB function, depending of the speed of the
external USB storage device, reading (READ-IN) internal information
can take several minutes.
When playing a USB device, or finding next track may introduce
some delay. Especially with a mass storage device such as HDD,
depending on the type and the number of files, the delay might be
several minutes.
Even with the external USB storage devices of same capacity,
depending on the speed of each product, the amount of oper-
ating time can vary.
1
To stop playing
Press the Stop (
) button to stop playing.
Press the Stop (
) button once to stop.
Do not connect USB charging device to the USB connection port
of the player, because it may cause damage to the product.
GB
16
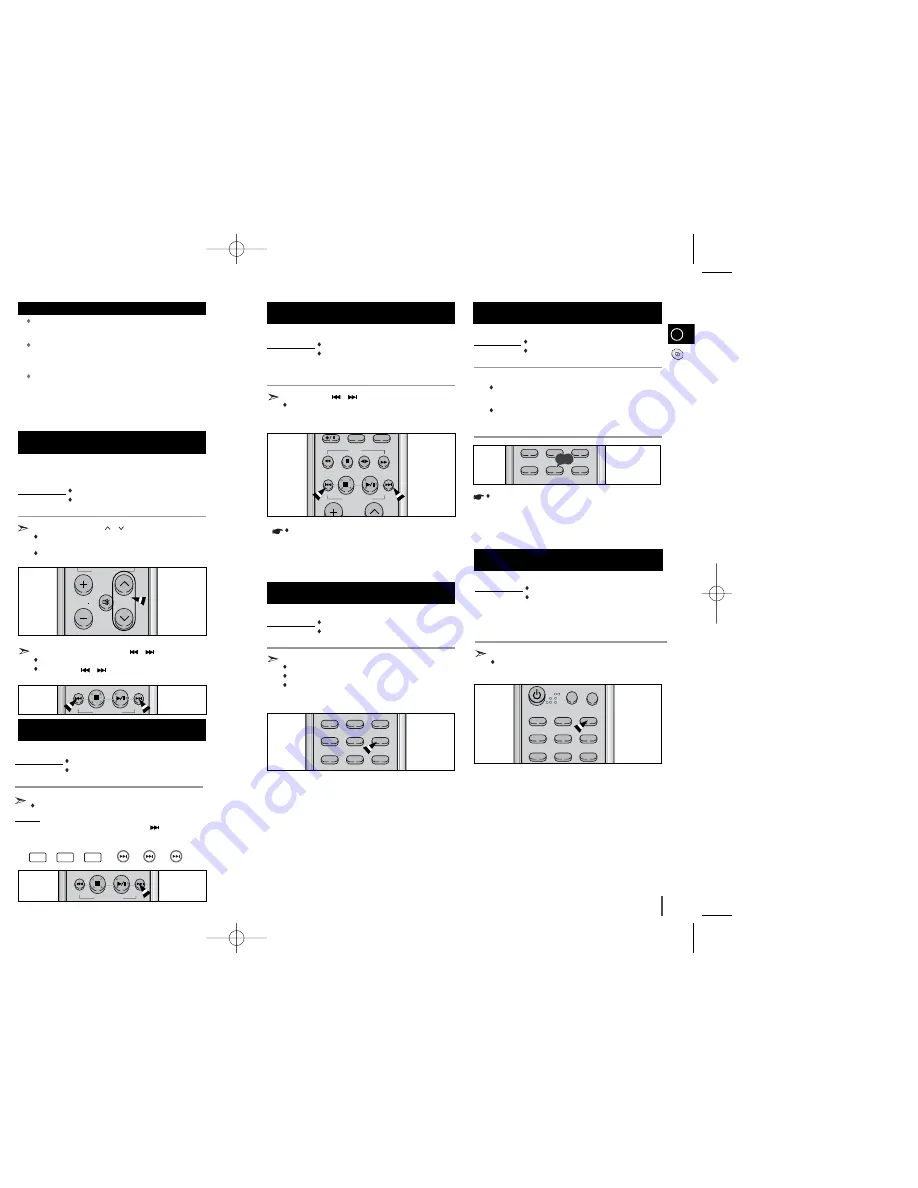
Selecting a Track from USB Device
You can select a desired directory and an MP3 file during the play or
when it stopped.
Before you begin!
Connect the external USB storage device to your player.
Select USB function by using the USB/AUX button.
Press the
TUNING/ALBUM
/
buttons to move the directory.
Each time you press the button, it will move to the directory before
or after and play.
This function works only in the remote control.
If you want to move the file, press the
,
button shortly.
It moves the file within the directory.
If you press the
,
button more times than the number of
the files in the directory, it will move over to the next directory.
To skip next 10 tracks
Before you begin!
Connect the external USB storage device to your player.
Select USB function by using the USB/AUX button.
Press the
+10
button on the remote control shortly during the play.
A track that is 10 tracks after the current track plays.
Example:
If you want to select 43rd track while 15th track is playing, press
the +10 button 3 times and then press the
button 3 times.
USB/MP3-CD/CD
To use high speed search
Before you begin!
Connect the external USB storage device to your player.
Select USB function by using the USB/AUX button.
You can search the part you want quickly during the play
Press and hold the
,
button.
Whenever you press and hold the button, you can search back-
ward or forward 2X
➝
SRCH OFF times quickly.
USB/MP3-CD/CD
TAPE
USB/MP3-CD/CD
VOLUME
SURROUND
EQ/S BASS
TUNING
MUTE
TUNING/
ALBUM
USB/MP3-CD/CD
15
➝
20
➝
30
➝
40
➝
41
➝
42
➝
43
+10
+10
+10
When you use the high speed search function, there is no
sound.
To repeat
Before you begin!
Connect the external USB storage device to your player.
Select USB function by using the USB/AUX button.
Press the
REPEAT
button during the play.
REPEAT 1 : repeat play one track only.
ALL 1: repeat play one directory only.
REPEAT ALL : repeat play the entire directories.
TIMER
SLEEP REP
A-B REPEAT
MO/ST
CD SYNC
TAPE SPEED
TIMER/CLOCK
PROGRAM/SET
ON/OFF
COUNT RESET
SHUFFLE
REV MODE
To repeat section
Before you begin!
Connect the external USB storage device to your player.
Select USB function by using the USB/AUX button.
Press the
REP.A
↔
B
button at the beginning of desired part.
START shows.
Press the
REP.A
↔
B
button at the ending of desired part.
END shows and section repeat is played 3 times.
Then it plays normal.
1
2
TIMER
SLEEP REP
A-B REPEAT
MO/ST TAPE
SPEED
TIMER/CLOCK
PROGRAM/SET
ON/OFF
COUNT RESET
1,2
Section repeat function works only within one track.
To use Last Memory function
Before you begin!
Connect the external USB storage device to your player.
Select USB function by using the USB/AUX button.
Last Memory is a function that resumes playback from the last part of
the previous listening when the user reselects USB function again after
stopping the play, selecting another function(except CD function).
Press the
PROGRAM/SET
button,
LAST ON and LAST OFF are repeatedly selected.
TIMER
POWER
SLEEP REP
A-B REPEAT
MO/ST TAPE
SPEED
TIMER/CLOCK
PROGRAM/SET
ON/OFF
USB
DIMMER
COUNT RESET
MM-T6-NO RDS(GB) 2003.4.15 12:57 PM Page 16
Summary of Contents for MM-T6
Page 1: ......


